|
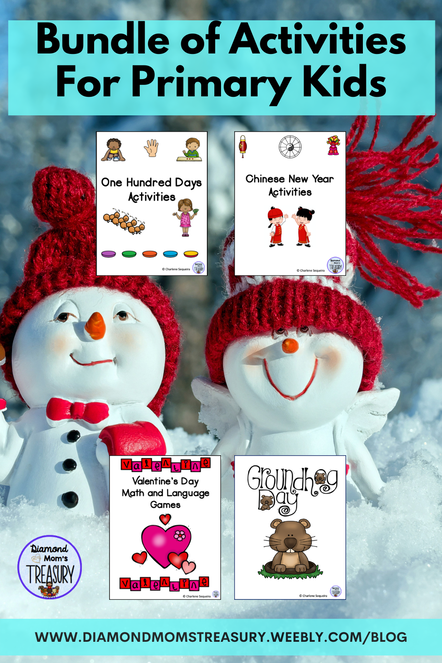
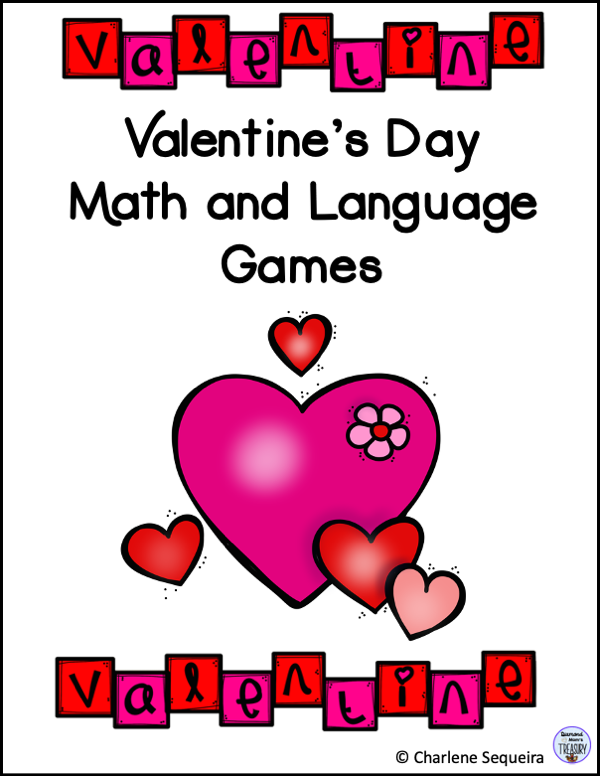
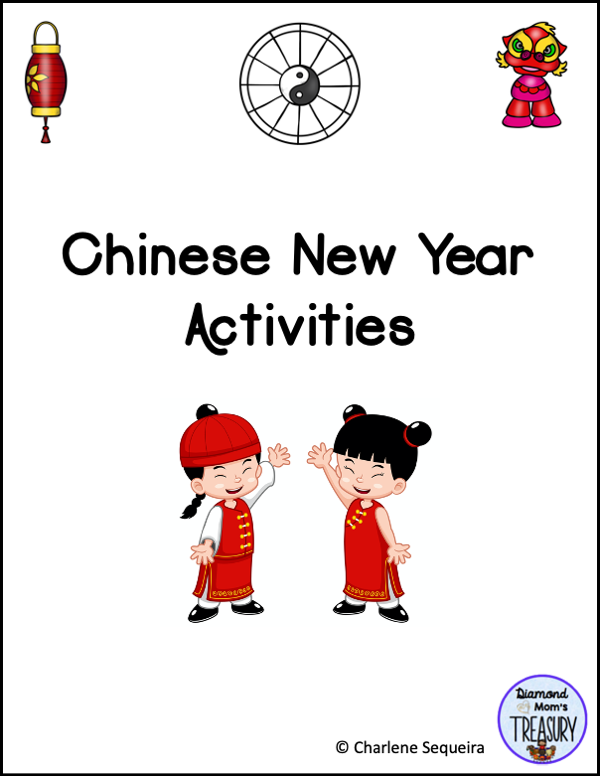
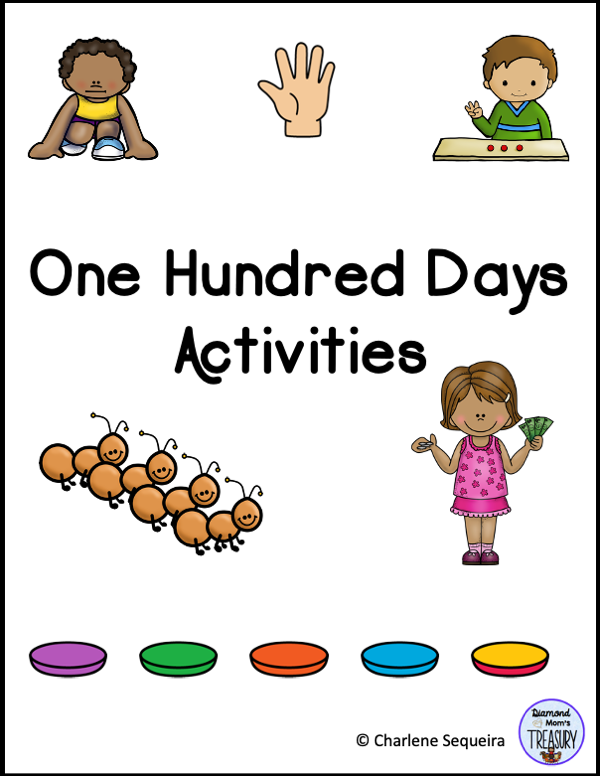
There are several celebrations in January and February that make great opportunities for engaging children in math and language activities. Here in Canada, we have New Years Day, One Hundred Days at school, Groundhog Day, Chinese New Year, and Valentine's Day. As we are approaching February, this is a great time to shake off the winter blues and have fun. I have created a few activities to help. Each of these products is available separately in my TeachersPayTeachers store, or they can be purchased as a bundle for a discount. Click on the different images to find out more about the individual products. I hope you find these helpful as you work with your students in these trying times. Having some fun activities makes it a little less stressful. For even more winter activities, check out my Holidays/Special Days category or my Winter Math and Literacy Activities category. If there are any resources you are needing that I am able to help you with, let me know. I will do my best to either create something or direct you to someone who has what you need.
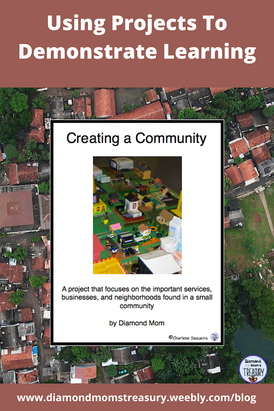
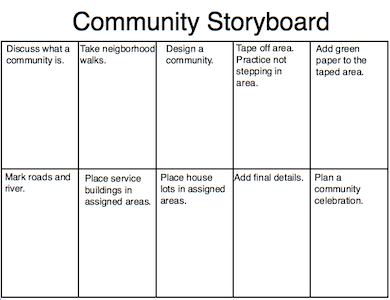
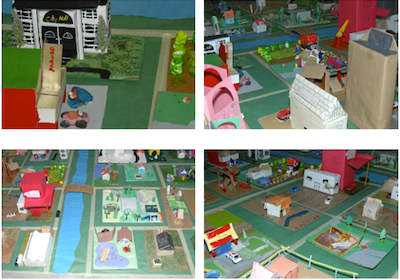
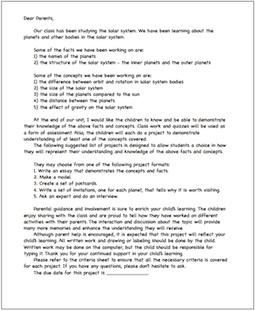
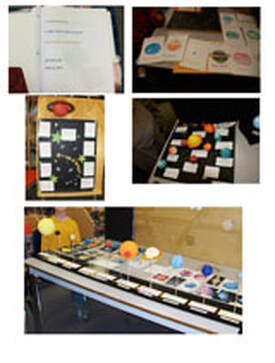
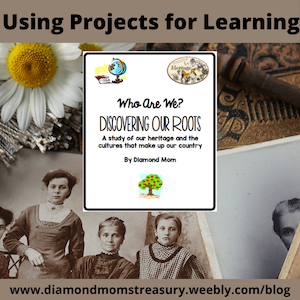
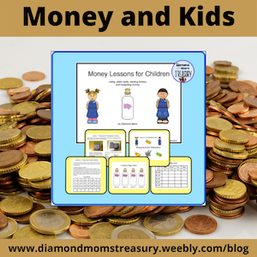
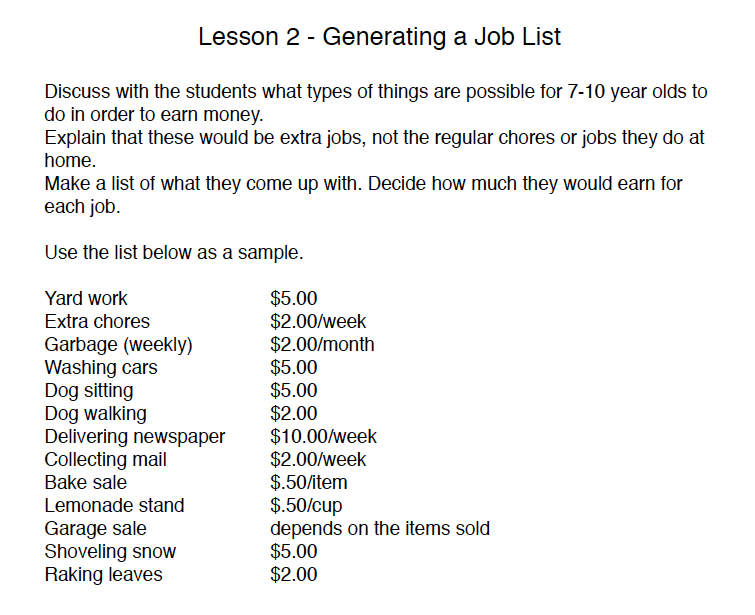
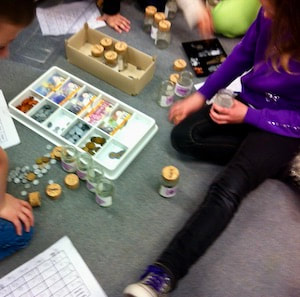
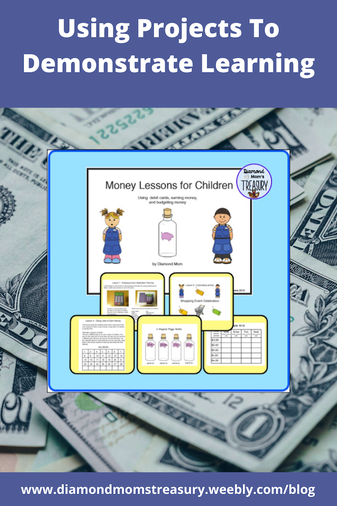
Earlier this month I wrote about having 2 secret strengths in teaching and I shared my first strength of teaching guided reading. My second super strength was using projects with my students to help demonstrate learning. My super strength evolved from a need to help students share their learning in a variety of different ways. I discovered early in my classroom teaching experience that some students had a wealth of knowledge, but that they were unable to truly share it in written activities. I decided to try using projects for representing their learning, and I never looked back. Creating A 3D CommunityThis 3D community project was a class project where the class created the community from beginning to end based on what we learned during our study of what a community needs. Our celebration was our chance to share what was learned during this unit. Here are some images of one of the communities. I have also included a storyboard as well. Click on it if you would like a copy for yourself. Our Solar System ProjectOur Solar System was one of my first school/home projects that required the children to choose from a variety of activities to share their learning. It also contained a criteria marking sheet so that they knew what was expected and how it would be graded at the beginning. It was amazing to see how they rose to the challenge. Including the families when it came time to create the projects was a great way of communicating what we were doing at school. Here is a copy of the letter that I send home. Check out some of the projects that my students created. The greatest part was when they shared them with the families and other guests. Their pride and the positive atmosphere made it all worthwhile. Social Studies ProjectsI found that Social Studies lends itself well to projects. Most of my projects dealt with Canada and the provinces and territories, but I also did some projects that are more global. My heritage project came from a need to help a child feel proud of who she was because she was embarrassed to let others know her heritage. By the end of this project, she was sharing with everyone and she was excited to tell others about all the countries that made her special. Money Lessons For KidsI love how ideas come from students and their needs. One year my class was learning about money and we ending up creating a money unit together. It was great using real life experiences for creating the unit. We even ended it with a big fundraising event to raise money for our year end field trip. Here is a sample lesson from the unit. I always looked forward to the new ideas that were provided by my students. If you would like to see some of the other projects that I have created, they are available in my Teachers Pay Teachers store. I would love to hear if projects are part of your teaching.
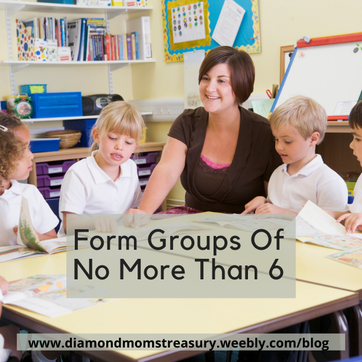
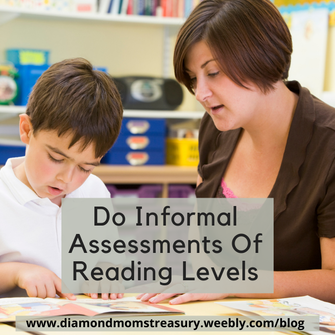
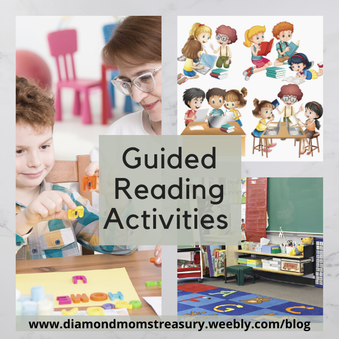
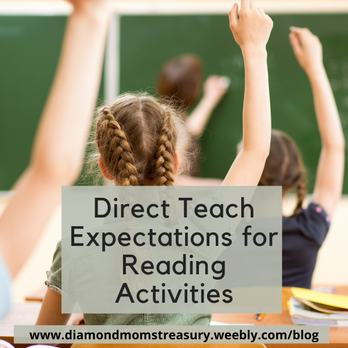
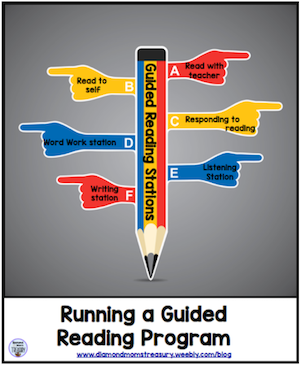
A few years ago, I was asked to reflect on my teaching and determine what my super strength was. I discovered that I actually have two things that I became known for during my teaching career. I am going to share one of them with you today. I will share the other one in a future post. My first super strength was teaching guided reading programs in my classroom. Many of my colleagues taught guided reading with the help of others, be it parent volunteers, educational assistants, or a rotation of teachers in a cohort. I have done all three during my career, but there were several times when there weren't enough people to cover all the classes/students, so I did my class separately. Sometimes I had as many as 7 groups depending on the range of reading levels in my class. This was a challenge, but over the years I developed some strategies and resources that made it work. Today I would like to share some of this with you. Please note: I am basing this on a grade 2 or 3 classroom as most of my teaching career was with a grade 2/3 split class. In a grade 1 class, there would be some variations as many of the children are still focusing on building phonemic awareness and letter recognition skills. Before you begin, it is important to have an idea of what your students are able to do. It will require some assessment, be it formal or informal. Sometimes it may also take some time to develop a relationship with them so they feel comfortable sharing what they know. You can also look at assessments from previous years, although I usually choose to do my own assessments. It is also a good thing to remember that levels can drop a bit after a long break. 1.It is important to know what the reading levels are in your classroom. Obviously, this can be a time intensive task if you are doing formal levelling for your students. Instead, I select a variety of books from my levelled book bins and I do an informal assessment with the kids while others are working on some independent work. 2. Once I have had a chance to read with all my students, I look at the levels and see what are some possible groupings I can make. I will often group 2 or 3 levels together if they are similar. If the levels are very low, or the students need a lot of extra work with sounds, phonemic awareness, letter recognition, etc. I try to keep the groups very small (maximum 4). Other groups may have up to 6 in them. It is important that you think about the time available for instruction as well, because too many groups will not work well in a regular class time table. The size of the groups is often dependent on resources as well. I found that most sets of books only had 6 copies, so to avoid sharing materials, 6 was usually the maximum size of the group. 3. Once the groups are determined, it is time to figure out a rotation plan that will work so that all of the groups can receive instruction and support during the week. Ideally, reading should be a part of each day, but sometimes this is not possible. Whenever you are able to do reading groups, the groups that are needing the most help should be scheduled in for direct support. The other groups should be on a rotation to make sure they are given some direct support as well. This is very important. The more capable groups need support as well. While one group is getting direct instruction, it is important that the other groups know what they are to do. This could be reading, responding to reading, language activities, centers, listening activities or other language related activities. 4. Before starting the reading group sessions, it is necessary to make sure that you go over the expectations for groups that are working independently or in small group activities. Direct teaching of the different types of activities will be needed so that the groups can function well without disruptions and interruptions. 5. To make sure that the rotations work well and you are organized for each group requires some planning. Creating a flow chart or grid with the different groups and the different activities helps. It is also useful in case of a situation when you are away and someone else needs to run the groups. 6. Gathering the necessary materials and having them set up ahead of time will also make the rotations more successful. Setting up baskets with the materials for each guided reading group ensures that you aren't hunting for things during the direct instruction. Other areas also need to have the necessary equipment and materials ready before the reading time begins. 7. Once you have your groups set, your materials ready, and your rotations prepared, it is time to get started. If you are looking for materials to use during your guided reading rotations, check out my TeachersPayTeachers store. I have a guided reading category, sight word category, and literacy category with materials that can work for reading groups. I hope you find these tips helpful. If you are looking for more ideas or if you have any questions, feel free to contact me or leave a comment below. I wish you much success with your guided reading program. Related Posts
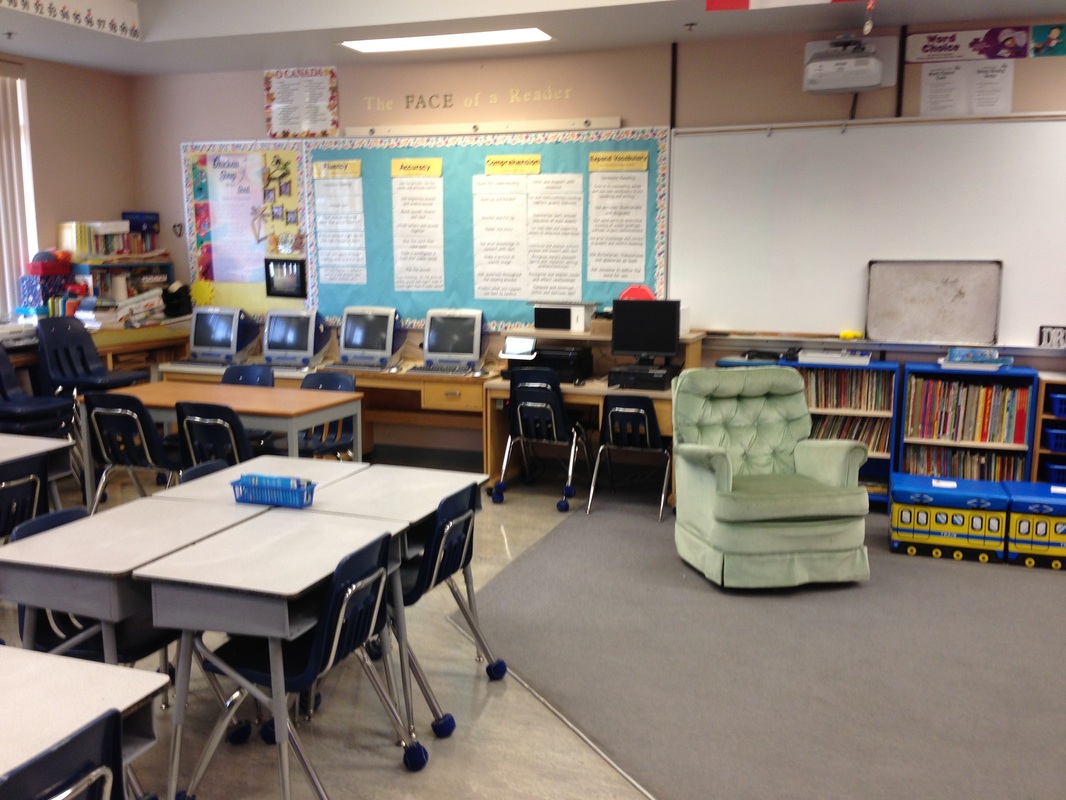
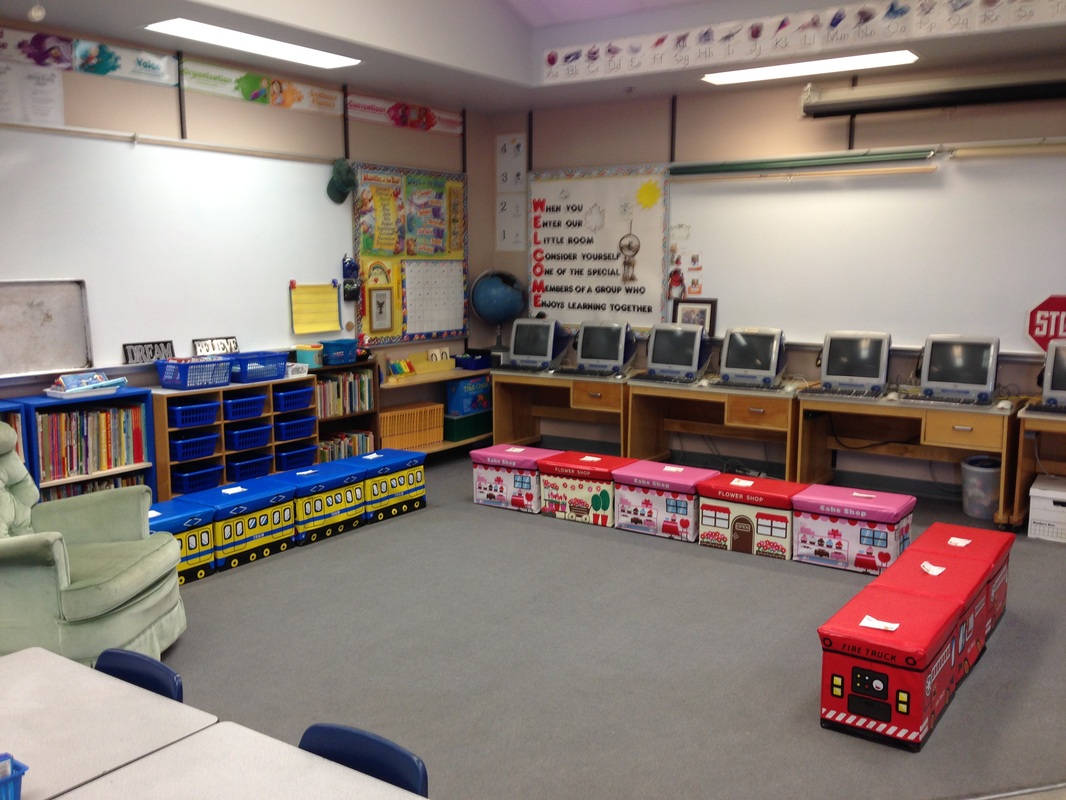
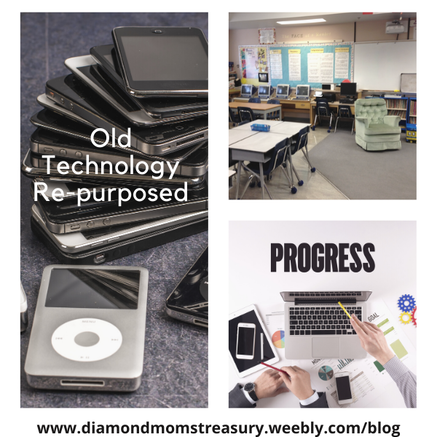
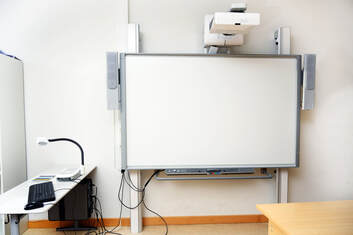
Don't throw out old technology too quickly, instead re-purpose it. It can still be very useful if used creatively to engage students in their learning. Technology changes so quickly that we sometimes think that we need to have whatever is new and updated in order to use it effectively. However, in most cases, schools don't have the funds to stay on top of the latest and greatest technology. This doesn't mean that we need to stop using technology, it means we need to be more creative with what we have. Children are so tuned into technology nowadays that their attention is captured when technology is included in lessons. Using a projector, computer, and a document camera will immediately engage many students. This can be as simple as putting items under the document camera during sharing time, reading books together, or demonstrating how to fill in a worksheet. More complex activities might include showing video clips or doing interactive activities on the whiteboard. Watching movies or animated books is another way to use a computer and projector. These are pictures of some of the computers that I had in my classroom. Several years ago many of the elementary school computer labs were converted from Mac labs to Linux labs. I gathered several computers and set them up in my classroom. I started out with even older computers, but as the middle schools switched over their labs I was able to "upgrade" to iMacs. They were stand alone computers loaded with many language and math games and activities. They also had an older version of Powerpoint and a word processing program. A few were internet capable, but they ran slowly. Many people think that these computers should have gone to recycling because they were "old". I disagreed. If you don't have lots of money to have laptops and handheld devices, you can still use older technology in your classroom. My students used these computers to write special journal entries, do language and math games during centers, learn keyboarding skills, create powerpoints, and work on other research and writing projects. When they needed to go online, we either booked lab time or I set up one or two computers with the internet. For printing their work, I had a printer networked to the computers. If this wasn't possible, documents were saved on flash drives and then printed from a different computer that was hooked up to a printer. Even a small pod of computers was useful for engaging students. I found that using computers, along with software that assists with writing, helped with my reluctant writers. Smartboards are another popular piece of technology in school now. Unfortunately, they are expensive and not all schools can afford them. We had one in our school. I was able to try it for a few months and my students loved it. When I had to pass it on to another teacher, I discovered that it was possible to continue using the software on my whiteboard and still have the interactive features by using a mouse. I learned to adapt lessons so that I could still incorporate the activities into my lessons. 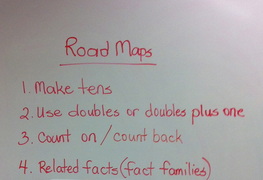 Sometimes you may want to write on the whiteboard. The one drawback to not having the Smartboard, is you cannot save what you write with the pens. The fix to that is to take a picture of the board and then project it later when needed. I often took pictures of notes made on my whiteboard as well. 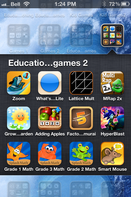 Ipads, ipods, and smartphones are now very common and they can be a great asset in the classroom. They can be used for center activities, for group activities, and for individual activities. I often attached my ipad to the projector and did math activities with the class. I also used handheld devices for QR codes activities. Also, don't forget the listening center with the cassettes and CDs and the big headphones. They still have a valid place in our classrooms. I have colleagues who still prefer to use an overhead projector. If it works, then I say go for it. Each person needs to find the balance that works for them. What was new and innovative last year is "old hat" now. Does that mean we stop using it? Of course not. We adapt and change our lessons to accommodate new ideas while continuing to incorporate older ideas.
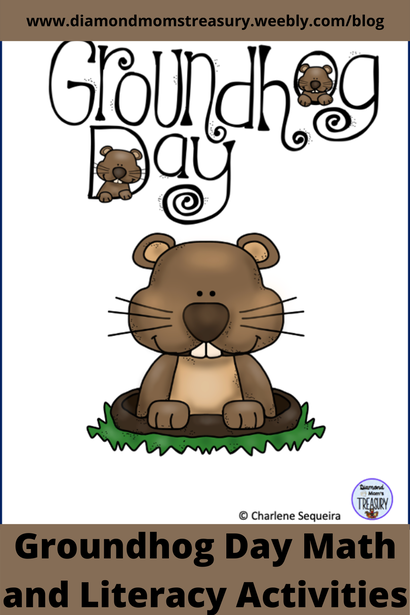
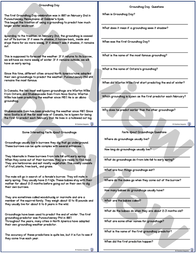
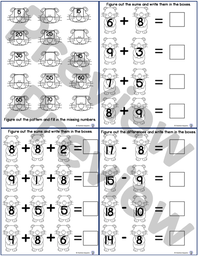
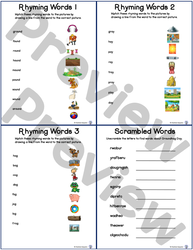
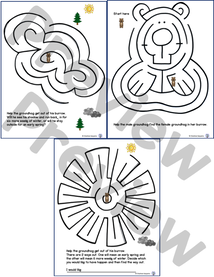
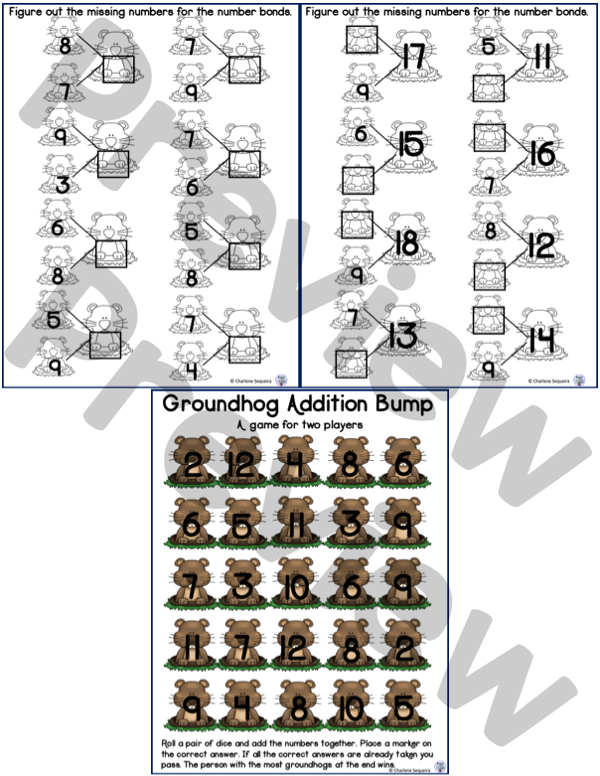
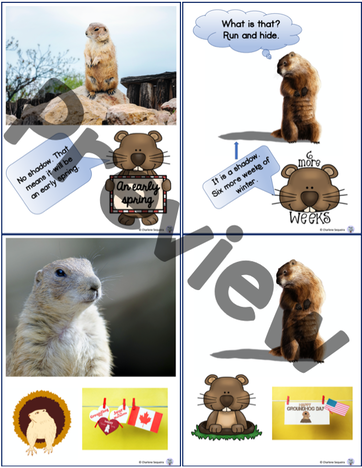
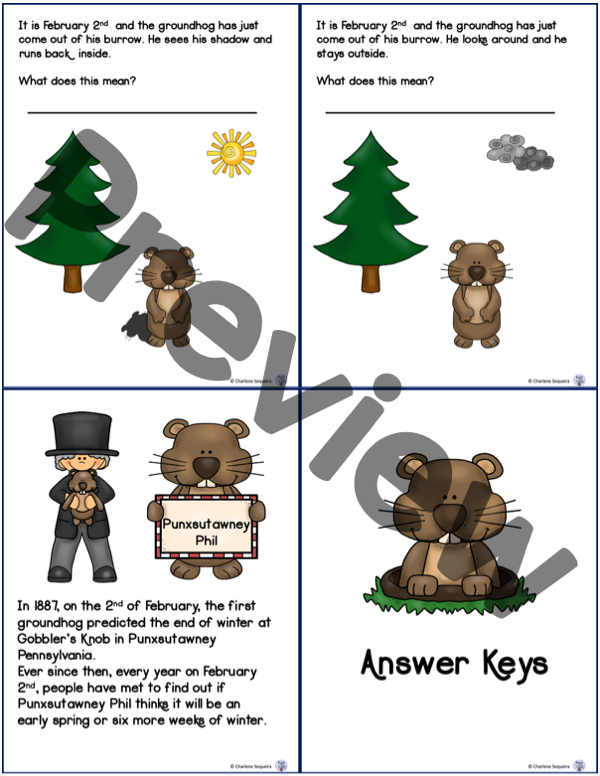
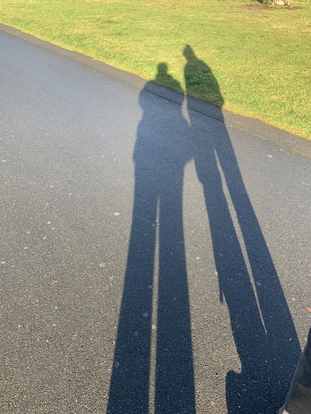
If we have some lessons that have worked for us successfully that don't use technology, we don't discard them. We use them when they fit the situation. The same holds for using our devices. After all, it isn't for the sake of using the device that we create the lessons. At least, I hope it isn't. The technology is there to add more engagement when needed, perhaps to enhance a lesson, and to explore ideas from a different perspective. I had many lessons and activities that didn't involve technology, but I used technology when I felt it was useful. Hopefully I have been able to show you that older technology can still have a place in learning today. As we start a new year, it is always fun to start checking out Groundhog Day activities. Children love to find out if the groundhog is going to predict an early spring or a longer winter. I have to admit, I find it fun to do as well. Here are some math and literacy ideas to try with your students. There are also some fun posters included. If you are looking for a fun writing activity, maybe one of these ideas might work. Take a picture with shadows and one without and use the pictures to write a groundhog story. Or, maybe you could pretend to be a groundhog and write about your day on February 2nd. On the weekend it was a beautiful sunny day, so we went for a walk. While walking, I noticed the long shadows and I decided to take a picture. It immediately made me think of the groundhog coming out of his burrow. I imagine that if I was that groundhog and I saw this shadow I would run back inside and stay put. Strangely enough, the same evening as this picture was taken, we had a big storm. Maybe the groundhog had the right idea. What are some fun Groundhog Day activities you do with your students? Let me know in the comments.
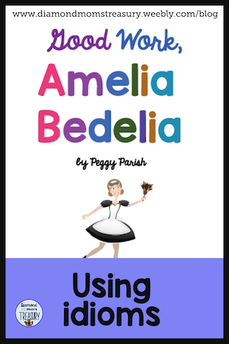
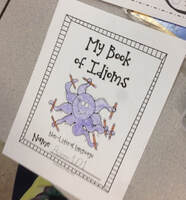
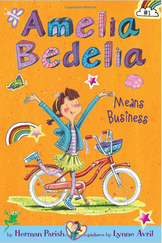
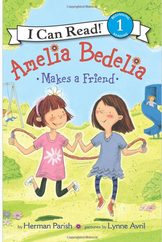
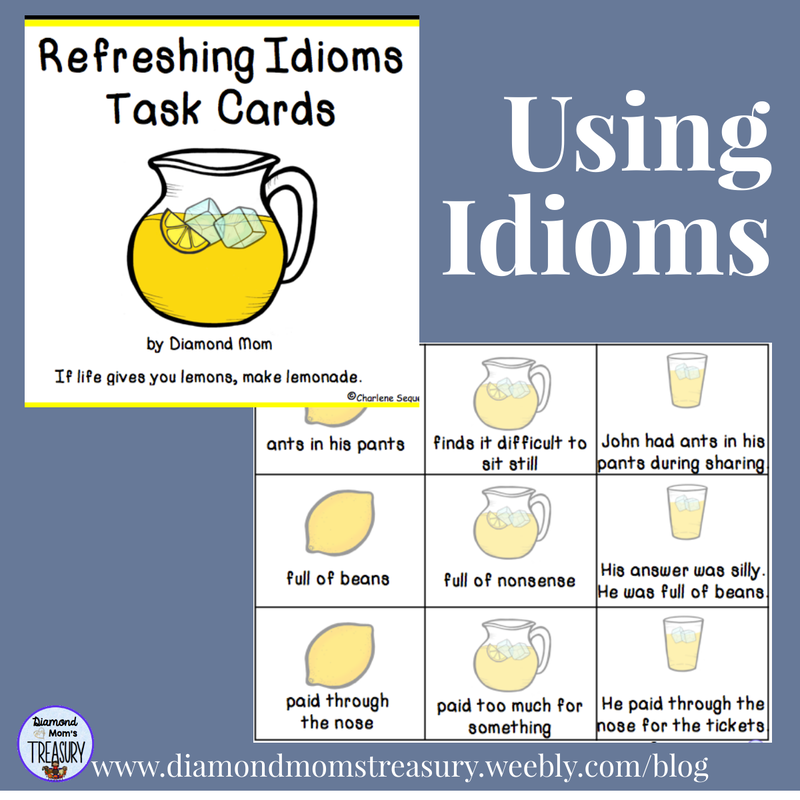
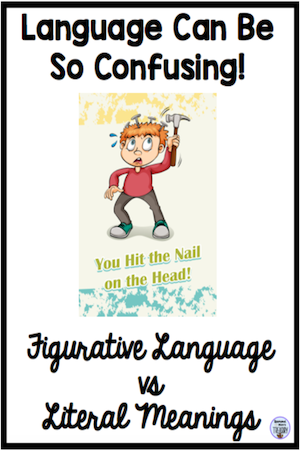
Here is a blog post I wrote a few years ago as a guest blog while I was still in the classroom. After I retired, I continued to volunteer in my school doing guided reading groups. I used these books with my groups and we also did some activities with the idiom cards that I created. It was almost as much fun as the first time we did this in my class. Teachable MomentHave you ever found an activity or unit that you try that just takes off on it's own path? I have many times. It always amazes me when an idea that starts out as a teachable moment or a small idea takes on a mind of its own and blossoms into a larger study. Our current bloom is idioms. What started as an introduction to Amelia Bedelia for a couple of literal learners, has turned into a fantastic learning experience. It has become rich with language and writing opportunities. It has so engaged my students, that they are driving their families nuts by catching every idiom or figurative speech that is spoken. Sometimes I have to call for a time out so that we can actually focus on the topics being studied. Not that I mind, though. It is always rewarding to see the kids have fun with something that they are studying. I teach a grade 2/3 class and I wanted to find some books that would capture their interest and be appropriate for reading groups. I scored with Amelia Bedelia. There are some I Can Read versions that are great for my struggling readers, some of the regular editions that are suitable for my stronger grade 2s and my weaker grade 3s, and now the new chapter books that work with my stronger readers. Right now, everyone is reading about Amelia Bedelia. This is a first! What I enjoy most about having the same characters, is that we can really look closely at them as we meet them in different stories. Everyone is familiar with Amelia Bedelia and Mr. and Mrs. Rogers. Now they are meeting Amelia Bedelia's parents in the chapter books because they are stories about her when she was a little girl. They love making connections as they read about her adventures. Herman Parish (nephew of Peggy Parish) has done a wonderful job with these books. He also has some new I Can Read books about Amelia Bedelia as a young child. They are sure to be a hit as well. Resources for using idiomsI hope you enjoy sharing idioms and the adventures of Amelia Bedelia with your students as much I did. I would love to hear your stories as well. I created this free activity to use with my students in my guided reading group. Click on the image to get your own copy. Related Post |
About Me Charlene Sequeira
I am a wife, mother of 4, grandmother of 9, and a retired primary and music teacher. I love working with kids and continue to volunteer at school and teach ukulele. Categories
All
|















 RSS Feed