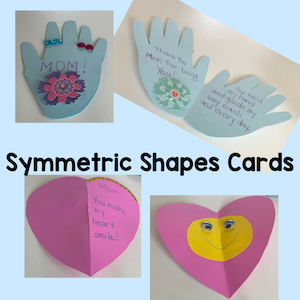
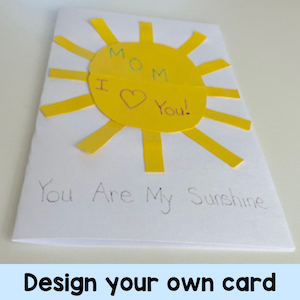
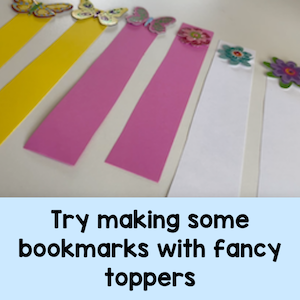
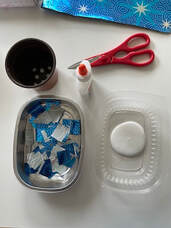
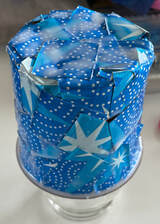
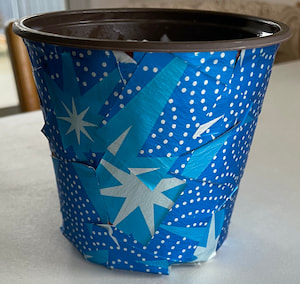
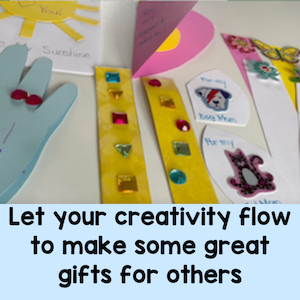
Who Are Special Ladies?Mother's Day is a time for celebrating special ladies. These could be moms, aunts, grandmothers, foster moms, cat moms, dog moms or any lady that is special and deserves to be celebrated. I know this can be a difficult time for some children, because they may not have a mom or they may not have a situation that they want to celebrate, but we can always find a special lady in our lives, so I would encourage you to help these kids find a special woman that means something to them. Hey, it could even be a teacher. If you are like many teachers, you probably have a stash of dollar store items for creating things. Over the years, I collected many different things for my classroom. I also liked doing crafts with my grandkids, so I collected things for them as well. When a special occasion comes up, I go to my stash and I start to let the creativity flow. I never know what it will be until I start putting things together. Of course, I start with simple ideas like cards or bookmarks, and go from there. Some special cards for Mother's DayHere are a couple of card ideas I put together to show what you can do. I started with a folded shape that opens up to a symmetrical pattern. You can choose any shape you would like, but for the example I chose a hand and a heart. Note: If you are teaching symmetry in math, this is a great activity to practice what has been learned. Another card example was a basic one with a sun on it and a blank page inside for writing a special message. Again, this could be any shape or design, I just felt like using the sun because it was a bright sunny day outside. Bookmarks are easy to make and are fun to use. There are many different types of bookmarks you can try. Here are some with fancy toppers. Just add your own message and you are set. Hint: Laminate the bookmarks after you add the message, but before you add the toppers, so that it is easier for writing out the message. A Unique Flower PotIt is spring time, so there are many different pots available from seedlings that are ready to put into the garden. It is also the time of year when many classes study plants and grow beans or other seeds and then give them as gifts. What better time to decorate pots for the plants to go into. It is actually very easy to make a decorative pot. You can use acrylic paint and create designs on it or you can decopage it. You don't require any fancy materials to do this. I often used wrapping paper cut into small cubes and a mixture of white glue and water. You can buy the commercial product, but the glue mixture works just as well. Once the pot is dry, I spray it with an acrylic spray to give it a shine. Each time you make something, you can add a twist to make it different and unique. Let your creativity flow as you try out new ideas. Imagination has no limitations! I hope you have some fun as you come up with new ideas for your students. I would love to hear about some of them. For free resources, tips, and ideas, sign up for my newsletter. Related Posts
0 Comments
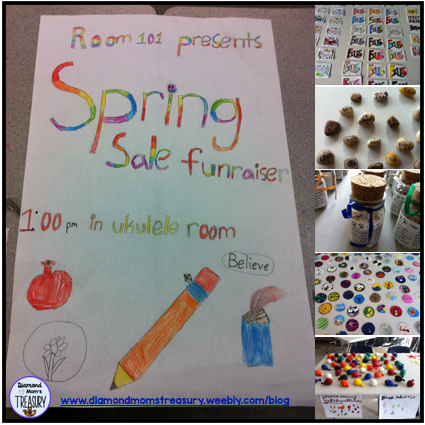
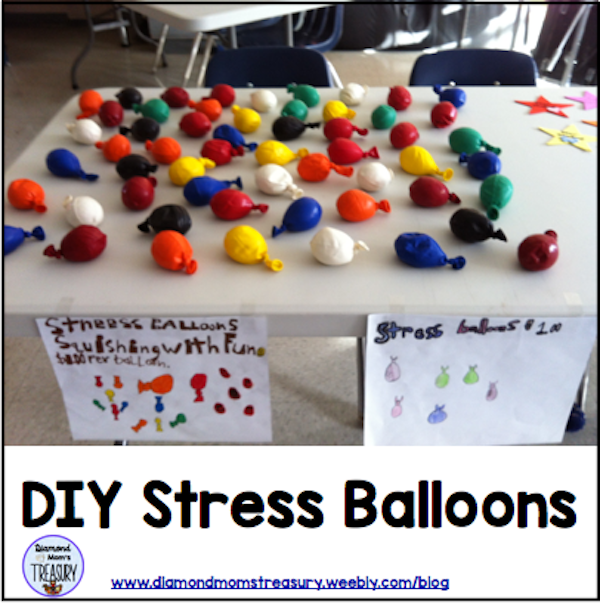
Round Up Of DIYDIY activities can be fun to make and they can also be a great gift or fundraising opportunity. At my school the grade 5 and 6 classes participated in a program called Young Entrepreneurs. I was intrigued when I saw the different things they created. I thought it would be interesting to see if my grade 3 class would be able to do something similar. Of course, it needed some modifications, but we took a chance and we managed to create many different products and then do a fundraiser sale for a special field trip. You can find out more here. Here is a round-up of some of the different diy products that we did for the fundraiser. I wrote separate posts for 3 of them. You can check out the others in my post about the spring fundraiser. They were fun to make and easy to do so even younger children were able to participate. DIY Fancy Bell Pencils I Spy Jars DIY Stress Balloons DiY activities are great for making special gifts for special occasions. Here are some that were made for mothers and fathers for their special days. DIY Father's Day Gift Idea Mother's Day Ideas For Special Ladies DIY Dad's Bug Kit DIY Tic Tac Toe Boards Father's Day Gift Ideas For Special Men Christmas is a time when special keepsakes can be made. Here are some that my kids made. Christmas Stained Glass Project DIY Christmas Stained Glass Art Project Easy DIY Christmas Gifts Kids Can Make Of course, there are also DIY projects that can be subject based. Here is a hand clock that we made that was a real hit. DIY Hand Clocks These are only a few ideas that might be fun to try. There are many others, but I will leave them for now. The key is to find things that will spark the imagination and then watch as the creativity happens. Happy DIYing!
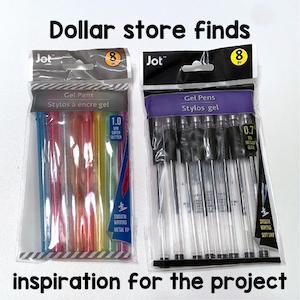
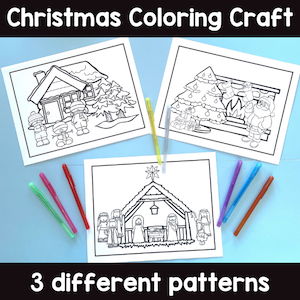
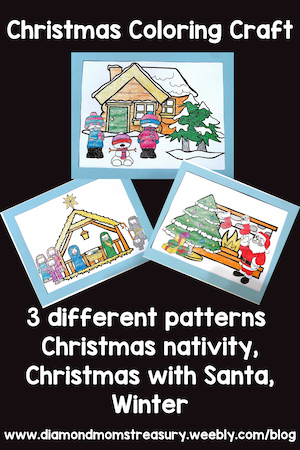
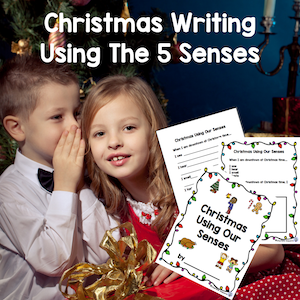
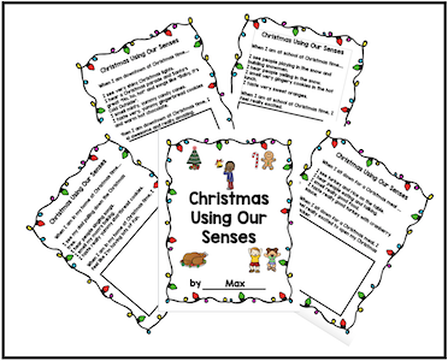
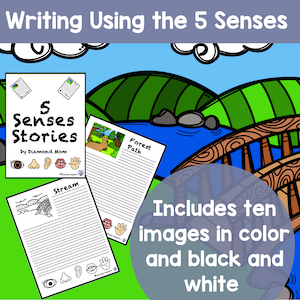
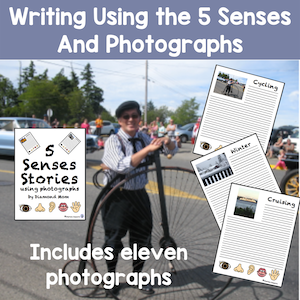
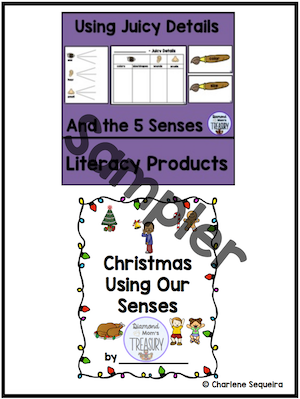
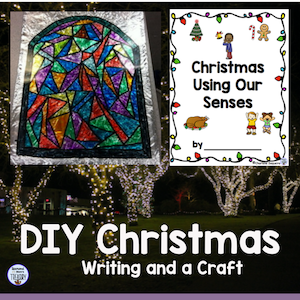
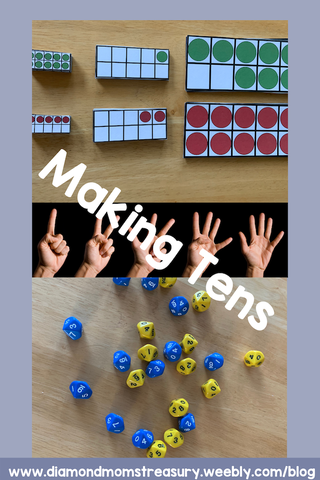
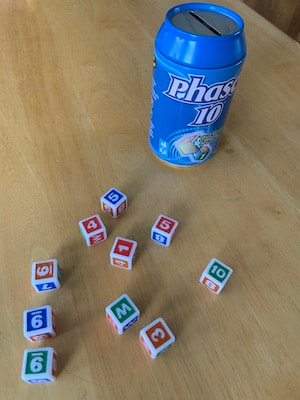
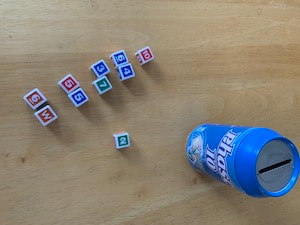
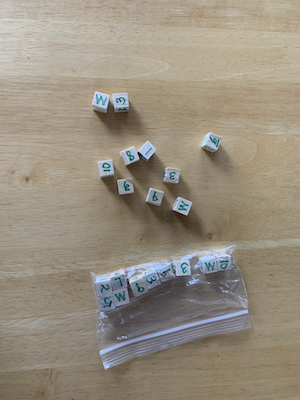
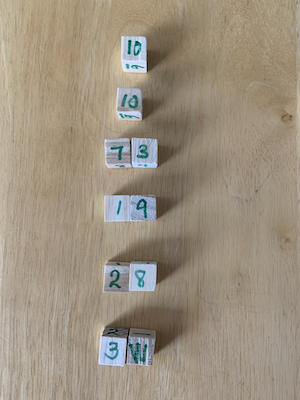
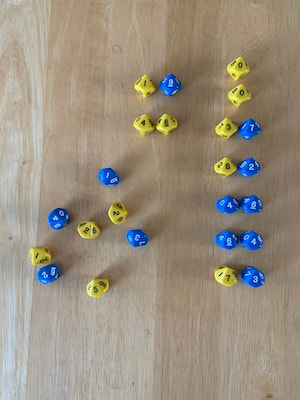
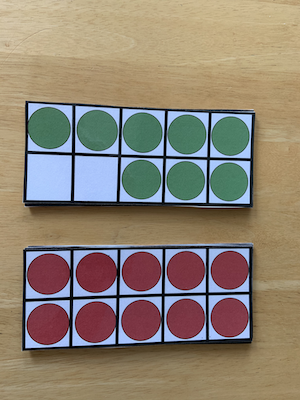
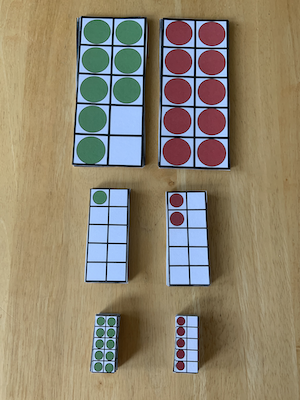
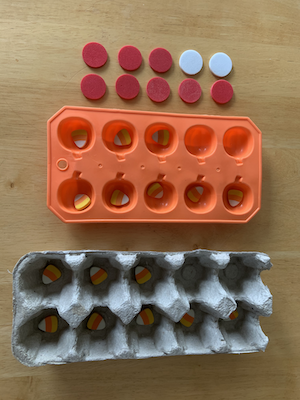
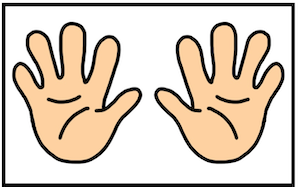
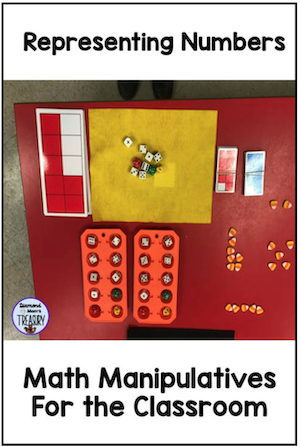
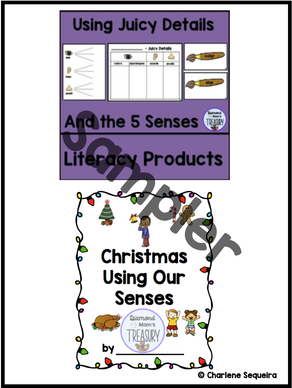
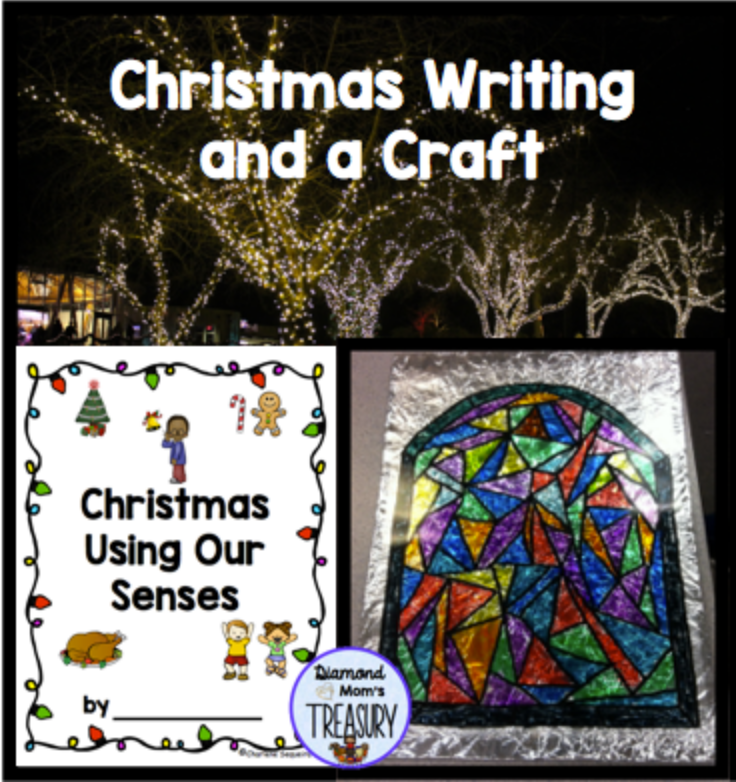
The holiday season is hereIt is hard to believe that 2021 is almost over. It has been a crazy time for most people, but hopefully there will be an end in sight to the craziness soon and we will be able to look back and find some positive moments to build on in the future. Thanksgiving is almost here in the United States. This will be a time for families to get together again after a long absence. I remember doing Thanksgiving and Christmas with my family over Zoom last year. It was very hard. I wish all of those who are able to gather a wonderful time with family and friends. Of course, this means that Christmas is not far away. One of my favorite things to do was come up with new and creative ways to make gifts with my students. If you want to see some of the different ideas that work well with kids, check out this blog post that I wrote last year. I love walking into the dollar stores and checking out all the different materials that they have for doing crafts. This always give me inspiration. Sometimes it might be a special ornament, a centerpiece idea, or something that can be framed for a keepsake. Of course, the cost has to be considered as most of us end up buying materials with our own money. I do try to see if I can couple my ideas with materials that we already have at the school, but usually that doesn't work too well as the school always seems to be short of supplies. Here is my latest inspiration. It is similar to the stained glass pictures I did, but easier to do. There are 3 different versions available so that everyone can do it, even those who don't celebrate Christmas. If I find a craft that works well, I will sometimes repeat it a couple of years later. I didn't do the same thing each year because I often had split classes and I would have some students for two years in a row. Also, some crafts require saving up materials. For instance, I saved up light bulbs for a few years to get enough for a whole class. Of course, you can always ask parents to save up materials for you. They don't need to know what you will be doing with them, just that you are looking for them. You can get a free copy of the coloring sheets by clicking the image below. I hope you enjoy the next few weeks as the holidays are approaching. Until next time, take care. Related PostsCapturing Imagination In WritingChristmas is fast approaching. This a time that is full of excitement and wonder and kids look forward to it all year. They start talking about it and making wishes. They enjoy getting gifts and being part of the decorating and family times. They have fun playing holiday games and activities at school. It is a great time to capture their imagination in their writing. I used to tell my students to use descriptive writing with the five senses to paint a picture in the reader's mind. We would come up with lists of words and juicy details that would help to describe images. I even used paintbrushes as symbols for different types of descriptions. Check out my graphics and templates for this kind of detailed writing. Using images and graphic organizers can be really helpful for students that struggle with writing. They can even use them like a checklist as they get started. Eventually they will not need to rely on them anymore. One of my favorite projects for this season is Christmas Writing Using The Five Senses. It is a poem that shares images from four different settings. I even shared it with another teacher and her class after I retired. We had fun working together and seeing the poems that the children wrote. Here is one of the poems that a grade 2 student wrote. Another thing that we did was create a special craft to go along with the poem. You can check it out here. If you are interested in more writing ideas using the five senses, check out my products that use images and photographs to practice descriptive writing. Grab this free sampler by signing up for my newsletter. Have fun watching your students create magical stories and poems this Christmas. Related PostsAddition is not easy for all students. Even the basic facts are difficult for some kids to remember. It is important that we teach several strategies so that children can find ones that will work for them. Today, I am going to focus on making ten. This is a very useful strategy to teach, because it can be used when more difficult addition questions need to be solved. I am a firm believer in starting with concrete, hands on activities so that kids can see and practice the concepts being presented before being handed worksheets or other abstract materials. Here are a couple of my favorite activities. Making tens with dice Using dice to make ten is a great way to see the numbers and make connections with them. In this first activity, I use the dice from a game. There are 5 dice with the numbers 1,2,3,4, and 2 Ws. There are 5 dice with the numbers 5,6,7,8,9,and 10 on them. The goal is to find 2 dice that go together to make 10. I usually do this with pairs. Each person gets 3 rolls. On the third roll, a W may be used as a wild card to make 10. It can be fun to see who gets more 10s on their turn. In order to allow several groups of children to play at once, I bought some wooden cubes from the dollar store and I labelled them to match the dice from the game. It is amazing how quickly kids move from having to count fingers to figure out which numbers go together to be able to automatically see the corresponding numbers. When they get really good at making tens with the six sided dice, I give them 10 sided dice. The object is the same, but this time there are no wild cards. They get really excited about having the fancy dice to work with. Making tens with ten frames Ten frames are another great tool for helping kids make ten. They are set up with two groups of five so that kids can start to see combinations to make ten quickly. Ten frame cards are also great for playing different types of games to help reinforce quick recognition of numbers that go together to make ten. I created ten frames in multiple sizes to use with my tutoring students. The large ones can work with big groups when talking about making tens. I also like to do team games where they try to see who can name the number first. It is a big motivator for some kids. (I try to pair kids up that are of similar levels so they don't get easily discouraged.) The medium sized ones are great for working in pairs. They can be used for matching games or for making tens. They are played like the old card game "Snap". The one who sees the ten first gets all the cards played. The game continues until all the cards are gone or the time is up. The little ones are great for travelling. They fit into a pocket and can be used for a quick game while on the road. If you are lucky, you can find containers that look like 10 frames. If you can't find any, you can make them by cutting off egg cartons. Using small objects (bingo chips, mini erasers, buttons, etc.) the children can show numbers and then tell you what they need to make ten. For example, if they have 8 buttons in the container, they need 2 to make 10. Another thing I like about them is that they match up with the ten we carry with us all the time - our hands. When you ask a child to show you 7 they usually hold up one hand with 5 fingers and one hand with 2 fingers. These are just a couple of different ways to use manipulatives for making tens. There are many other ways. Base ten blocks and unifix cubes are a couple that come to mind. Just let your imagination help to inspire you and you will be amazed at what you can use. I hope these suggestions help. Related Posts
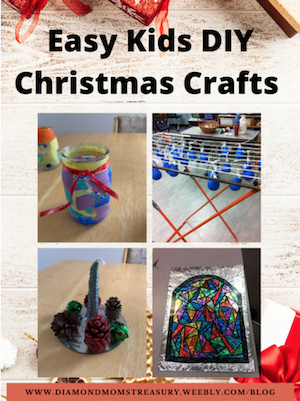
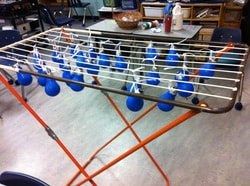
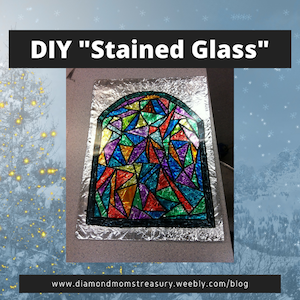
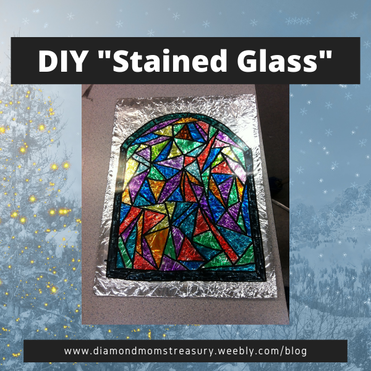
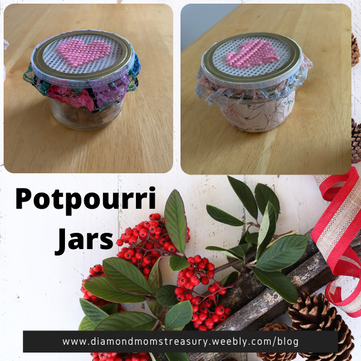
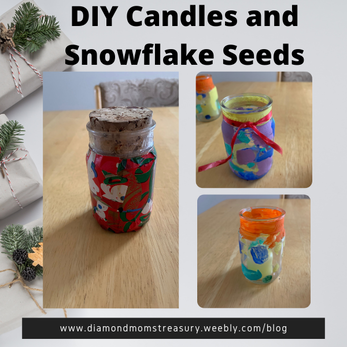
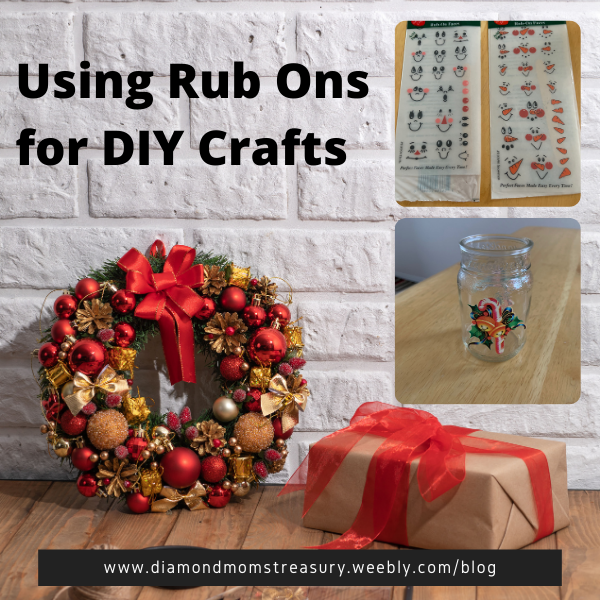
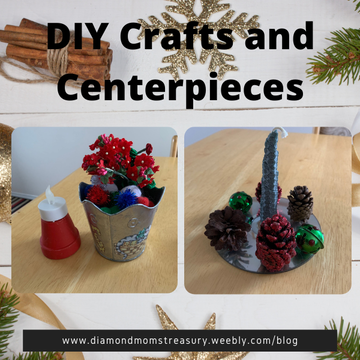
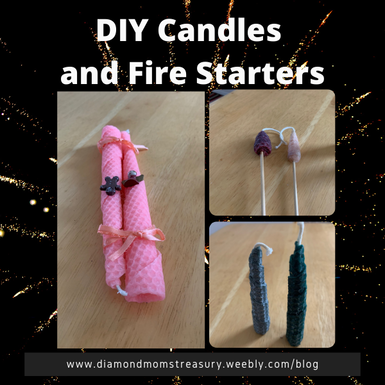
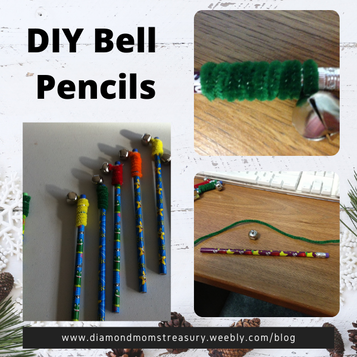
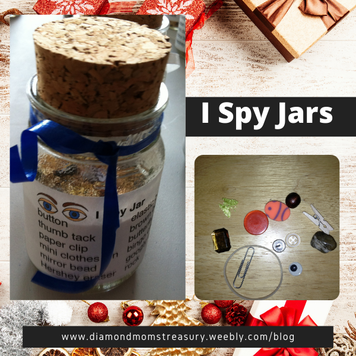
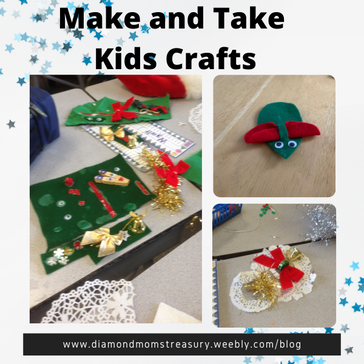
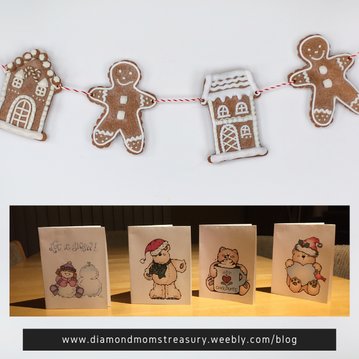
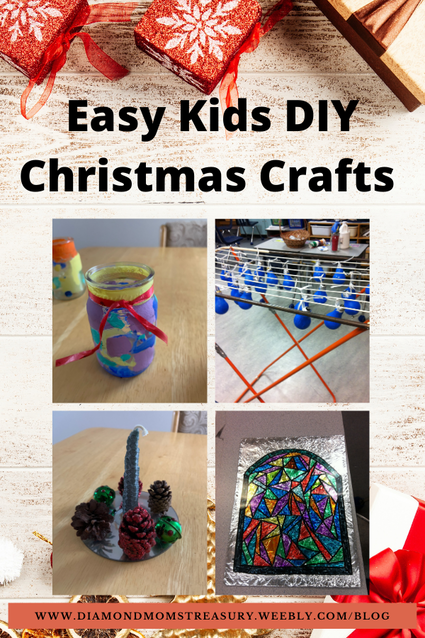
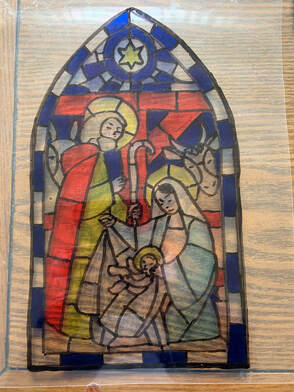
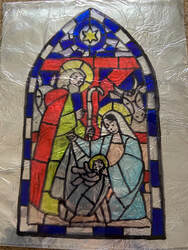
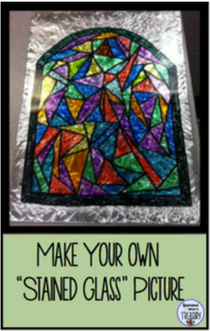
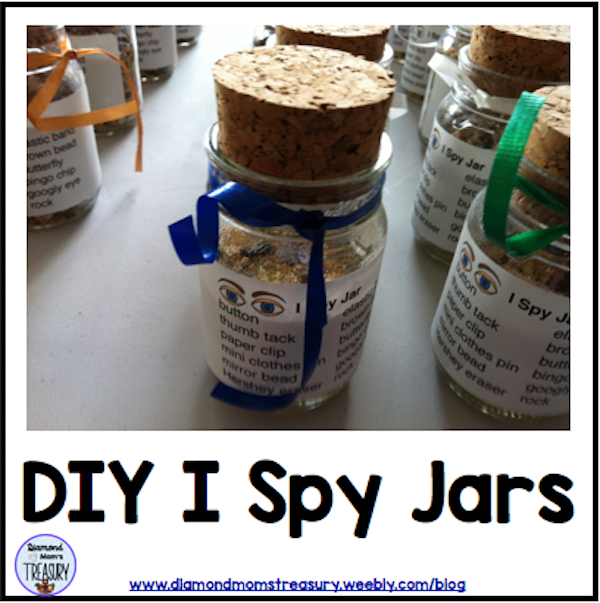
Are you looking for some easy Christmas gifts kids can make? Making gifts for families is a special part of the Christmas season. At school, I always tried to find something that was a little different that was special, but still easy enough for my students to do. It was important to have a variety of different gift ideas because I often had the same students for more than one year and I didn't want them creating the same thing year after year. Here are some of the different things we did that you might be able to try with your students. One of the most popular things was the "stained glass" frame. This was done with a transparent film and felt pens. It was backed with tin foil. You can read about it here. I updated it recently, but the procedure is still similar. Here is the update. Light bulb ornaments were fun to do. I saved burned out bulbs until I had enough for the whole class. Nowadays, this would take a very long time to do because the LED bulbs last so much longer. Perhaps you could ask around for people to save bulbs for you, or you could buy some cheap ones to use. We put the ribbon on first with a glue gun and then we painted. We started with a base coat of blue paint, and then we hung them to dry. We painted snowmen on the bulbs when they were dry. Unfortunately, I don't have a picture of the finished product. I suppose you could buy those DIY clear plastic ball ornaments and do the same thing. Potpourri jars are fun to make and they can be used over again by changing out the potpourri when it loses it scent. You can add to it by putting decorative paper on it in a modge podge fashion. I used diluted liquid white glue and small squares of wrapping paper. The sample was from Mothers Day so it has a different pattern of paper and topper. The topper could also be netting that you get from the bags when buying some fruit or produce. Decorative candle jars are also easy to do and they are handy to have around during power outages. We still have some around the house. They can be painted, modge podged with Christmas paper, or even decorated with rub on transfers. How about some snowflake seeds? These jars are great for holding treats or other special things. We filled them with popcorn seeds and called them snowflake seeds. They were fun to make and the kids enjoyed eating them later on. Do you have some old CDs kicking around? How about using them as the base for a center piece. They shine and they can reflect light from candles. They can be decorated with branches, leaves, ribbon, pine cones, or many other different things. Beeswax candles and fire starters were a couple of other things we did in years past. The candles don't need to be big, but full size ones do last longer. The fire starters are really just small candles on the end of wooden skewers. These bell toppers for pencils were a great hit for our diy spring fundraiser, so I made some for my students for gifts. They loved doing their writing with them and we had music throughout the classroom as the bells rang out. These "I Spy Jars" were another favorite from our fundraiser DIY crafts. They are a great gift for family members and they are fun to use. Small trinkets and ornaments are also fun to make. Puzzle wreaths, reindeer brooches, bell necklaces, felt animals, pencil toppers, are a few that I have used in the past. Over the years, I collected a lot of different materials for crafts. The year I retired, I decided to have a make and take session with my students. I put out all my Christmas materials and I let them make whatever they wished. It was amazing to see what they came up with. When we allow children to use their imaginations when they are young, they can surprise us. Sometimes their creativity can open up new ideas for us too. This might be a fun way to get inspired. We mustn't forget the handmade cards and wrapping paper. These special touches personalize the gifts and make them even more special for the recipients. Here are some cards I made for my students. I hope these ideas help inspire you as we move into the Christmas season. I would love to hear how they work for you.
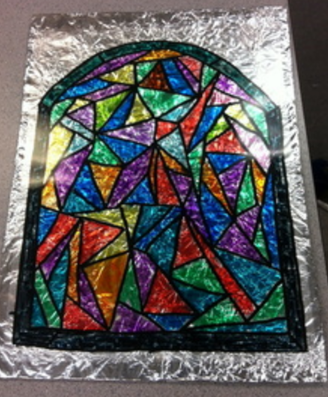
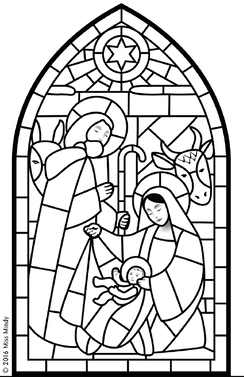
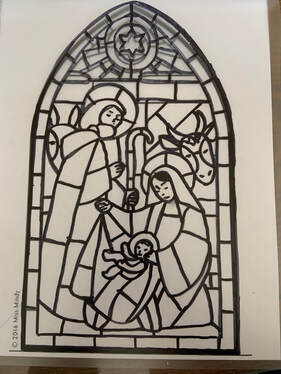
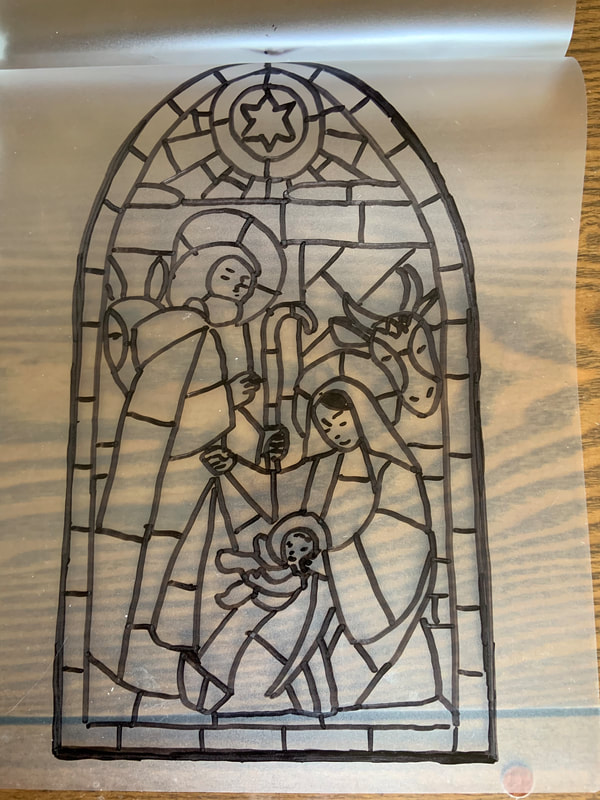
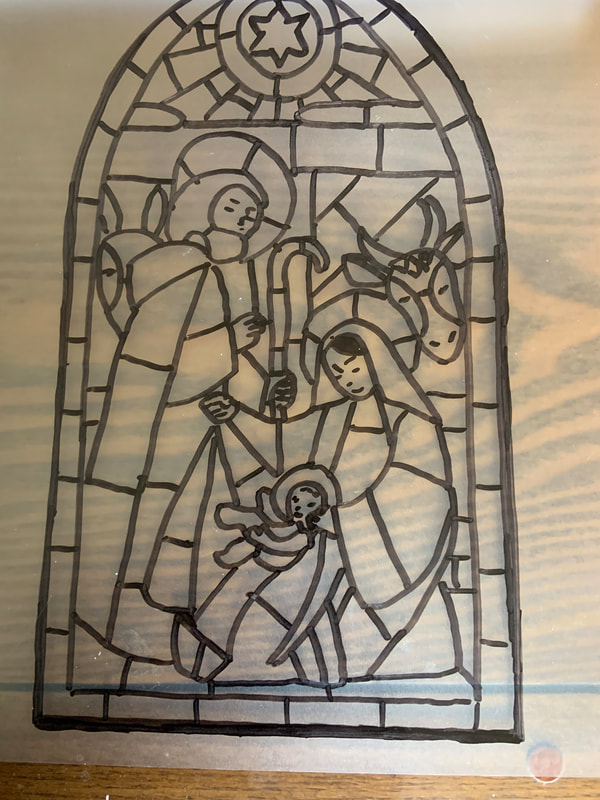
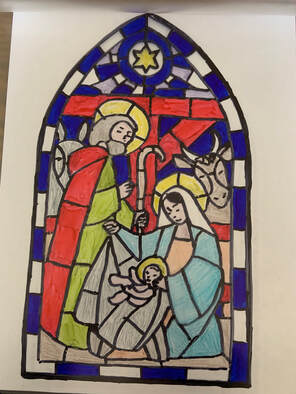
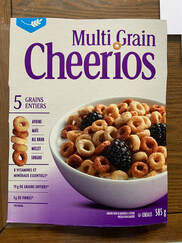
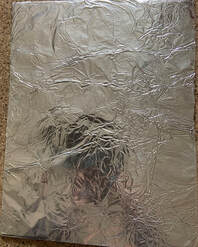
The image below is the original one. You can still follow the directions here, but you may need to make slight changes to the procedure and materials used as explained below. The first step is to find an image that you would like to use. I chose this one because it is typical of what one might find when thinking of stained glass at Christmas time. You can choose anything you want. Color by code pictures or mandalas would work well. This is a coloring picture from Miss Mindy. Once you choose your image, it is necessary to transfer the image onto a transparent material. This time I used a laminating pouch. I placed the printed image (image 1) behind the pouch and opened up the pouch to trace the image on the inside surface. (images 2 and 3) Note: It is important to put it inside if you are going to laminate it so that you don't have the marker ink damaging your machine. If you have access to the transparency sheets used in the original version, it makes it easier because the image can be photocopied on to the transparency. This saves the tracing step. If not, I would suggest making sure the design is not too difficult for children to trace. Note: It is important to talk to them about how to trace without smudging the design. I usually suggest they start at the top and work their way down on the side opposite to the hand they are coloring with. Once you have the design traced, you can place a paper beneath the laminating pouch again so the areas can be seen as you add color. (image 5) I chose to change up the colors a bit so that they popped more. When you have finished coloring all the spaces desired, put the pouch through the laminator to seal it. (image 6) Note: I use a personal laminator with pouches. If you are using a different type of laminator this may not work. Another option could be to cut the laminating pouch apart and treat it like the transparency sheet. You would still need to trace the design because it can't be put in the photocopier. If the design is traced with a permanent marker ahead of time, it will be easier for use by everyone and it shouldn't smudge when the children color it. Note: The children should color the back of the transparency sheet or laminating sheet so that the washable markers won't smudge or wash off when it is placed on the tin foil. Next, prepare the background by cutting a piece of card stock or a cereal box to the correct size and covering it with tinfoil. I usually tape the tinfoil on the other side and then add a piece of writing on that side to hide the seams. My students preferred the crinkly foil as it caused the light to bounce off of the colors. (Sorry for all the shadows. I couldn't seem to find an angle where they weren't showing.) Finally, tape the transparent picture to the tinfoil card stock. Add the writing on the back and you are done. If you wish to hang it, punch some holes on the top and add some ribbon. If you would like a sampler copy of the writing templates click the image or here. I would love to hear how you use this idea in your classroom. If you have any other suggestions to make it easier please share in the comments below. Related Posts
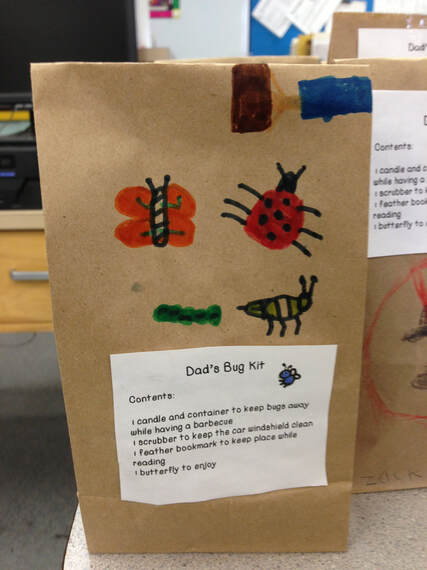
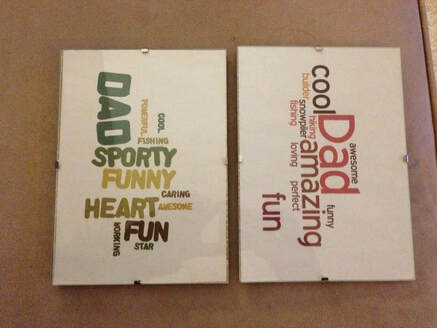
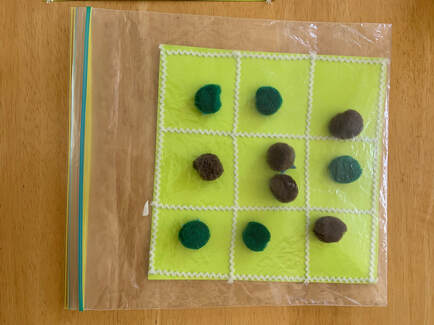
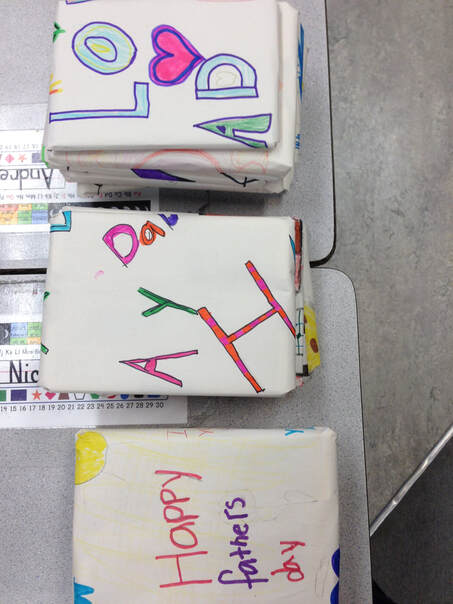
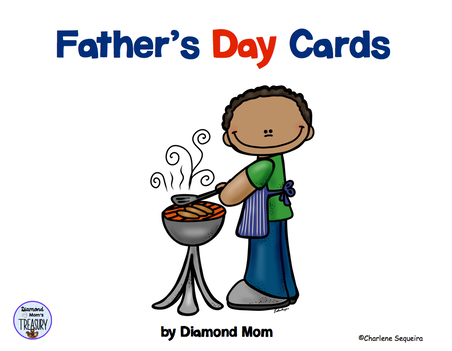
June is the time to celebrate fathers and other special men in our lives. Check below for some activities and things that I have done with my students and some special cards that I have created for Father's Day. This special bug kit was created for Dads to have handy when barbecuing. To find out how to create one of your own, check out this blog. Wordles are a great way to make something cool for Dad. Just think of all the special words that describe Dad and then put them together to make word art. Here are some examples made by a couple of my students. I put them in glass frames from the dollar store. To find out more, click the image below. Games are fun to play together. Here is a travel tic tac toe board that we made. To get the directions for your own diy board, click the image below. Whatever the gift, it was always fun to make the wrapping paper to go with it. All you need is some newsprint and markers. This made every gift special. Here are some Father's Day cards that I just created that can be printed as is in color or printed in black and white so that the children can color them and make them more personal. Click the image to see more. Click the image below to get a free card for Dad and Grandpa. Happy Father's Day to all the special men in your life.
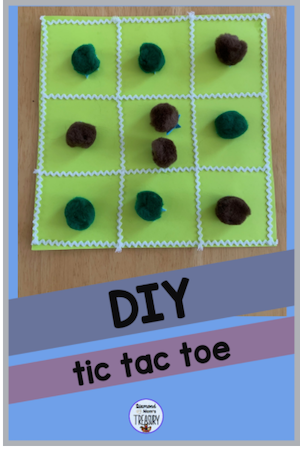
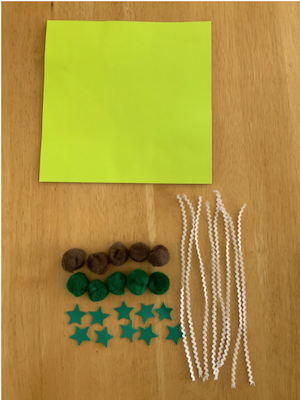
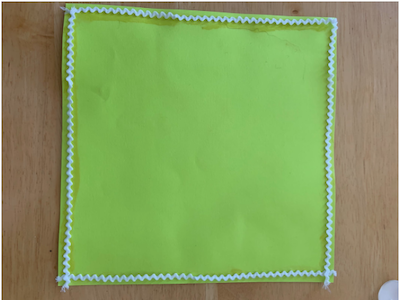
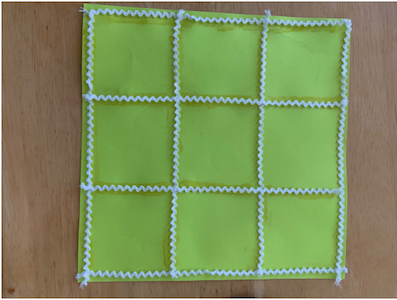
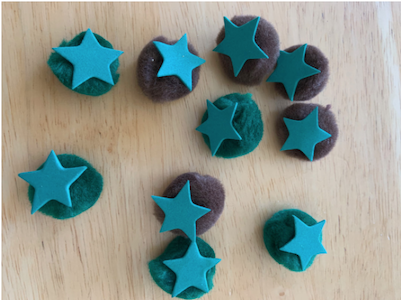
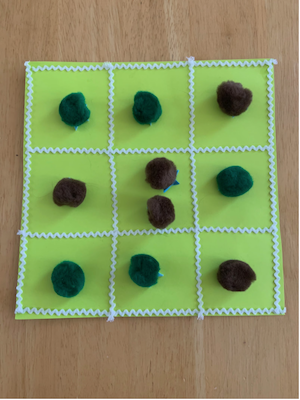
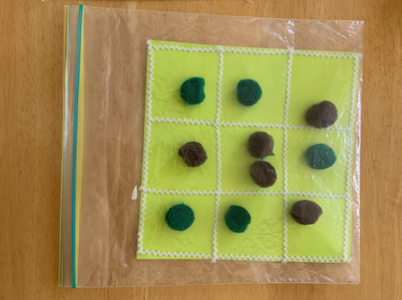
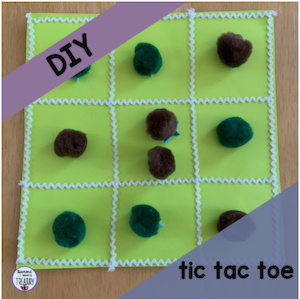
Games are a great way to interact with family members. Here is a simple DIY for making a tic tac toe game board that can be used for travel or at home. To make this board, you will need the following materials: 1 piece of card stock cut out so it is a 8.5 inch square 10 puffy balls (2 colors - 5 of each color) 10 foam shapes ribbon or brickbrack for the lines and border (8 pieces 8.5 inches long) glue scissors Step 1: Glue the ribbon around the edges of the card stock Step 2: Glue the lines for the spaces Step 3: Glue the foam shapes on the puffy balls. These will help keep them from rolling away. Now your game is ready to use. Find a partner and start playing. When you finish, you can easily store your game in a ziplock bag. This is a simple game to make, but can provide hours of fun. My students made this one year for their fathers for Father's Day. They just added a card and made some gift wrapping paper and it was ready to go. For more Father's Day ideas and activities, click here. For access to free products and news, sign up for my newsletter here. If you are already a subscriber, you can find your free resources on the followers page.
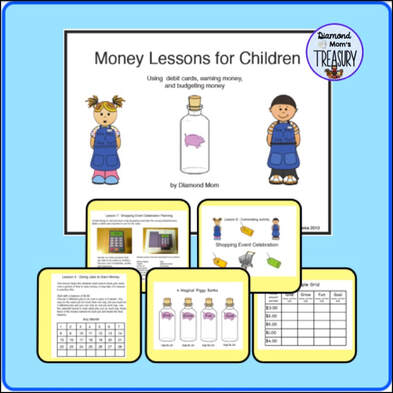
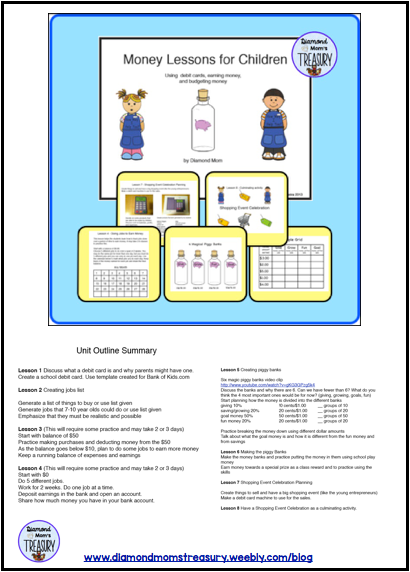
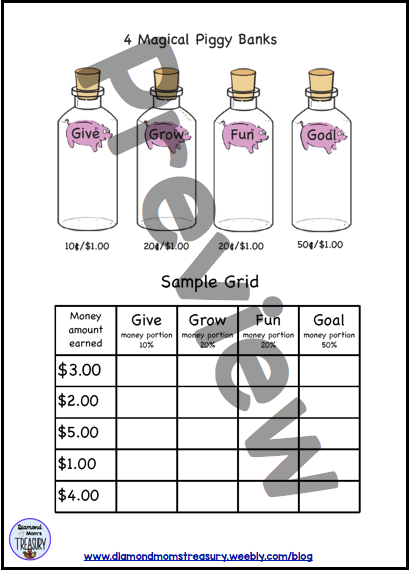
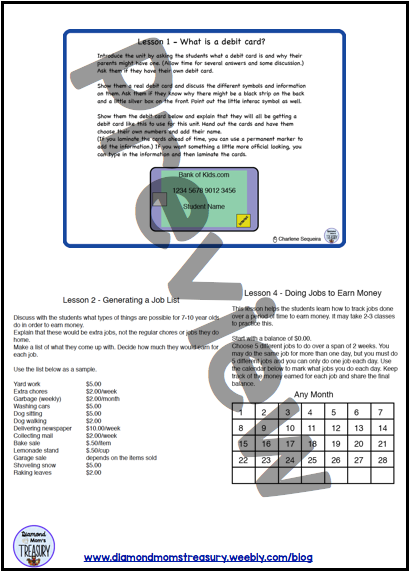
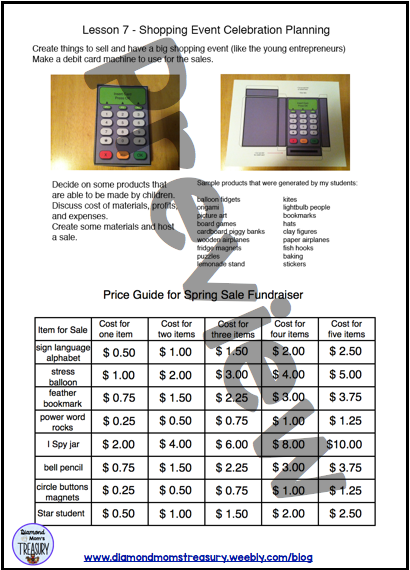
Teaching children about money is different now than it was a few years ago. We live in a plastic world and children rarely handle actual cash. This makes paying for things and dealing with change a challenge.They still need to understand how to use money, but they need to be taught in a different way for this to make sense to them. Here is a unit that my class created with me that is called "Money Lessons For Children". Just before I retired, I created a unit on money with my students. It started out simply, but very quickly became the focus of our math classes. Because my students were directly involved in creating the unit and working through the different aspects of it, they were able to apply what they learned to future activities. The older students in the school had been learning about becoming Young Entrepreneurs earlier in the year. When I saw what they were doing, I decided to modify this to work with my grade 3 students. They were very excited about this and they worked hard to create materials for a Spring fundraiser. Before they were able to start working on the projects, they needed to learn about money and how to work with it. We talked about debit cards and money in the bank. Most of them didn't realize that there needed to be money in the bank in order to take money out or use the debit card to pay for things. They thought that people could just use the card whenever they wanted to buy something. They were given a "debit" card and they were assigned a starting amount of money. They were then taught how to spend money and keep track of the balance. They were shown ways to earn money to add to the card in order to continue buying things. The challenge was to come up with ideas of ways to earn money as children. We brainstormed different jobs/chores that could be done and decided on how much money might be earned for each job. Then we used the classroom money and practiced earning and spending money to see how it worked. These are only some of the activities we did as we developed this unit. It was definitely one of the most valuable units that I have used and it had a great finale as it helped us to earn money for a special field trip. Here is a sampling of the unit that we created together. If you check out the DIY category on my blog, you will find the directions for making many of the items we used for our Spring Fundraiser. Related Posts
|
About Me Charlene Sequeira
I am a wife, mother of 4, grandmother of 9, and a retired primary and music teacher. I love working with kids and continue to volunteer at school and teach ukulele. Categories
All
|




























 RSS Feed