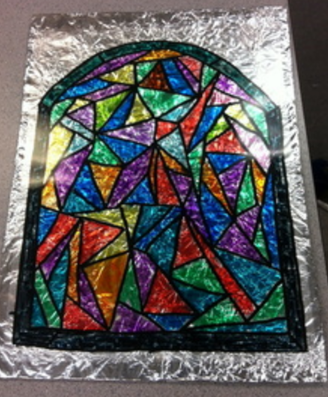
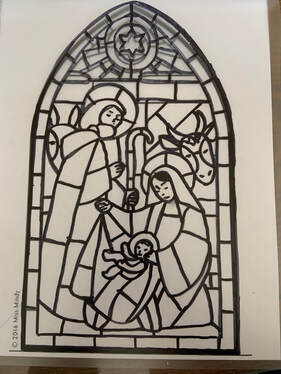
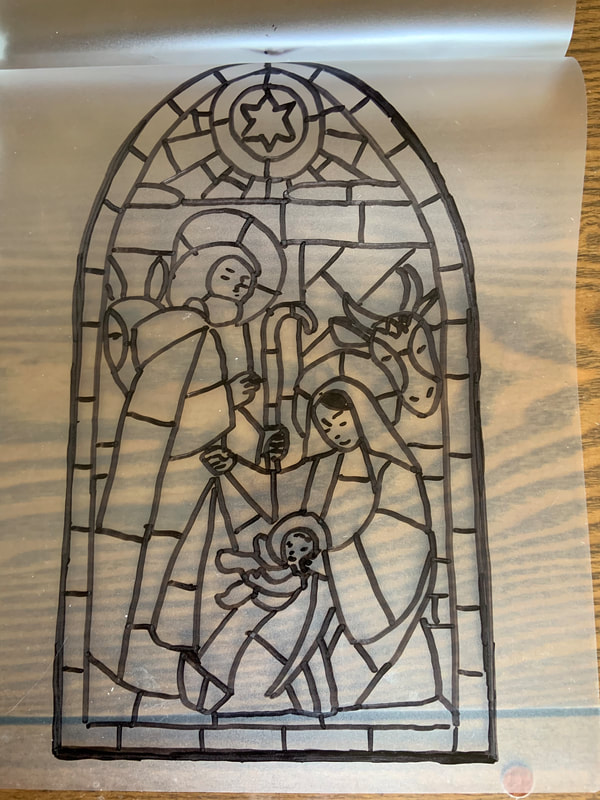
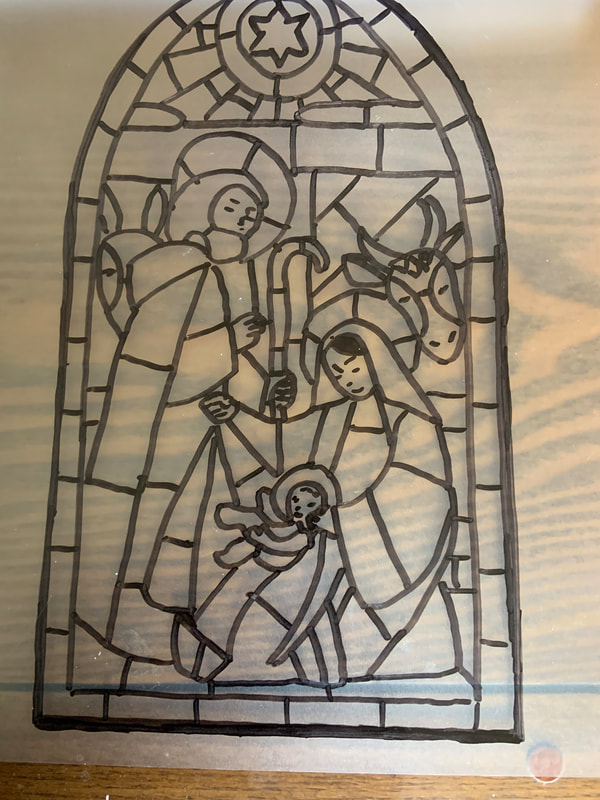
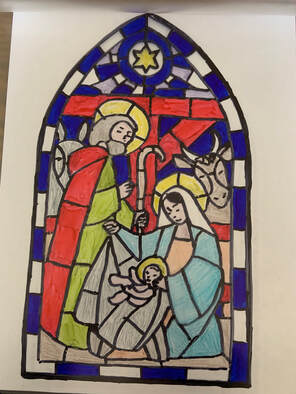
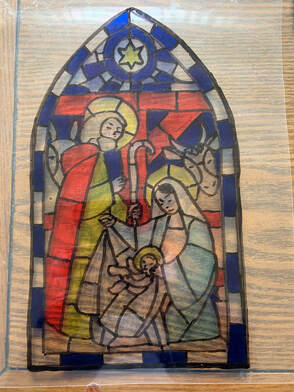
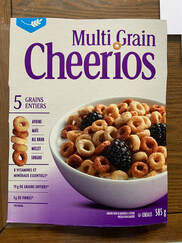
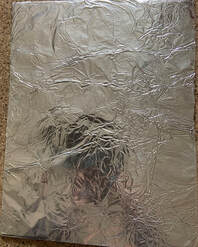
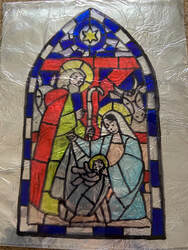
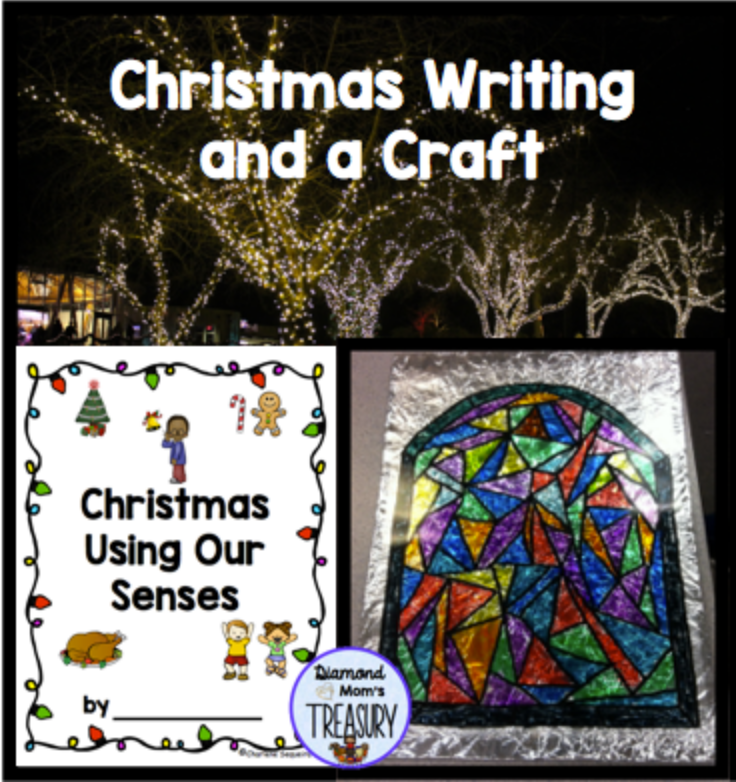
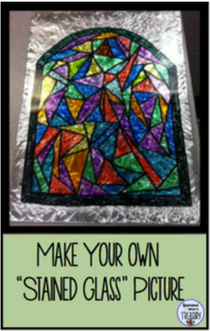
The image below is the original one. You can still follow the directions here, but you may need to make slight changes to the procedure and materials used as explained below. The first step is to find an image that you would like to use. I chose this one because it is typical of what one might find when thinking of stained glass at Christmas time. You can choose anything you want. Color by code pictures or mandalas would work well. This is a coloring picture from Miss Mindy. Once you choose your image, it is necessary to transfer the image onto a transparent material. This time I used a laminating pouch. I placed the printed image (image 1) behind the pouch and opened up the pouch to trace the image on the inside surface. (images 2 and 3) Note: It is important to put it inside if you are going to laminate it so that you don't have the marker ink damaging your machine. If you have access to the transparency sheets used in the original version, it makes it easier because the image can be photocopied on to the transparency. This saves the tracing step. If not, I would suggest making sure the design is not too difficult for children to trace. Note: It is important to talk to them about how to trace without smudging the design. I usually suggest they start at the top and work their way down on the side opposite to the hand they are coloring with. Once you have the design traced, you can place a paper beneath the laminating pouch again so the areas can be seen as you add color. (image 5) I chose to change up the colors a bit so that they popped more. When you have finished coloring all the spaces desired, put the pouch through the laminator to seal it. (image 6) Note: I use a personal laminator with pouches. If you are using a different type of laminator this may not work. Another option could be to cut the laminating pouch apart and treat it like the transparency sheet. You would still need to trace the design because it can't be put in the photocopier. If the design is traced with a permanent marker ahead of time, it will be easier for use by everyone and it shouldn't smudge when the children color it. Note: The children should color the back of the transparency sheet or laminating sheet so that the washable markers won't smudge or wash off when it is placed on the tin foil. Next, prepare the background by cutting a piece of card stock or a cereal box to the correct size and covering it with tinfoil. I usually tape the tinfoil on the other side and then add a piece of writing on that side to hide the seams. My students preferred the crinkly foil as it caused the light to bounce off of the colors. (Sorry for all the shadows. I couldn't seem to find an angle where they weren't showing.) Finally, tape the transparent picture to the tinfoil card stock. Add the writing on the back and you are done. If you wish to hang it, punch some holes on the top and add some ribbon. If you would like a sampler copy of the writing templates click the image or here. I would love to hear how you use this idea in your classroom. If you have any other suggestions to make it easier please share in the comments below. Related Posts
0 Comments
Leave a Reply. |
About Me Charlene Sequeira
I am a wife, mother of 4, grandmother of 9, and a retired primary and music teacher. I love working with kids and continue to volunteer at school and teach ukulele. Categories
All
|







 RSS Feed