|
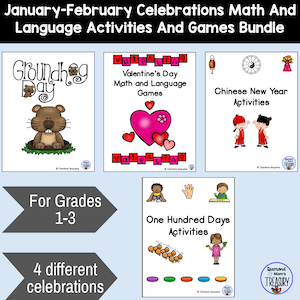
Happy New Year Everyone! Wishing you a prosperous and healthy 2024. I hope you had a wonderful Christmas season. I have enjoyed sharing tips and ideas with you throughout the year and I look forward to continuing to share more this year. If you are still on holidays, enjoy them and remember to relax and refresh. If you are returning to work this week, I hope you have a pleasant week and that the rest of the school year is not too stressful. Try to enjoy the time with your students and remember to schedule in some time for yourself. If you are looking for some activities that will be fun to do for the various celebrations in January and February, this bundle might work well for you.
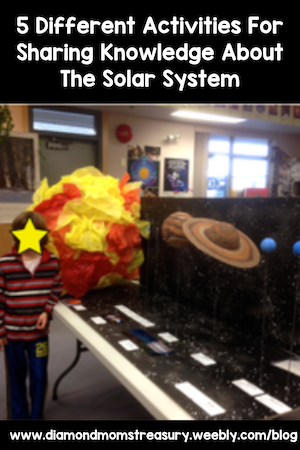
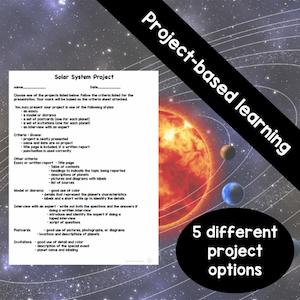
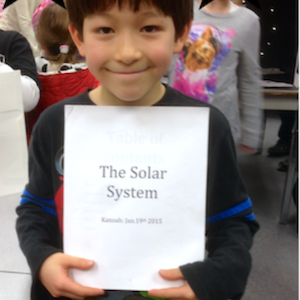
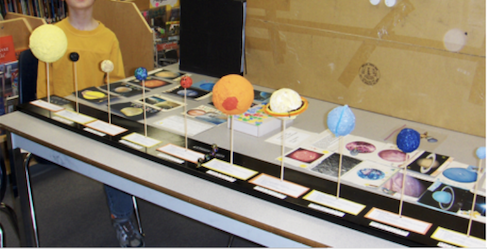
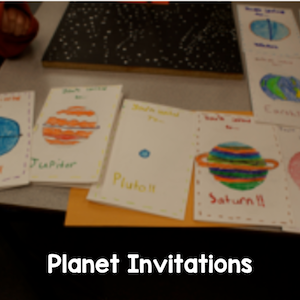
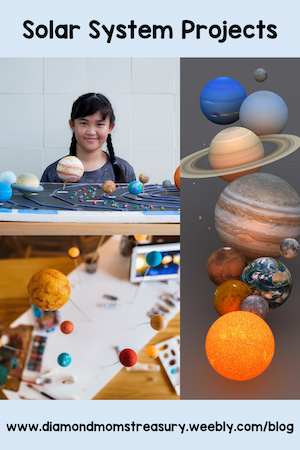
Solar system projects are fun to do and they allow for student choice when selecting how they wish to share their knowledge. This has always be a great way to showcase my students to their parents, other students, and the school community. It's amazing how much young children can learn and how excited they can get about a subject when it is approached in this manner. Here is the project and options that I used. It's important to emphasize that no matter what form of project is selected, there is a presentation component that is included. This helps to demonstrate what has been learned and also allows for questions to be asked about the project. Written Report Or EssayThe traditional way to share research is through a written report or essay. Although this is a great way to share information, for some students it is difficult to do, especially when they are younger and emerging writers. If kids enjoy writing and sharing knowledge this way, the option should be provided for them. Here is my grandson with his report. He chose this option and was very proud of his presentation to the class and to the parents. Model Or DioramaModels or dioramas are often popular because they are so visual. The key is to make sure that there are enough details or characteristics shown to help with identifying the planets. The descriptions and labels are also very important. PostcardsCreating planet postcards is fun to do because it allows for some humor and captions. The idea is to take some key characteristics of the planet and use them in an imaginative way to capture the attention of others. Brochures Or InvitationsBrochures or invitations are another imaginative way to represent a planet. It is also a great way to demonstrate how to promote events or objects. InterviewAlthough interviews are an option, this choice is rarely taken because there are not always experts nearby or accessible, however, if a child does have someone that they can connect with, it is a great way to learn more about the solar system from an expert. Solar System ResourcesHere are a couple of resources that make using projects work. Our Solar System Project is an outline of what is required, a letter to parents, a criteria outline with a simple marking sheet, a solar system test, and some sample photos of completed projects.
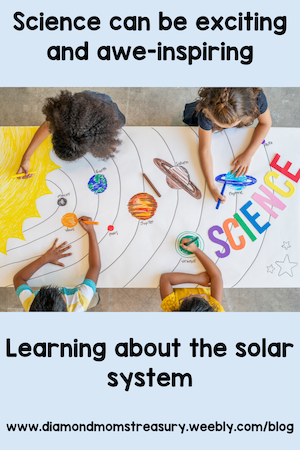
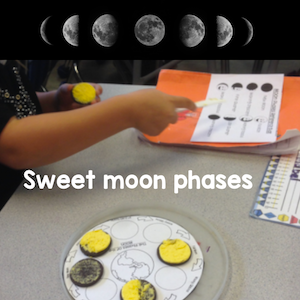
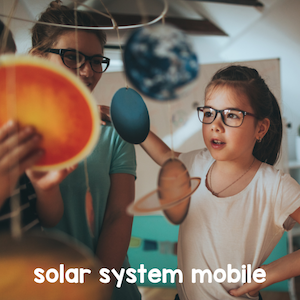
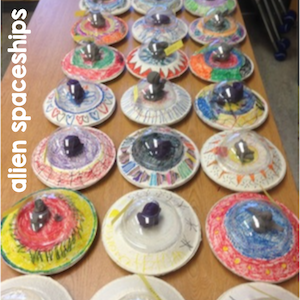
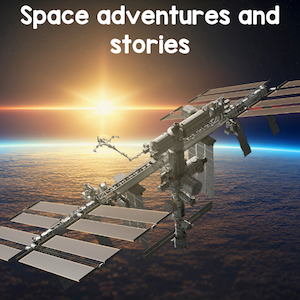
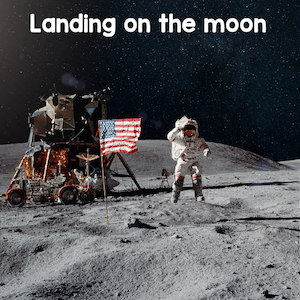
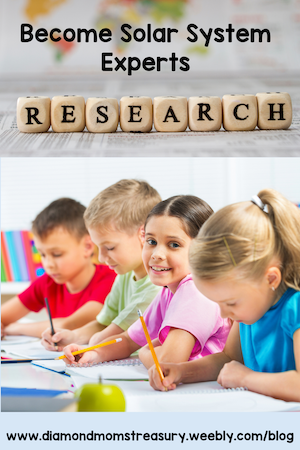
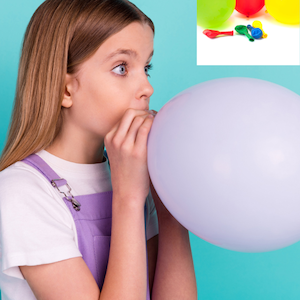
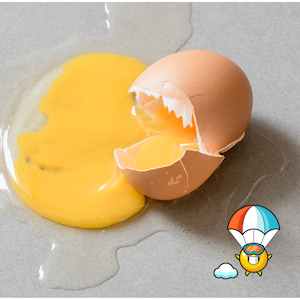
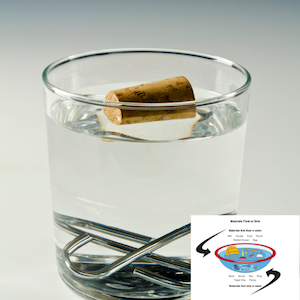
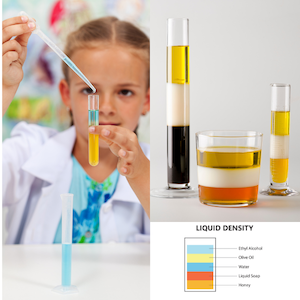
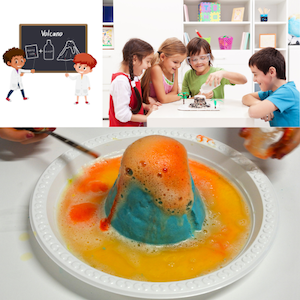
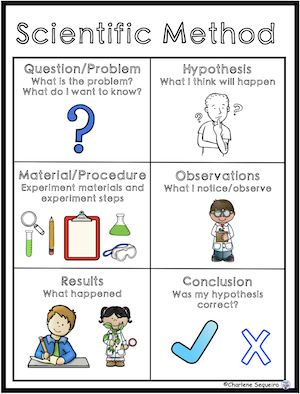
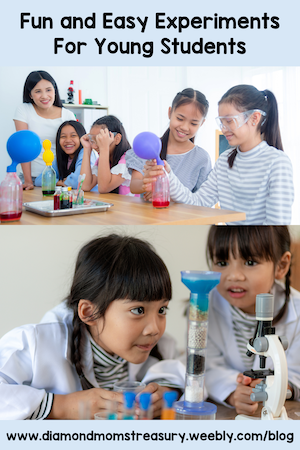
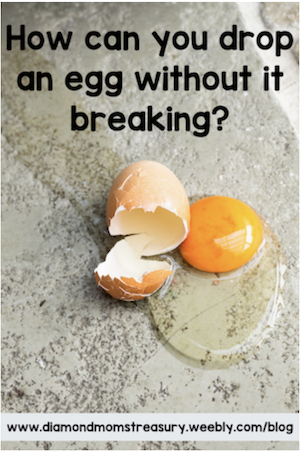
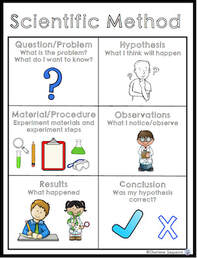
The Solar System - Fun Activities For Learning About The Solar System And It's Planets is a new resource that has ready made templates that can accompany the projects or be used by themselves. Teaching young children about space and the solar system can be an exciting and awe-inspiring experience. Here are some creative ideas to make learning about space engaging for young learners. Sweet Moon PhasesLearning about the phases of the moon can be fun if you add in a little bit of sweetness. Try using cream filled cookies to show the different phases of the moon. The amount of cream on the cookie represents the fullness of the moon. It's a tasty and visual way to understand the moon's changing appearance. Solar System MobileHow many times have you seen a child's room decorated in a space theme? Kids love to imagine they are surrounded by the planets and the stars. What better way to create excitement and fun than to have each child make their own solar system mobile. Provide them with paper plates, paint, markers, and string. They can paint or draw the planets, cut them out, and hang them in order from the Sun to create a miniature representation of the solar system. Alien SpaceshipsKids often imagine there are aliens on the different planets and they wonder if we will have visits from them someday. Creating alien spaceships is a fun way to let their imaginations live on. Here are some that my class made one year using the lids of slushy drinks and paper plates. Space StoriesAs kids learn more about the different planets and the solar system, they can create space stories using some of the information they have learned. Make sure that they include some factual information in the stories but allow them to use their imaginations to create events that happen there based on the facts. Moon Visits And Other Space AdventuresThe astronaut visits to the moon took place many years ago, so many children may not know much about them. They would probably enjoy watching video clips from the first steps on the moon and subsequent visits. They might also like to learn more about space trips to the space stations and what goes on there. Maybe they could even learn about the possibility of future space trips to other planets. Research ExpertsThere are many books available that provide information about the inner and outer planets and what we know about them. It would take a long time to go through all of them and learn enough information about each if one person had to do it themselves, but if a group of people each took one or two planets, they could become the experts and share what they learn with the others. Mixing fun imaginative activities with research will engage and entertain your students as you venture into the worlds beyond. After exploring and broadening the wonders of space, try doing a project that demonstrates what has been learned. Doing a project about the solar system with multiple ways of sharing what was learned is a great way to culminate your space unit. This was one of my favorite projects and each time my class did it, the results were incredible. Check out my next blog post for more.details. Have fun with your explorations of space! Related PostsHands-on science activities engage our children and encourage their curiosity. Here are some simple and fun science experiments that require minimal materials but address many questions that kids have pondered. Let's embark on a journey of discovery and learning! Balloon Rockets (Force Experiment)Question: How does the size of the balloon affect the distance the rocket travels? Hypothesis: The larger balloon (will/will not) make the rocket travel farther. Materials: balloons, string, straw, tape, measuring tape Procedure: 1. Tie one end of the string to a chair, door knob or something that can support it. 2. Slip the straw onto the string at the other end. 3. Tie the other end to another support so that the string is taut. 4. Inflate balloons of different sizes (pinch them closed, don't tie them), attach them to the straw with tape, release them and measure the distance each one travels. Observations: Measure distances each balloon rocket travels and record the results.. Conclusion: Analyze the data and determine if the hypothesis was correct or not. Discoveries: As the air rushes out of the balloon it creates a force motion called "thrust" that propels the balloon forward. The size of the balloon will determine the amount of thrust provided and how far the balloon will travel. Egg Drop Challenge (Gravity Experiment)Question: Can an egg be dropped from a rooftop without breaking? Hypothesis: With the right materials and design, the egg can be protected from breaking when dropped. Materials: Eggs, various materials for padding (e.g., cotton balls, bubble wrap, foam, tissue paper) tape, string, plastic bags, small boxes, other household materials for building a protective structure, ladder or access to a roof Procedure: 1. Create a protective structure to hold the egg 2. Attach the egg 3. Drop the structure from the roof Observations: Record the type of material and structure created to protect the egg. Record whether to the egg remained intact or broke. If this was done with several different structures, record each one and the results. Conclusion: Identify the materials and design strategies that were most successful in protecting the egg from breaking during the drop. Review the hypothesis and answer the question. Discoveries: By attempting to drop eggs from a height, students experience firsthand the force of gravity and the need to counteract it to protect fragile objects. The conclusion can highlight how different materials and design elements can effectively absorb and distribute the force of impact. Sink Or Float (Buoyancy Experiment)Question: Which objects float and which objects sink? Hypothesis: I think _____ will float and _____ will sink. Materials: Various objects of different materials (plastic, wood, metal, cork, etc.), large container of water Procedure: Place one object at a time in the container of water Observations: Observe and record whether the object floats or sinks. Categorize the objects as floaters or sinkers based on the observations. Conclusion: Determine which objects float or sink and compare the results with the hypothesis. Discoveries: The children will learn that shat, size and material of an object can determine whether it floats or sinks. Objects with lower density than water float (such as cork or plastic), while objects with higher density (such as metal, or stone),sink. Note: The results can change if the density of the water changes (salt water is denser than fresh water). Layered Liquids (Density Experiment)Question: How do different liquids of varying densities interact when layered? Hypothesis: Predict the order in which liquids will layer based on their densities Materials: various liquids (water, cooking oil, honey, dish soap, food coloring), tall transparent container Procedure: 1. Fill the container 1/3 full with water. 2. Pour different liquids , one by one, into the container. Add a few drops of food coloring to each layer. Observations: Record the order that the liquids are added and how they settle. Examine the layered liquids and their densities noting any patterns or differences. Conclusion: Determine the order of the liquids and compare them with the hypothesis. Discoveries: The children will observe that different liquids do not mix easily and form distinct layers. They will also see how light interacts with the layers to create a rainbow-like effect. Liquids that are heavier (denser) sink to the bottom, while liquids that are lighter (less dense) stay on top. Volcanic Eruption (Chemical Experiment) Question: What happens when you combine baking soda and vinegar? Hypothesis: I think they will react together. Materials: baking soda, vinegar, red food coloring, playdough or something that can be shaped to look like a volcano, container to place under the volcano shape, spoon Procedure: 1. Create a volcano shape using playdough or a model and place it in a container. 2. Measure and add baking soda inside the volcano structure. 3. Add some red food coloring to the baking soda. 4. Pour vinegar on top of the baking soda and observe the reaction. Observations: Record what happens when the vinegar mixes with the baking soda. Collect data of what you see. Examples: Upon pouring vinegar onto the baking soda, there was an immediate reaction. Bubbles and fizz were produced, resembling a mini volcanic eruption Conclusion: Mixing the vinegar with the baking soda created a chemical reaction that caused bubbles of gas to form. Discoveries: When an acid (vinegar) is combined with a base (baking soda) it creates a chemical reaction that produces carbon dioxide gas. The gas is released as bubbles causing a forming reaction.This gas expands and causes the foam to flow from the volcano. These simple and enjoyable experiments provide a hands-on approach to teaching fundamental scientific principles. By engaging in these activities, children not only gain a deeper understanding of concepts like force, gravity, density, and chemical reactions, but they also develop essential skills such as observation, classification, and critical thinking. We can foster a love for science early on, using hands-on activities and create a lifetime of curiosity and exploration. Check out this blog post for other experiments that might be fun to try. Here are a couple of resources that might be helpful as well. String Telephone Experiment Using The Scientific Method Scientific Method Happy experimenting! Related PostsKids are full of questions. Why is the sky blue? What are you doing? How does that work? It can be exhausting sometimes to keep answering them, but it is exciting to see the wonder and awe when they see new things. Science activities are a great way to capture that wonder and seek answers. Doing experiments is fun and can answer many of those questions. Creating experiments using the scientific method helps students to think through the necessary steps for controlling the parts of an experiment so that they can repeat when necessary to test out different hypotheses.
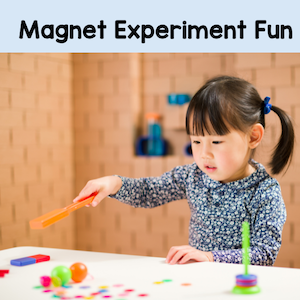
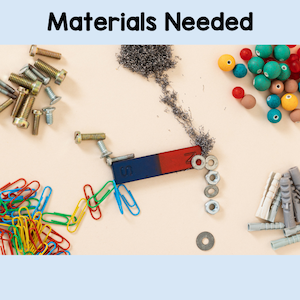
It is important to have a question to answer before starting an experiment. Once you get your question, you can then make an educated guess or hypothesis about the outcome. This will help you to decide on the procedure and the materials needed to try to test out what you think might happen. Here are some fun questions to ponder and maybe create experiments for. • Is there a way to drop an egg from the roof without breaking it? • How does a string telephone work? • How do large boats keep from sinking? • How can you make an egg bouncy? • How do airplanes stay in the sky? • How is electricity made? • How do magnets work? Let's take a look at an experiment or activity that can be done to learn more about magnets. The objective of this experiment is to introduce primary children to the concept of magnets and their ability to attract certain materials. This hands-on activity combines learning with a fun scavenger hunt to engage and excite young learners. Question and HypothesesQuestion: Why do magnets pick up or stick to some materials, but not others? Ask students this question and get them to give you their hypotheses (These are their best guesses.) Materials NeededMaterials needed: - Small magnets (bar magnets or magnetic wands - Various objects made of different materials (paperclips, plastic toys, coins, aluminum foil, wooden blocks, corks, toy cars, etc. - Small containers or bags - Labels or cards with pictures of objects to find - Object checklist - Recording sheet - Pencil for recording Material PreparationPrepare small containers or bags with labels or cards featuring pictures of the objects to find. Attach the object checklist to the containers. Scatter a variety of objects made of different materials around the room or outdoor areas. Hide some of the objects if possible. ProcedureGive each child a recording sheet, a magnet and a container or bag with labels or pictures of the objects. Attach a list to each container. Explain that their mission is to use the magnet to find objects around the room and record whether or not they are attracted to the magnet. ObservationsEncourage the children to use their magnets to explore and observe which objects are attracted to the magnets. Have them record their observations on the recording sheet and check off the objects they find on their list. Results And DiscussionGather the children together to discuss their findings. Ask questions such as: - What objects did you find? - Were there any objects that the magnet didn't attract? - Were some objects easier to find than others? Check out the recording sheet and how the children classified the objects they found into the two categories: attracted to the magnet and not attracted to the magnet. ConclusionConclude the experiment by reinforcing the idea that magnets have special powers and can attract certain materials. Introduce the concept that magnets attract objects made of certain materials, such as iron and steel. Check the hypotheses and see if they were correct or not and discuss why or why not based on what they discovered. Extension Or Follow Up ExperimentExplain that magnets have special powers to attract certain materials and that they have a north pole and a south pole. Create an experiment and opportunity for children to test out magnets and their poles to see how they can attract or repel based on which poles are facing each other. This is just one example of how to capture wonder and excitement using the scientific method and experiments. There are so many different experiments to try. Enjoy exploring the world around with your students as they discover new and amazing things. Related Posts |
About Me Charlene Sequeira
I am a wife, mother of 4, grandmother of 9, and a retired primary and music teacher. I love working with kids and continue to volunteer at school and teach ukulele. Categories
All
|









 RSS Feed