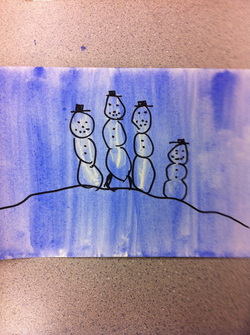
Handprint Snowmen Cards
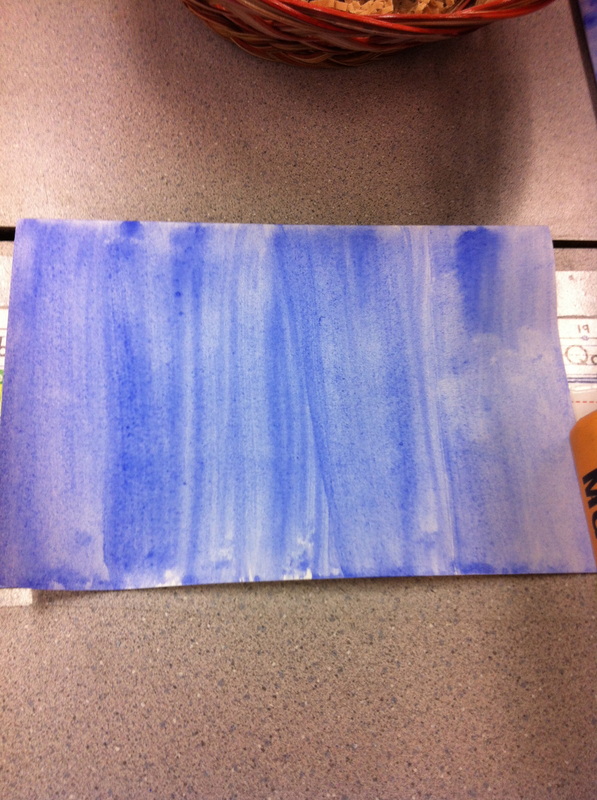
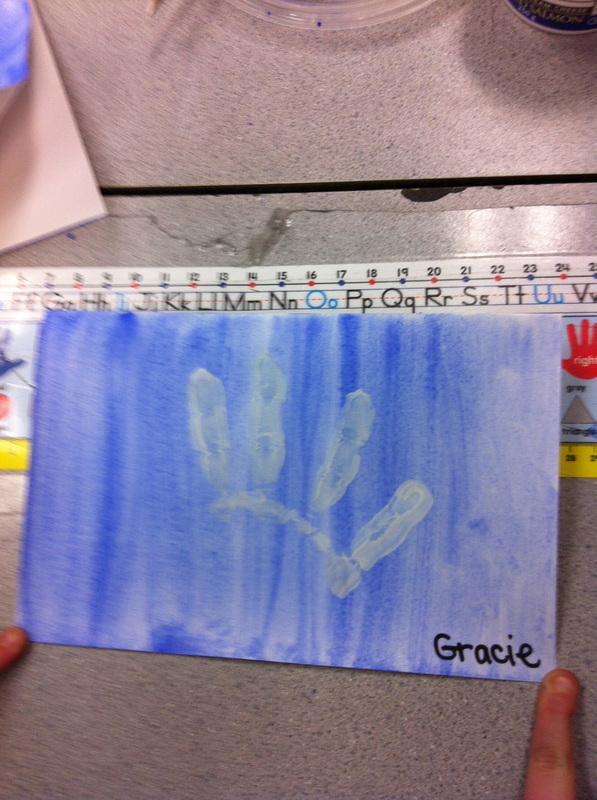
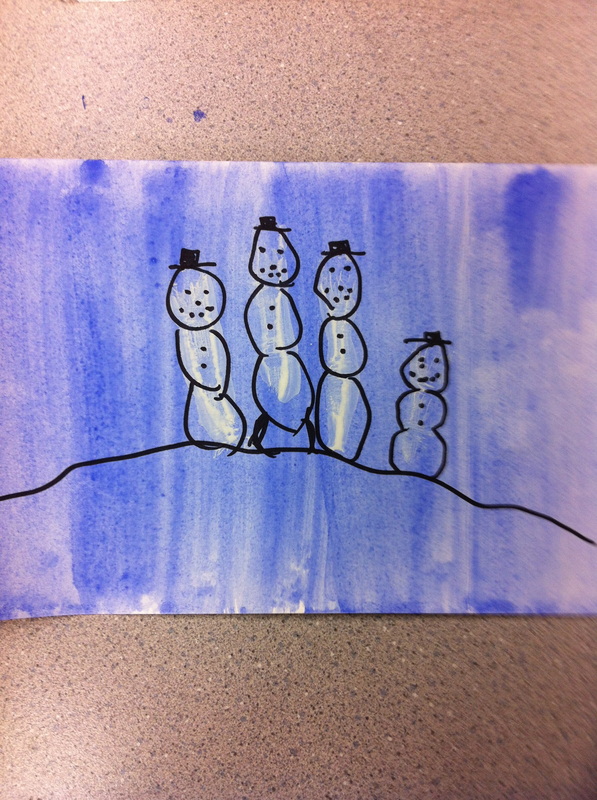
These little cards were a combination of ideas that came from Stephanie over at Falling Into First and a project I have used for years. I ended up only using four fingers for the snowmen, and I put them onto a card that had a blue wash background. The students then decorated them as snowmen using Sharpies. I also had to modify the poem at the last minute because of the number 4, so it was not as fancy as the one that Stephanie used. However, it was okay, and the students pasted it inside the card and added a message of their own as well. 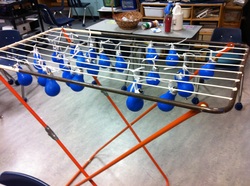
Christmas Light Bulb Ornaments
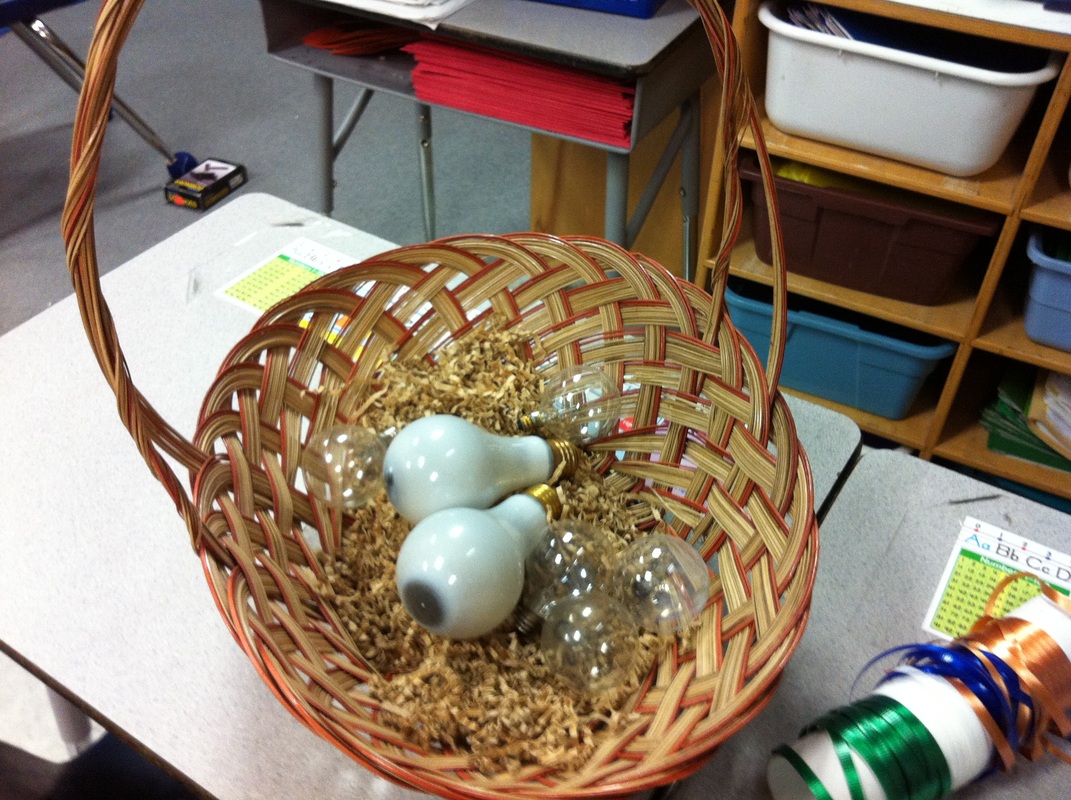
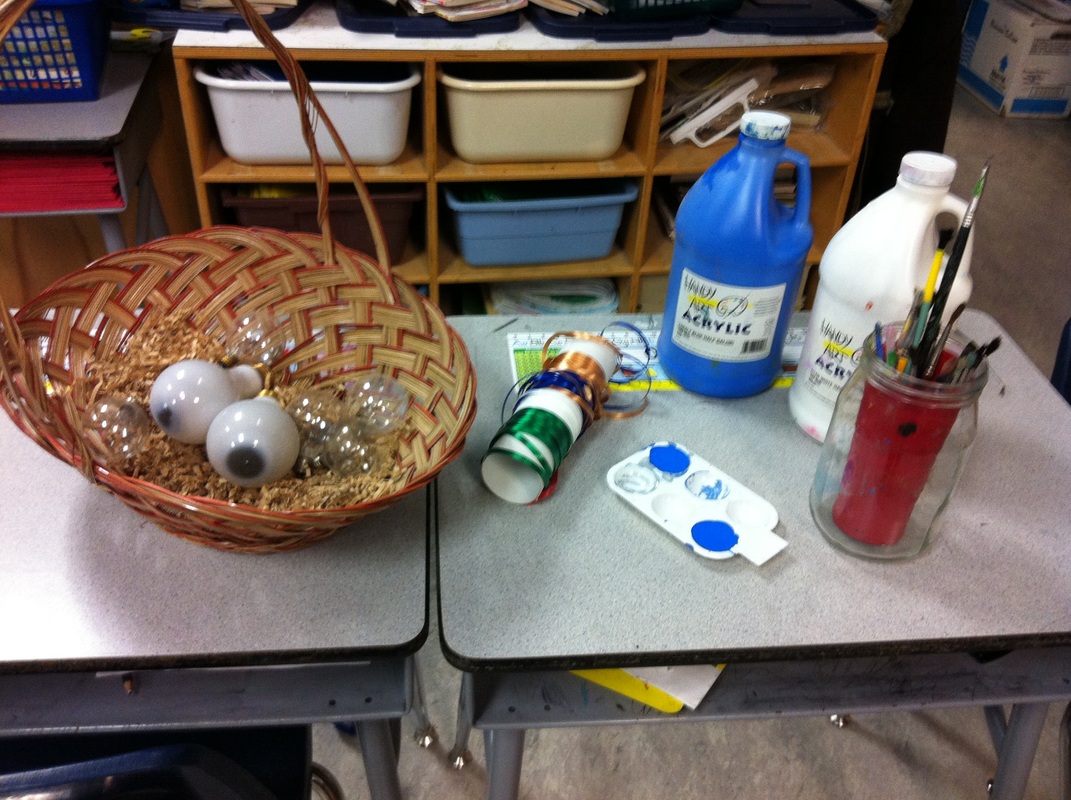
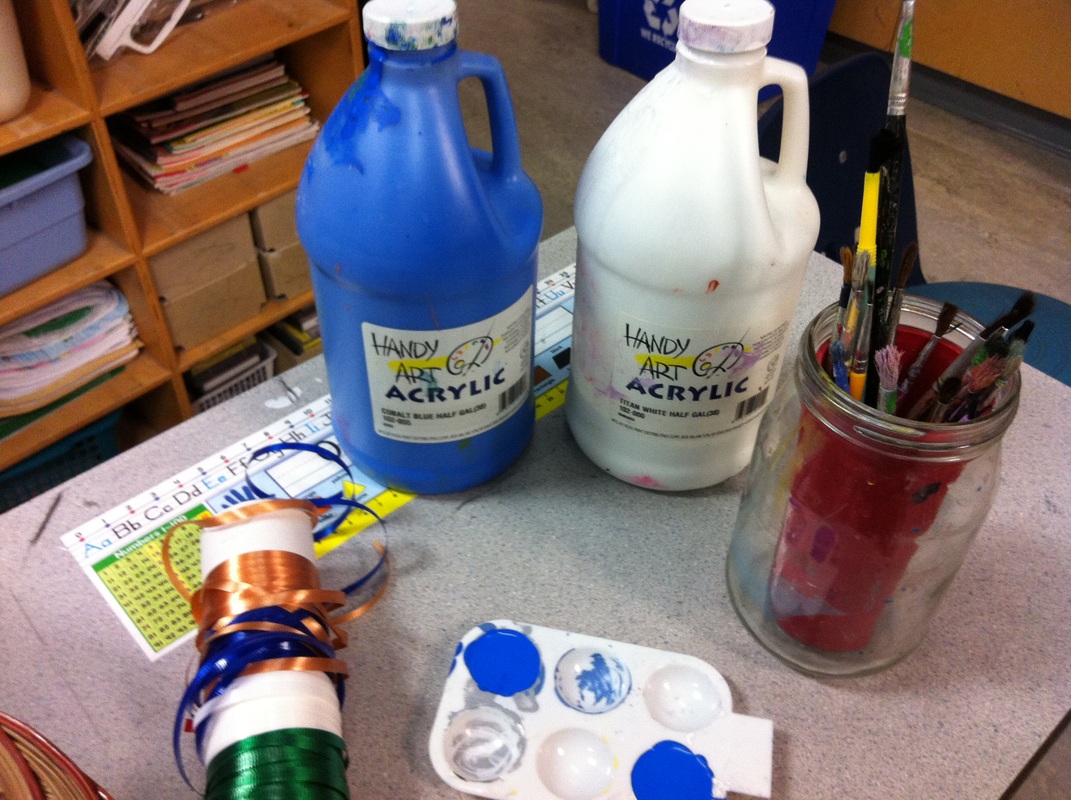
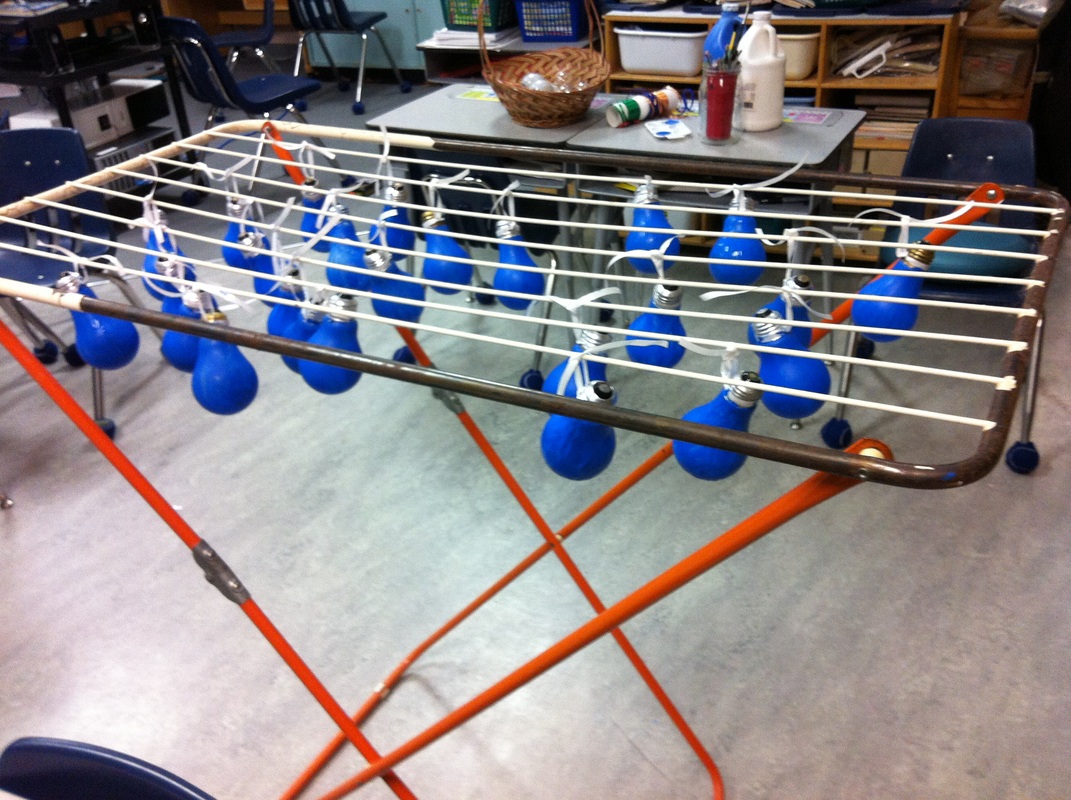
These ornaments were made from old light bulbs. Unfortunately, it was a mad rush at the end of the day to get them wrapped and sent home, so I didn't get any final photos of them. The students started with a light bulb that had a piece of Christmas ribbon tied around the top of it. They painted the light bulbs blue and then we hung them up to dry. (Thanks for the clothing rack idea, Stephanie!) Later on, they painted on snowmen with a brush. (We tried a sample with the painted fingers, like Stephanie used for her ornaments, but because of the shape, it didn't work very well.) The final result looked really cute and the students were happy to take them home to put on their trees.
0 Comments
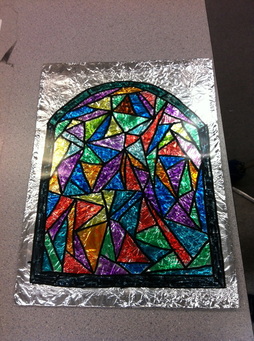
Here is a great project that I do with my class at Christmas time. It is easy, but looks impressive and the children have fun making it. I call it my "Stained Glass" project because it looks like a stained glass window.
Here are the steps to follow for making one of your own. 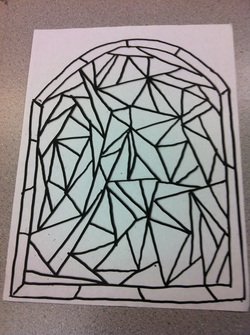
Begin by choosing a picture that you like. It can be any picture that would look good in a window. Often people make color by code pictures for Math or language activities. These pictures work well. The picture I have chosen is actually one I use for Math. I just removed all the questions and the color code so that the children could choose their own selection of colors.
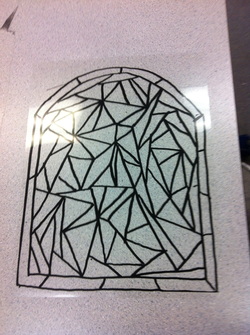
The next step is to copy the picture onto a piece of transparency film. 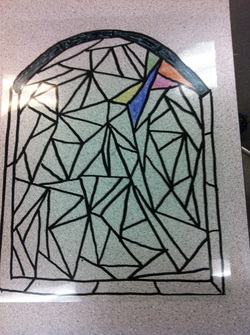
Each child is given a transparency picture to color. If they are using washable markers, it is important that you turn the picture over when mounting it or it will possibly wash off if it gets wet. ( I don't know about other places, but here we get a lot of wet weather at this time of year and raindrops get onto papers and projects that kids haven't put away properly.)
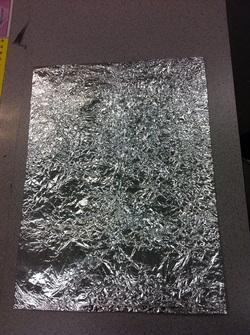
While my students are coloring their stained glass, I prepare the background. I use a piece of card stock. You can use cereal boxes, or other material, but I didn't have time to collect the needed material this time.
Cover the card stock with aluminum foil. If you crinkle it, you get a better effect as the light bends when it hits the different wrinkled parts. When I showed my students the effect, with and without the crinkling, they preferred the crinkling. I tape the foil in place on the other side of the card stock. 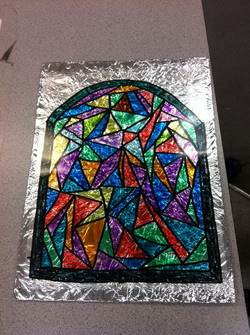
Place the transparency on the foiled covered card stock and then attach it with tape.
On the back of the card stock I add a piece of Christmas writing done by the child that has been printed on Christmas paper. Then I put 2 holes in the top and add a ribbon so it can be hung. If you don't want to mount it on foil, the transparency can be displayed as is in a window, or on a mirror.
I hope you enjoy this activity. I would love to hear how it works for you.
|
About Me Charlene Sequeira
I am a wife, mother of 4, grandmother of 9, and a retired primary and music teacher. I love working with kids and continue to volunteer at school and teach ukulele. Categories
All
|






 RSS Feed