Welcome To My Blog |
|
Welcome To My Blog |
|
|
As the holiday season approaches, we find ourselves surrounded by the warm glow of Thanksgiving and Christmas. It is a time when families come together, delicious meals are shared, and joy fills the air. The holiday season, with Thanksgiving and Christmas at its heart, provides a perfect backdrop for teaching about kindness, compassion, and gratitude. 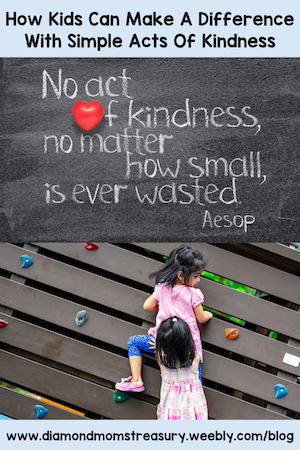 This is a time to think about how to add some festivities into our teaching as well as some special meaning. I love to use this time to help kids think about others and how we can make things happier or easier for them. Acts of kindness are a special focus at this time of year. Here are some ideas to try that might help foster a giving and caring spirit. 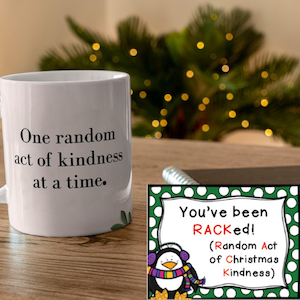 Counting Our BlessingsWhen we think of Thanksgiving, we think of all the things and people we are thankful for. We start to focus on what we have and we start to count our blessings. Often we need to have these reminders as we live in a world of "all about me" bombardment. There are several ways to share our thoughts. One that works well is a "Thankful Tree". Have your students craft leaves out of paper, and on each leaf, they can write or draw something they are thankful for. These leaves can be attached to a tree displayed in the classroom, forming a visual representation of gratitude. Another way to focus on things that they are thankful for is to create a gratitude journal and write things in it that they are grateful or thankful for. Incorporate gratitude journals into your classroom routine. Have your students write or draw one thing they are thankful for each day. This practice helps them focus on the positive aspects of their lives and appreciate the little things that often go unnoticed. Here is a fall gratitude journal that I created that might work for you. 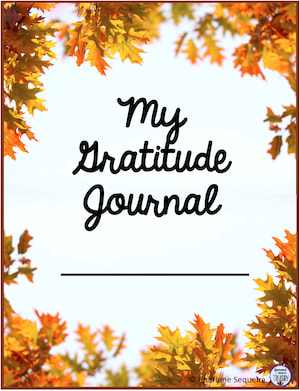 Spirit Of GivingAs Christmas approaches, emphasize that the holiday season is not just about receiving gifts but also about the joy of giving. Share stories or read books that focus on the spirit of giving, such as "The Giving Tree" by Shel Silverstein or "How the Grinch Stole Christmas" by Dr. Seuss. Discuss how the characters in these stories experience joy and fulfillment through their acts of kindness.  Acts Of Kindness ActivitiesPlan classroom activities that promote kindness and compassion. Encourage your students to do things to brighten up someone's day and make it special. Create an "Acts of Kindness" calendar for the days leading up to Christmas. On each day, include a small act of kindness that students can perform. These can be as simple as saying a kind word to a classmate, helping a family member with a chore, or making a holiday card for someone in need. Make it a fun daily ritual in your classroom to share stories of these acts and celebrate the good deeds your students have done. Here is a set of coupons that might be fun to hand out to others.  Provide opportunities for your students to participate in activities in the school community that provide service to others. This could include participating in a food drive, collecting toys for underprivileged children, or visiting a local nursing home to sing carols and spend time with the elderly. When children see the impact their actions have on others, it deepens their understanding of the true meaning of the holidays. 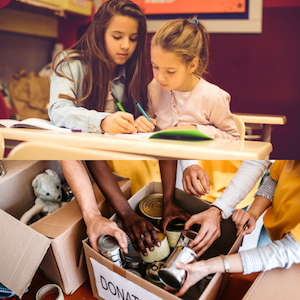 Different Holiday TraditionsEnsure that all students feel included during holiday celebrations. The holiday season is a great time to teach students about the diversity of cultures and traditions. Acknowledge and respect the diverse cultural traditions within your classroom. Teach your students about different holiday customs, fostering understanding and acceptance among classmates. Discuss various holiday celebrations from around the world. There are many different books that would work well for sharing the special holidays and celebrations that happen at this time of the year. The book "Horrible Harry And The Holidaze" shares aspects from several different holidays celebrated by different members from Harry's class. (My students enjoyed this because it was with characters they were familiar with from other books in the series.)  There are many other ways to help kids to develop a spirit of giving. It might be fun to include them in the discussion and find out ways they would like to try out. This gives ownership and helps them to feel valued as well. 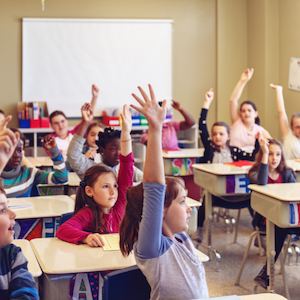 Teaching our young students about the significance of kindness during Thanksgiving and Christmas is a priceless gift that will serve them well throughout their lives. By incorporating these strategies into your teaching, you can make the holiday season a time of both joy and valuable life lessons. 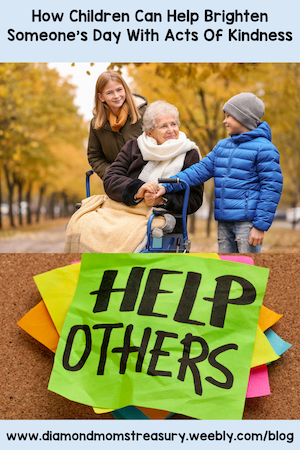 Let's inspire the next generation to embrace kindness, compassion, and empathy, creating a brighter and more compassionate future for all.  Related Posts
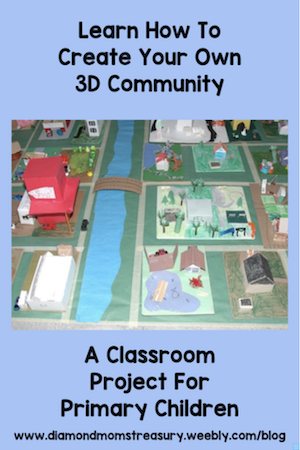
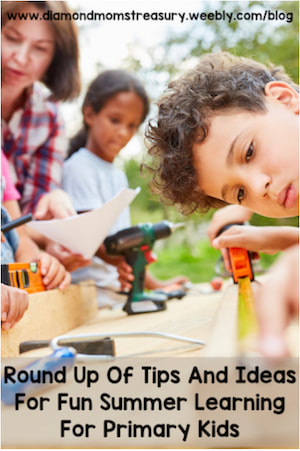
There's no better way to capture a child's interest and spark his imagination than to create things to demonstrate learning. This could be a model, a poster, task cards, a game, a diorama, a play, or a podcast just to name a few. When children are engaged and motivated, they tend to learn more deeply and they are more passionate about their project. 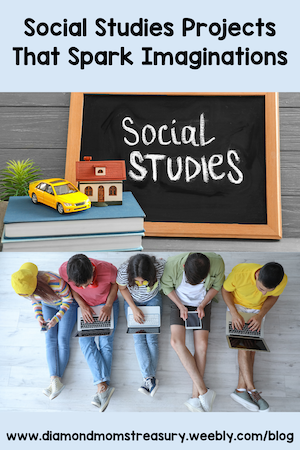 There are many different types of projects that can be done based on the subject and concepts that are to be studied. Today, I would like to focus on some projects that work well with the primary social studies topics of families and communities. Community projects and researchAssigning research projects where children investigate different aspects of their community, such as its history, economy, or cultural heritage and present their findings through presentations, posters, or multimedia projects develops research skills, information literacy, and a deeper understanding of the community's development.  Heritage ProjectWe often study about families and look at family trees in the early grades. I wanted to take this further, so I developed a project that studied family heritage. To find out more about it and why it was important to me, check out this post. The goal of the project was to learn more about what make us unique and special. It was a great way to research different cultural aspects of various countries and share them with others. Check out the project here. 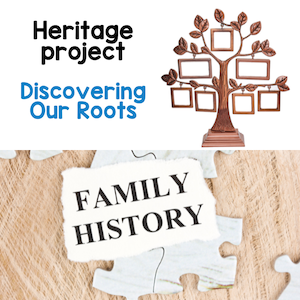 Flat Family ProjectMany people are probably familiar with Flat Stanley and the project that began with sending cutouts of Flat Stanley around the world and recording adventures with him. Then people began sending cutouts of themselves to record these adventures. I decided to take this a step further as part of our heritage studies. We created flat families and journals that we mailed to family members in different parts of the world. The families took photos of activities together and made journal entries to share. They returned these journals along with special mementos to the children. It was so exciting to watch the faces of the children when a package arrived and the contents were shared with the class. This Flat Family project has been set up for others to try. You can read more about it here.  Creating A 3D Community ProjectLearning about communities and what they need is important. What better way to make sure that they understand what they have learned than to create a 3D community. This was a fun project that wowed the parents and other classes, not only because of its appearance, but also because of how much the kids could share that they had learned. Check it out here. If you would like to learn more about how we created it, check out this blog post.  These are just 3 different projects that can be done. If you are interested in other projects, check out my social studies category. I hope you find doing projects as successful as I did. 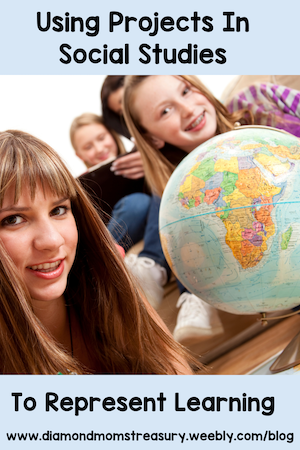 Related Posts
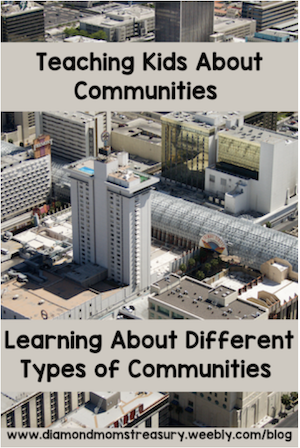
When thinking about communities, the story of the country mouse and the town mouse often comes to mind. Where we live becomes our reality and we often don't know much about other ways of life except through stories and pictures. It is important to broaden our horizons and discover more about the world around us and the different types of communities that make up our world. As teachers, we need to teach our students about communities and how they can impact our lives. Learning about communities, their importance, differences, and development can be an engaging and meaningful experience for children. 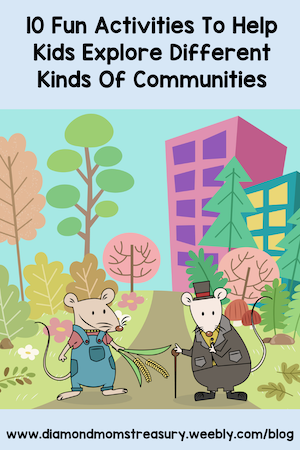 There are many different ways to help kids better understand what communities are, how they are the same or different, and why they are important. These could include field trips, community interviews, listening to guest speakers, role playing different community helper roles, participating in different community service activities, comparing different kinds of communities, creating community maps, exploring literature and listening to storytelling, participating in different cultural celebrations and creating a community project. Let's take a closer look. 1. Field TripsField trips are a great way to get a hands on experience. They can be done in a couple of different ways. 1. Arrange field trips to various community locations such as fire stations, libraries, local government offices, farms, parks, or historical sites. This gives the children the opportunity to observe, interact, and learn from community members. Encourage them to ask questions and make connections between the places they visit and the roles they play within the community. 2. Organize field trips to different types of communities within your region, such as urban areas, rural towns, or suburban neighborhoods. Visit local government buildings, parks, historical sites, or cultural centers. Encourage children to observe and compare the features, services, and characteristics of each community.  2. Community InterviewsEncourage children to interview community members, such as parents, grandparents, neighbors, local business owners, or local volunteers about their experiences and contributions to the community. They can ask questions about their roles, the services they provide, and the changes they have witnessed in the community over time. This activity promotes interaction, communication skills, and understanding of different perspectives. It allows children to learn about different perspectives, values, and the ways in which individuals shape and impact their communities. 3. Guest SpeakersInvite guest speakers from various professions or community organizations, such as local government officials, community leaders, or representatives from nonprofit organizations to talk to the children. They can share their experiences, explain their roles within the community, discuss the importance of their work, and talk about the development and unique aspects of their specific community. This firsthand interaction helps children understand the diversity of community roles and how they contribute to the well-being of society.  4. Literature And StorytellingRead books and stories that focus on communities and their development. Discuss the roles of different community members, the services they provide, and the ways in which they contribute to the well-being of the community. Encourage children to discuss the characters' experiences, values, and the significance of community in the story. Help them make connections and share their own stories or experiences related to their community. 5. Role PlayingSet up a dramatic play area where children can pretend to be community helpers or act out community-related scenarios. Provide props, costumes, and materials that represent various community roles like doctors, teachers, police officers, or shopkeepers. This hands-on experience allows children to explore different community roles and understand their responsibilities. 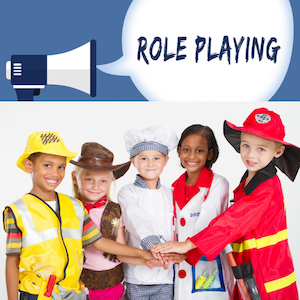 6. Community Service ParticipationEngage children in community service projects such as organizing a neighborhood clean-up, food drives, bottle drives, collecting donations for local charities, or planting trees in public spaces. These projects promote active involvement and an understanding of community needs. This hands-on experience helps them develop empathy, a sense of responsibility, and a deeper appreciation for their community. Children learn the importance of active citizenship and the positive impact they can have on their community. 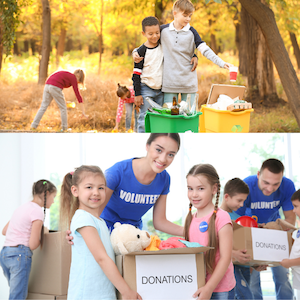 7. Different Kinds Of CommunitiesExplore different types of communities, such as rural, suburban, and urban areas. Discuss the similarities and differences between them, including aspects like housing, transportation, amenities, and services. This helps children understand the diversity of communities and the factors that shape their development. Here are some resources that might help.  8. Community MapsHave children create maps of their own communities. They can include landmarks, places of interest, and community resources. They can identify and label places like schools, hospitals, parks, and grocery stores. Have discussions about the purpose of these places, their roles within the community, and how they contribute to the well-being of residents. Look at community maps of different places and types of communities. Compare and contrast the maps to highlight the diversity and uniqueness of each community. 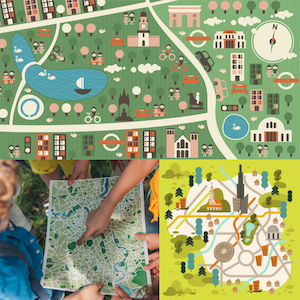 9. Cultural CelebrationsCelebrate and explore cultural diversity within the community through festivals, cultural events, or international days. Invite families to share their traditions, music, dance, or cuisine with the children. This helps children recognize and appreciate the diversity within their community and promotes understanding and acceptance of different cultures. It helps them understand that communities are made up of people from various backgrounds.  10. Community ProjectEngage children in community development projects for their school, such as creating a community garden, or planning a recycling program. Allow them to brainstorm ideas, collaborate, and take action to address school community needs. This hands-on involvement fosters a sense of ownership and empowers children to contribute to the betterment of their community.  Have fun with these activities and teaching your students. Related Post
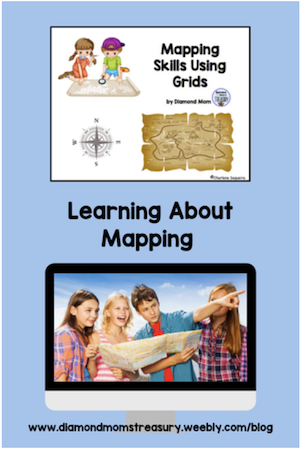
Are you looking for innovative ways to introduce mapping skills to your young students? Mapping skills are an important tool for students to have as they navigate their way through the world. It's important to nurture these fundamental skills early on. Here are some creative ideas to make learning about maps engaging and fun in your classroom.  Map PuzzlesPuzzles are a great tool for learning about geography and how to read maps. They can be used to study areas where kids live or other parts of the world. Starting with smaller areas and expanding to the world view follows a similar pattern to teaching about families, neighborhoods, cities, provinces, territories, or states, and then full countries when learning about communities.  Map ArtworkEncourage artistic expression by having students create their own maps, whether it's their neighborhood, a fantasy land, or a treasure map. You could even create a map gallery or bulletin board with their maps. It might be fun to have them create some stories to go along with their maps. 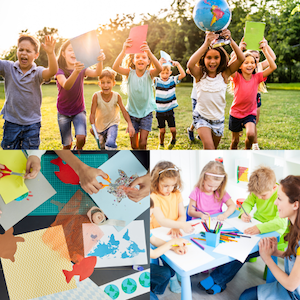 Map StoriesMap stories can be incorporated in a variety of ways to make mapping more meaningful. Here are a few ideas. 1. Create some stories that involve using a map or discovering a place by following directions. These can be based on actual events or fantasies. 2. Integrate storytelling with mapping. Read colorful storybooks that involve journeys and create simple story maps together. Ask your students to draw the story's path on their own maps. 3. Read books and stories that focus on communities and their development. Discuss the roles of different community members, the services they provide, and the ways in which they contribute to the well-being of the community. Encourage children to share their own stories or experiences related to their community. 4. Have students create maps of their favorite storybooks. This activity not only reinforces map skills but also connects literature and geography.  Treasure HuntsAs soon as you mention a treasure hunt, some children are hooked. They are curious to find out about hidden treasure and to go on the hunt. This is a great time to incorporate mapping skills and adventure. Organize classroom treasure hunts where students use maps to locate hidden "treasures" within the school. This activity combines problem-solving with map reading. Create a treasure hunt activity outdoors where children follow a map to find hidden objects or clues. Provide a simple map with landmarks and directional instructions, and let them navigate their way to the treasure. This activity promotes map reading, following directions, and spatial awareness. 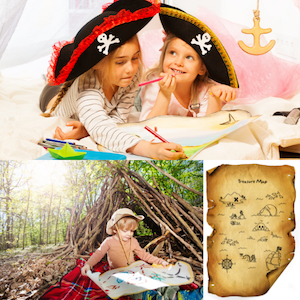 Map Symbols And LegendsSome important mapping skills for young children to learn include being able to interpret symbols and legends as well as use scale and a compass rose. Activities should be created to help with developing these skills. Here are some suggestions: 1. Provide them with simple maps and legends and practice reading them together. They should learn to recognize and locate landmarks, such as buildings, parks, or bodies of water, on maps. This helps them build a mental map of their environment and develop a sense of place. They can also practice creating simple maps of their classroom, neighborhood, or a familiar route using symbols and adding in a legend. 2. Understanding the concept of scale on maps, where distances are represented proportionally is another important skill for them to learn. They need to learn to estimate distances and understand that maps are a condensed representation of a larger area. Doing activities that help them to visualize how scale works helps. For example: if they want to walk down to the corner, it is very different from walking several blocks to the store. They need to understand that on a map you can't really draw the distances as they really are and that small distances need to be very close together and longer distances need to be much further apart on the map to represent the distances in real life. Try using a tiled floor to show how this could work. The distance of one tile could be one block. If something was down at the corner, it could be one tile away. If something was 6 blocks away, it could be 6 tiles away. This could then be transferred to graph paper so that each square represents a block. Using graph paper instead of tiles helps them to see that to represent larger distances the scale needs to be smaller. 3. Following directions can be difficult at first. Learning about the compass rose and cardinal directions (north, south, east, west) and basic navigational concepts like left, right, up, and down is an important skill. Do plenty of games and activities to practice giving and following directions using maps or verbal instructions. For example, you can play "Simon Says" using directional cues like "Simon says take two steps forward" or "Simon says turn to the left." This activity reinforces cardinal directions and helps them practice spatial orientation. Map Reading Challenges: Provide children with different maps and ask them to locate specific landmarks, calculate distances, or plan routes between two points. You can also create map-based riddles or puzzles for them to solve. This activity enhances their map-reading skills, critical thinking, and problem-solving abilities. 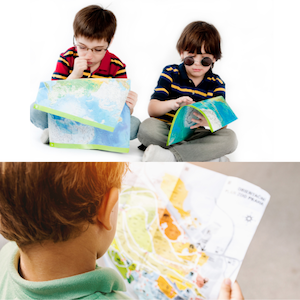 Community MapsThere are many different ways to create community maps and each of them can serve different purposes. Here are a few suggestions and how they can be used to enhance student learning. 1. Encourage students to create community maps that depict different features, landmarks, and institutions in their local area. They can identify and label places like schools, hospitals, parks, and grocery stores. Discuss the purpose of these places, their roles within the community, and how they contribute to the well-being of residents. 2. Have them create maps of different communities that include landmarks, places of interest, and community resources. Encourage them to label different locations and discuss their importance. Compare and contrast the maps to highlight the diversity and uniqueness of each community. 3. Collaboratively create a map of your school's surroundings or neighborhood. Include landmarks, parks, and other points of interest. 4. Collaborate with other classrooms or community members to create a community map. Each group can be responsible for mapping a specific area or theme. Children can work together to gather information, create maps, and present their findings to the community. This project fosters teamwork, research skills, and a sense of community engagement. 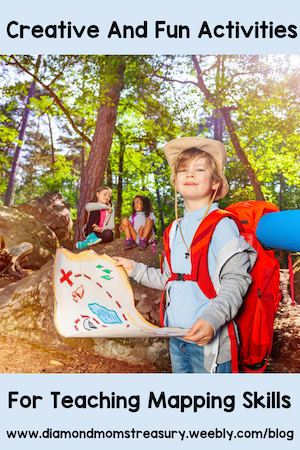 These are only a few of the different ways that teaching mapping skills can be engaging and fun for kids. For some resources that may help, check out my social studies category on TPT. Next time we will look at using technology with mapping skills to enhance the learning and take it further away from home. Related Posts
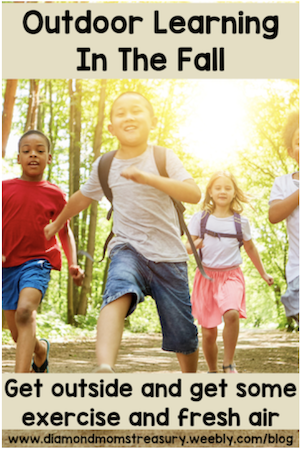
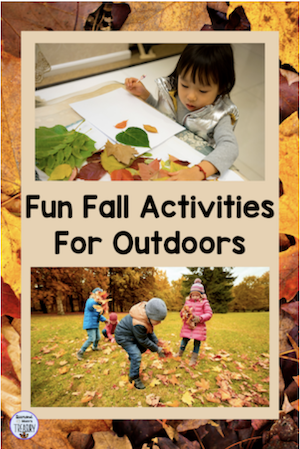
Changing weather, cooler temperatures, and color changes are all signs of the arrival of fall. There's something magical about the colors, sounds, and smells of fall. Students often find themselves more engaged in learning when they are surrounded by the beauty of nature. Whether it's studying the changing colors of leaves, identifying different animals, or learning about the life cycle of a pumpkin, outdoor lessons are inherently captivating. 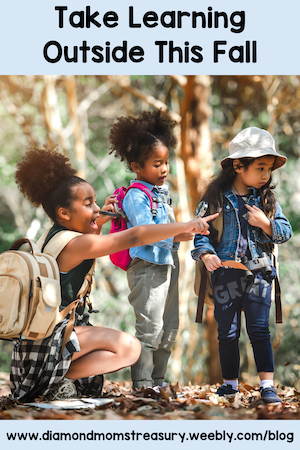 Fresh air and natural surroundings can help improve students' focus and stimulate their creativity. Studies have shown that spending time outdoors can boost cognitive function and problem-solving skills, making outdoor classrooms an ideal setting for critical thinking activities. Spending time outdoors has been linked to improved mental health and reduced stress levels. Fall's cool, crisp air and the calming influence of nature can help students feel more relaxed and connected to the world around them. The hands on experiences and fresh air also invigorate students and engage them in their learning.  Fall is the perfect time to encourage physical activity among students. Hiking, nature walks, and outdoor games not only promote exercise but also foster teamwork and social interaction. Getting students moving in a natural setting can help overcome the hours of sitting in classrooms and keep them engaged.  There are many different subjects that can be taught outdoors. Each of these add a real world element to the students' learning and experience. Integrating social studies and science activities into your fall outdoor learning adventures can provide a well-rounded educational experience. To further enrich your fall outdoor learning adventures, try incorporating some math and language activities into the mix. Here are some suggestions for social studies, science, math, and language arts that might be of interest. Social Studies• visiting local historical landmarks * learning about fall harvest and traditions • using maps and doing a geography scavenger hunt Science• leaf identification activities • studying the pumpkin life cycle • weather monitoring • learning about weathering and erosion * keeping a nature journal • stream study • learning about seed dispersements Math• nature math scavenger hunt • using measurement skills outdoors • fall data collection Language Arts• outdoor poetry writing • nature journaling with descriptive writing • vocabulary scavenger hunt (looking for examples in nature) • reading fall themed books 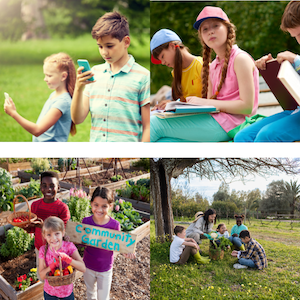 Preparation tipsHere are some preparation tips that will help make your outdoor sessions successful. Select an outdoor location that suits your curriculum and learning objectives. Local parks, forested areas, the seashore, or even your school's own outdoor spaces can be transformed into effective learning environments. Make sure students are dressed appropriately for the fall weather. Layers, hats, and gloves are essential to keep everyone comfortable during outdoor lessons. Tailor your lessons to incorporate the unique features of fall. Explore topics like the changing colors of leaves, the science behind falling leaves, the life cycle of pumpkins, or even Halloween-themed literature. Bring technology outdoors by using tablets or smartphones for nature observation apps or taking pictures to document findings. This can enhance the learning experience and provide opportunities for digital storytelling.  Make sure that your plans are flexible and adaptable as the weather can be unpredictable and you may need to make changes quickly. With preparation ahead of time and some back up ideas in case of change, getting outside to learn is worth the effort and will benefit your students.  Embracing the great outdoors during the fall season is a fantastic way to enhance your students' learning experience. The benefits of outdoor education are numerous, from improved engagement and focus to enhanced physical and mental well-being. By incorporating nature into your curriculum, you can create unforgettable learning moments and inspire a lifelong love for the natural world in your students. So, this fall, take your class outside and let the wonders of the season become your classroom. 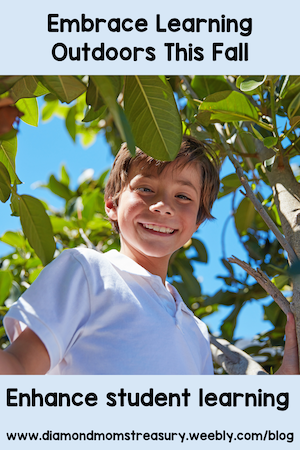 Happy outdoor learning! Related Posts
The first weeks of school can be exhausting and overwhelming both for students and for teachers. It is important to make sure that these days are a mix of activities that help with the transition back into work mode, are fun and engaging, and also slowly reintroduce academic skills and concepts. One of the most important goals is to create a positive and engaging learning environment where your students feel safe and the classroom community is one of respect and caring for each other. Here are 10 activities to consider:  1. Icebreaker Activities: Plan icebreaker activities to help your students get to know one another and build a sense of community. These can include "All About Me" presentations, "Find Someone Who", sharing circles, or partner interviews. Encourage students to share their interests, hobbies, and goals for the school year. 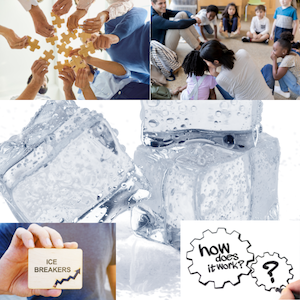 2. Establish Classroom Rules: Collaboratively develop classroom rules with your students. Discuss the importance of respect, responsibility, and cooperation. Create visual reminders of the rules and involve your students in creating a classroom rules display. 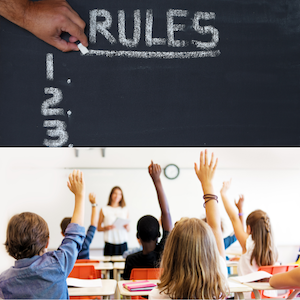 3. Name Games and All About Me Activities: Use name games and activities to help your students learn and remember each other's names. Play name games, create name tags, or use interactive name charts. Do activities that help them to share information about themselves. Create "All About Me" posters, collages, or shields. Try combining name acrostics with interests. 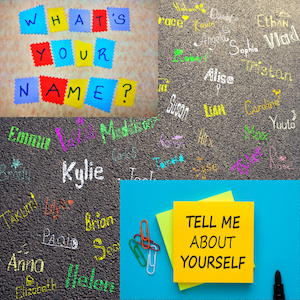 4. Daily Routines: Teach and practice daily routines and procedures, such as entering the classroom, morning routines, transitions, lining up, and using materials. Model and practice these routines to ensure a smooth flow of the school day. 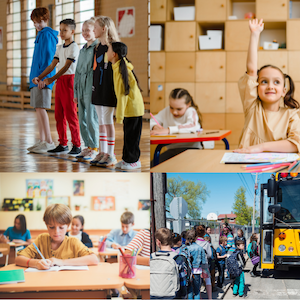 5. Team Building Activities: Include team-building activities to encourage cooperation and collaboration. Assign the students group tasks or problem-solving activities that require them to work together and share ideas. This helps build relationships, create a supportive classroom community, and develop important social skills. 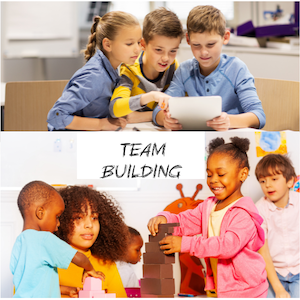 6. Classroom Jobs or Responsibilities: Introduce classroom jobs and allow your students to take on responsibilities within the classroom. Assign age-appropriate tasks such as line leader, librarian, or materials organizer. This encourages a sense of responsibility, promotes leadership skills, and helps them feel valued and involved in the classroom community. 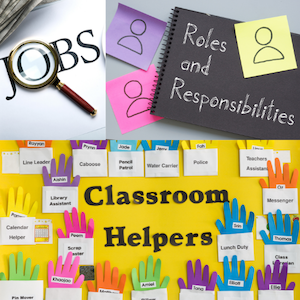 7. Growth Mindset Activities: Teach and reinforce the concept of a growth mindset through activities and discussions. Help your students understand that their abilities can be developed through effort, perseverance, and a positive attitude. Engage in discussions about challenges, mistakes, and the power of "yet" (e.g., "I can't do it yet, but I will keep trying"). 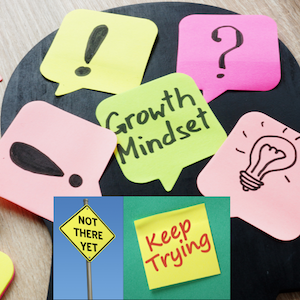 8. Math and Literacy Centers: Set up math and literacy centers with hands-on activities that review or reinforce skills previously taught. These centers can include puzzles, manipulatives, sorting activities, or small-group games that focus on essential concepts. 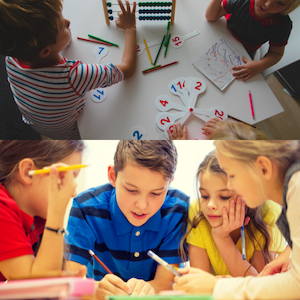 9. Arts and Craft Projects: Plan arts and craft projects that allow your students to express their creativity and personalize their learning environment. This can include creating classroom banners, designing name tags, or decorating bulletin boards with collaborative artwork. 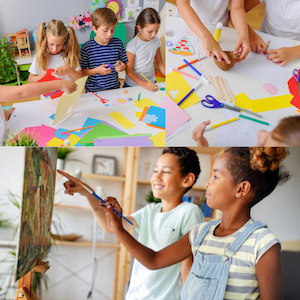 10. Brain Breaks: It is important to include energizing brain breaks throughout the day to help your students stay focused and engaged. These can include quick physical activities, stretches, or movement-based games that allow them to recharge their energy.  Remember to create a balanced schedule that includes a mix of academic, social emotional, and community building activities during the first weeks of school. 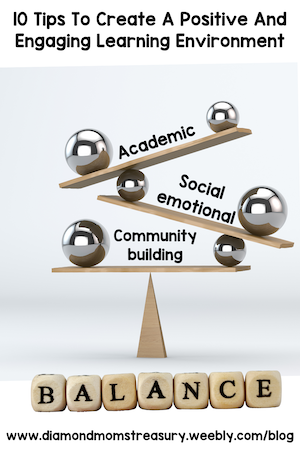 These activities will help your students feel connected, engaged, and excited about the learning journey ahead. They may also help lessen your teacher overwhelm and stress as you make connections and develop relationships with your students. Related Posts
Story books have a special way of capturing our children's imaginations and teaching them important life lessons. They can help our kids understand and care about other people's feelings, appreciate diversity, and feel good about themselves. In fact, story books can be powerful tools for helping children develop empathy, learn acceptance, and build confidence.  Special Story Books For Developing Empathy, Acceptance, and Self ConfidenceOne of the great things about story books is how they make us feel. When children read stories, they connect with the characters and start to understand their own emotions better. This connection helps them show kindness and understanding towards others. Here are some of my collection that I used every year to help build a positive classroom environment. 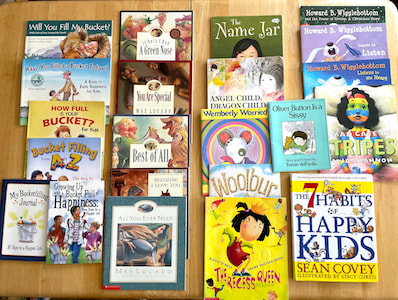 Each of these books tackles important themes such as self-acceptance, embracing individuality, standing up against bullying, and navigating cultural differences. They provide opportunities for discussions about empathy, understanding, and inclusivity, encouraging children to appreciate diversity and embrace their own unique qualities. Books About Anxiety And Self Acceptance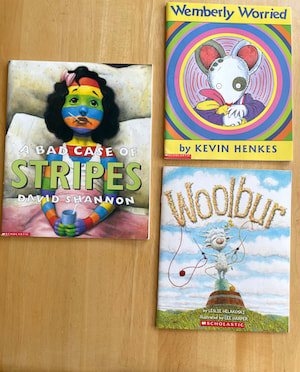 In "A Bad Case of Stripes" by David Shannon., Camilla Cream loves lima beans but she is afraid of what others will think. She develops a strange case of stripes that changes with her emotions. Through this colorful and imaginative tale, the book addresses themes of self-acceptance, embracing one's true identity, and overcoming the fear of judgment. In "Woolbur" by Leslie Helakoski, Woolbur, a free-spirited sheep dares to be different. Woolbur's unique personality and refusal to conform to the flock's expectations inspire children to embrace their creativity, think independently, and celebrate their own quirks. The book encourages kids to express themselves authentically and embrace their individuality. In "Wemberly Worried" by Kevin Henkes, Wemberly worries about everything. This is a heartwarming and reassuring story that teaches children important lessons about managing their worries and finding comfort in relationships with others. Books About Problem Solving And Considering Other Perspectives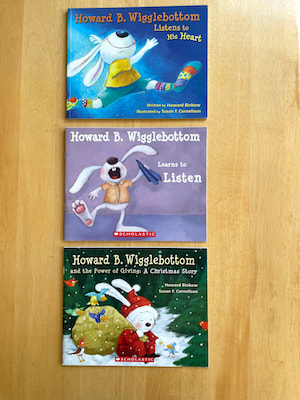 Story books also provide opportunities for problem-solving. Through the characters' challenges and dilemmas, children learn to think critically, consider different perspectives, and make choices that consider others' feelings. Howard B. Wigglebottom is a beloved character in a series of children's books by Howard Binkow. Howard is a young rabbit who encounters various situations and learns important life lessons throughout the series. Here are some of the lessons that Howard B. Wigglebottom has learned: In "Howard B. Wigglebottom Learns to Listen," Howard discovers the value of active listening. He realizes that listening attentively to others is essential for understanding, learning, and building positive relationships. In "Howard B. Wigglebottom Listens to His Heart", Howard learns about the importance of trusting his instincts and listening to his inner voice. Through relatable situations, Howard discovers the value of following his passions, making choices based on what feels right, and being true to himself. In "Howard B. Wigglebottom and the Power of Giving", joy and fulfillment that comes from giving and helping others is emphasized. Howard discovers the positive impact of acts of kindness, sharing, and generosity, teaching children the value of empathy and making a difference in the lives of others. These stories featuring Howard B. Wigglebottom are designed to engage young readers and provide them with valuable life lessons in an accessible and relatable manner. The character's experiences and growth inspire children to develop important social and emotional skills, promoting positive behaviors, empathy, and good character. Bucket Filling Books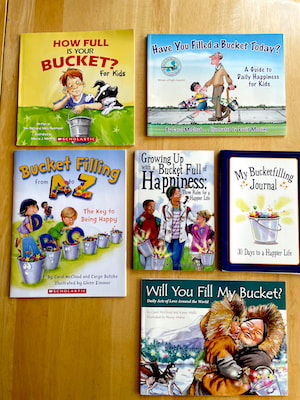 Here are several different books that focus on bucket filling. Bucket filling is a concept that promotes kindness, empathy, and positive behavior. The idea behind bucket filling is that everyone has an invisible bucket that represents their emotional well-being. When we engage in acts of kindness, empathy, and encouragement, we "fill" someone's bucket, including our own, and promote a positive and caring environment. Conversely, negative actions, such as unkind words or bullying, can "dip" into someone's bucket and diminish their emotional well-being. Dealing With Teasing And Bullying
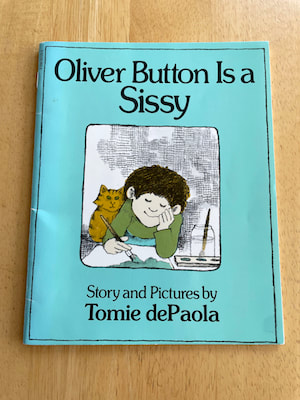
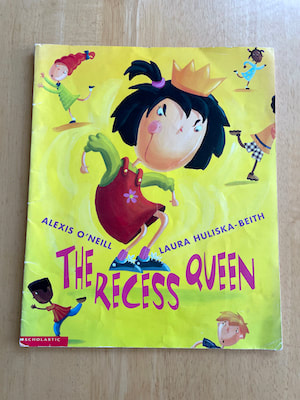
Story books create a safe and imaginative space for children to explore complex emotions and social situations. They provide a platform for conversations in the classroom, where children can share their thoughts and learn from others' perspectives. "Oliver Button Is a Sissy" by Tomie dePaola, tells the story of Oliver Button, a boy who faces teasing and criticism because he enjoys activities traditionally associated with girls, such as dancing. Oliver finds strength and self-acceptance in pursuing his passion despite societal expectations, teaching children the importance of being true to oneself and embracing individuality. "The Recess Queen" by Alexis O'Neill, tackles the issue of bullying in a relatable and engaging way. It follows the story of Mean Jean, the recess queen, who dominates the playground with her intimidating behavior. When a new girl named Katie Sue arrives, she challenges Mean Jean's reign by extending kindness and friendship. The book promotes inclusivity, empathy, and the power of friendship. Books About Self Worth By using story books in the classroom, we can engage children in meaningful ways. We can teach them to understand and care about others, accept and appreciate differences, and develop a positive sense of self. These Max Lucado books for kids are known for their engaging storytelling, vibrant illustrations, and uplifting messages. They aim to inspire children with the principles of faith, love, acceptance, and self-worth, while also fostering their spiritual growth and understanding. The books provide an opportunity for parents, caregivers, and educators to share valuable life lessons with children in an accessible and enjoyable way. Overcoming Obstacles And Cultural Diversity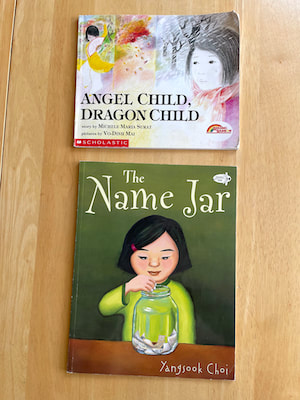 Story books inspire children to believe in themselves and overcome challenges. Characters who face obstacles show kids that they too have inner strength and can navigate life's ups and downs. "Angel Child Dragon Child" by Michele Maria Surat, tells the story of a young Vietnamese girl named Ut who moves to the United States and faces challenges as she adapts to a new culture and language. The book highlights Ut's resilience, the importance of family support, and the strength found in embracing one's cultural heritage while navigating new experiences. "The Name Jar" by Yangsook Cho, explores themes of identity, cultural diversity, and acceptance. It follows a young Korean girl, Unhei, who moves to the United States and contemplates changing her name to fit in. Through Unhei's journey, the book teaches children the value of embracing their heritage and appreciating the differences in others. 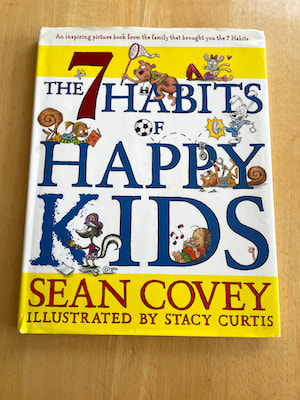 Story books give children a chance to think about their own experiences and emotions. By reflecting on these stories, children become more aware of their own feelings, strengths, and worth. They feature characters who exhibit positive behaviors like kindness and resilience. These characters become role models for children, teaching them valuable lessons and helping them feel good about themselves. In "7 Habits For Happy Kids" by Sean Covey, children are introduced to seven essential habits that can help them develop a positive mindset, build healthy relationships, and make responsible choices. It teaches kids about setting goals, prioritizing tasks, and taking personal responsibility. The book empowers children to become proactive, confident, and happy individuals.  These are just a few of many books out there that help develop a nurturing environment that fosters empathy, acceptance, and sef-esteem in children. By choosing meaningful stories, having open discussions, and encouraging empathy and self-reflection, we can help children grow into kind and confident individuals. Here is a template that will help children to share their feelings and connections to the stories that they read. Get a free copy by signing up to my newsletter. 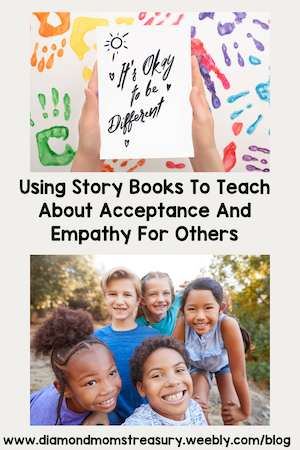 Let's continue to embrace the power of story books. Each story we read plants seeds of kindness and acceptance in our children's hearts. Together, we can nurture a generation of empathetic and accepting individuals who celebrate diversity and believe in themselves. Related Posts
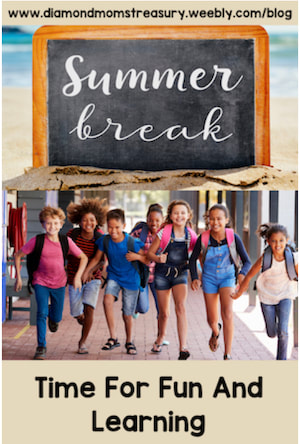
Sometimes it can be challenging to find activities that engage kids as the school year ends or during the summer. Puzzles are fun to do and they help keep kids active and learning at the same time whether they are at school or at home. They can also be done at many different times of the year. 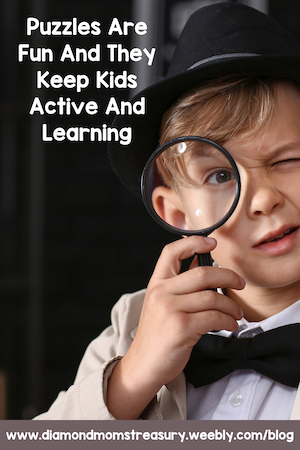 Puzzles can be great for challenging our brainsPuzzles can be fun to solve and they challenge our brains to think. They are a great way to make connections between what we know and what we want to learn or discover. They can be big or small, intricate or simple, for groups or for individuals.They can be done indoors or outdoors depending on the type of puzzle used. 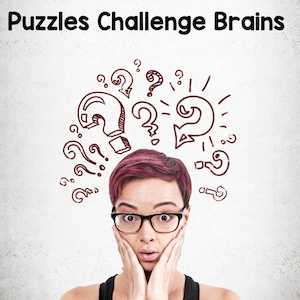 Types of puzzlesThere are many different types of puzzles available. Some require following clues, other require manipulating pieces. Some can be done wherever you are, and some require moving around or going to other locations. The type of puzzle you choose will depend on who is going to be solving it, what the purpose of the puzzle is, and how much time is available for it. If you are going to other locations, method of travel may also need to be factored in. Here are some examples of different types of puzzle: • puzzle hunt with encrypted codes • following a timeline or identifying key objects or events • scavenger clues hunt • team puzzle hunt (In class or with other classes) • unpublished geocache 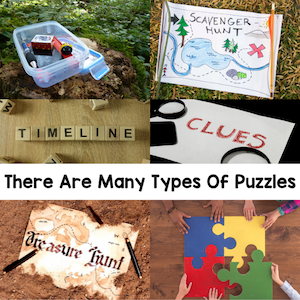 Puzzle hunt with encrypted codesThis can be done in many ways. One of the simplest is to find different signs in an area and find the hidden word on each sign to lead you to the answer. I recently did one of these with a group of students. It was done with smartphones, but it doesn't have to be that sophisticated. Pen and paper can work just as well. We moved around a park that had rocks with quotes on them. We needed to figure out the codes by counting lines and letters on each rock. The kids were broken up into groups of 4 and they were given a time limit to complete the challenge. Solving math equations or answering questions to find the codes could be added for a more difficult form of puzzle hunt. 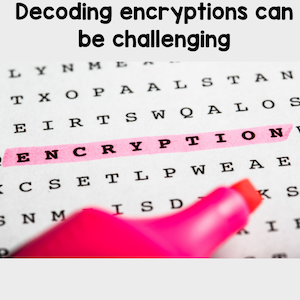 Following a timeline or identifying key objects or events (like in a local museum)Following a timeline or identifying key objects or events (like in a local museum) This could be as simple as going through an exhibit and putting events in the correct order, or answering questions about different objects located there. Questions or clues could be prepared ahead of time, and on a field trip to the museum they could be used as a tool for gathering information to be discussed as a follow up to the trip. 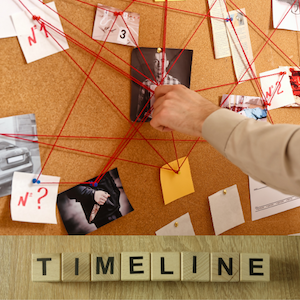 Create a scavenger clue huntCreate a scavenger hunt for home or for the classroom that requires finding different clues for the final reward. Here is a sample from one that my granddaughter and I made for her younger brother and sister.
I have created a free template for you so you can make up your own scavenger hunt. 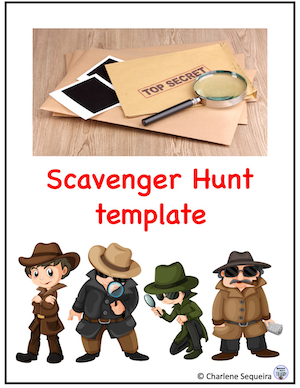 Team puzzle huntThe class can be divided into groups of 4 and create riddles or clues for objects in the room and then have other groups hunt for the object. This could also be expanded to objects in the school as a whole and other classes could be invited to participate in solving the puzzles.  Unpublished geocacheUsing coordinates in the school vicinity, or a neighboring park or forested area, plan a geocaching adventure for your students. You can either hide more than one geocache and give different coordinates to each group of students, or you could create a multi-cache where they must find information to move on to the next location until they arrive at the final cache. If you make it an unpublished geocache, you can remove it afterwards and you won't need to ensure that it is far enough from other published geocaches. 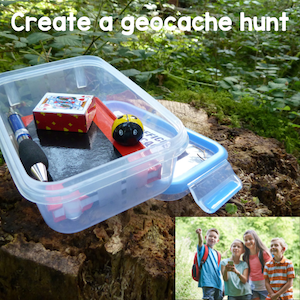 Puzzles can be lots of fun, but they are also great ways to get outdoors and use critical thinking skills. 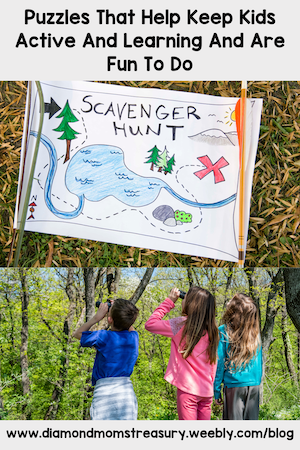 Related Posts
As the weather begins to warm up and the sunshine brightens our days, other things can warm our heart as well. This is the time of year to think about special people and all that they have done for us. From caring for us to little acts of kindness, we have been blessed to have these people in our lives. Special Days For Special PeopleSome of the most popular special celebrations at this time of the year are Mother's Day, Father's Day, Teacher Appreciation Day/Week, and Volunteer Appreciation. Here are a few ideas and resources to help with these celebrations. 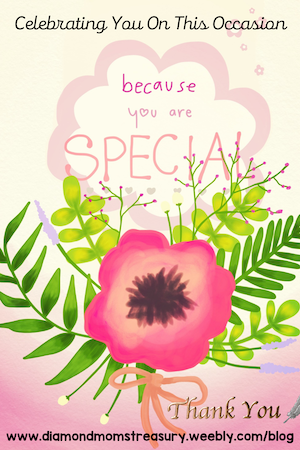 Mother's Day/Father's DayAs family dynamics change, it makes it more difficult to focus on some celebrations, Mother's Day and Father's Day are two that have been traditionally celebrated over the years and time has been spent making gifts and cards at school for these special days. However, it is more complicated now and we need to take into consideration those who might find this a challenge and help them to feel included and comfortable participating. If a mother or father is not part of the picture, a special lady or special man in the person's life can be the focus instead.  Mother's Day (Special Lady) There are many special women that can be acknowledged on this day. They may be mothers, grandmothers, aunts, step mothers, foster mothers, friends of the family, neighbors, or even teachers. These women are special for various different reasons, but they are important in our lives. If a child has more than one "mother figure" and wishes to celebrate these special ladies, it's important to give them that opportunity. Here are some resources that may be of interest for Mother's Day. Mother's Day Certificates Mother's Day Booklets And Cards Special Mother's Day Coupons And Acrostic Special Day Coupons, Templates And Acrostics (for mothers, fathers, and generic) 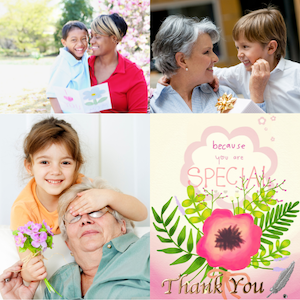 Father's Day (Special Man) As with mothers, kids may want to celebrate different special men in their lives. They may be fathers, grandfathers, uncles, step fathers, foster fathers, friends of the family, neighbors, or even teachers. These men provide different roles in their lives, but they are important to the child. Opportunities need to be provided to acknowledge them as well. Here are some resources that may be of interest for Father's Day. Father's Day Cards For Dads And Other Special Men Father's Day Cards And Posters Special Day Coupons, Templates And Acrostics (for mothers, fathers, and generic)  Teacher Appreciation Day/WeekTeachers do so much for our children. It is only fitting that they be celebrated. They have had a tough time during these last few years dealing with the pandemic and the residual effects of varied learning experiences as a result. They continue to show up and give their all every day, even when they are struggling. Teacher appreciation day or week, depending on where you are, is just a small acknowledgement of their impact on our children's lives. Every little thank you token of appreciation is special to them. Don't forget to let them know how much you appreciate them. Support staff and educational assistants are also important and should be included in these celebrations. There are so many things they do to help teachers and support learning.  Volunteer AppreciationMany schools have volunteer appreciation days or teas to thank volunteers for all they do for the school. This could be the parent groups, classroom helpers, individual parents, or people from the community. All of these people help the programs and school run better. Helpers are always needed, and we want to make sure they are not taken for granted. Every school or district is different, but here is an example from what we have done at our school. The classes would meet in the gymnasium and the volunteers would be invited to enter after every class was there. The students would give them a standing ovation as they entered the gym. This would be followed by some entertainment and then a strawberry tea. The students would be in class or outside playing while the tea was happening. The senior students would serve the volunteers. Place mats and thank you cards were made for the tables. Plants were also provided to decorate and then take home. Here are some place mats and thank you cards that I created for use at our tea. Helping Hands Thank You Notes  Whatever the special occasion, it's a chance to say thank you and let people know that you appreciate them. So many times people feel taken for granted and this little acknowledgement can warm their hearts and help them to keep going.  Thank you to all the special people in my life. You have given me so much and I truly am blessed to have you as part of my life. I may not say it often enough, but I do appreciate you. Related Posts
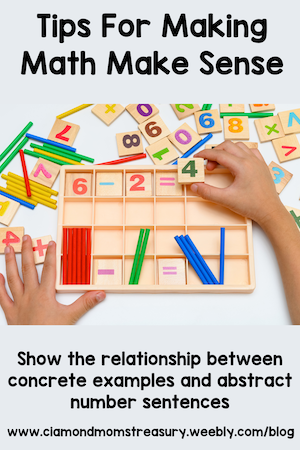
Life is a series of give and take and in math class, this is also true. We give and take when we work with addition and subtraction and it is important that we learn how to do this well in order to be able to apply skills to real life situations. Last week I focused on addition strategies for basic facts. Today I would like to look at subtraction strategies. You may notice there are many similarities between the two. As with addition, I recommend starting with manipulatives such as base ten blocks, number lines, ten frames. These visuals will help the strategies make sense for many children. Subtraction Strategies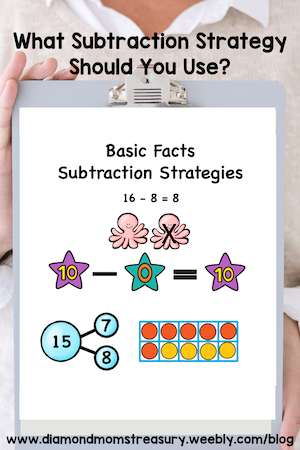 Deciding what strategy to use will be different for each person, but in order to be able to choose, it is important to be introduced to a variety of strategies and have opportunities to practice them. Here are 6 strategies you might find helpful. Zero FactsJust like in addition, zero is a special number for subtraction. Zero can be subtracted from a number and leave the same number or it can be the answer when a number is subtracted from the same number. When kids see a zero they should be able to automatically recognize this fact. It will come in very handy when they start to use larger numbers. 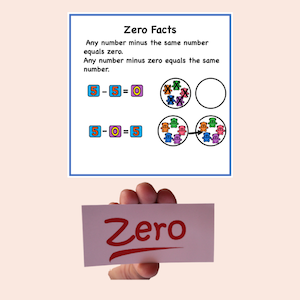 Counting BackIf you have a ruler or a number line, you can use a counting back strategy to figure out the subtraction question for basic facts. It is possible to do it for larger numbers as well, but it is not a very efficient strategy for subtracting double digit numbers. Place your finger on the first number and count back the number of spaces of the second number to get your answer. If you use a pencil and paper with a number line, you can actually draw the steps backward. This will help to avoid getting lost or miscounting.  Related FactsRelated facts help when you know one fact and need to figure out the other fact. When you look at the question, think about the related fact to figure out the answer. Sometimes it is easier for us to figure out the related fact and then solve the question. It's just the way our brain works sometimes. 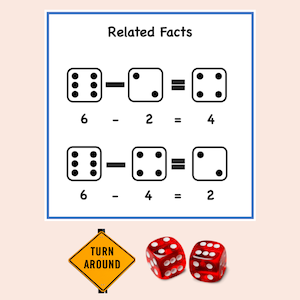 DoublesIf you are taking away an amount that doubles to equal the first number of the subtraction question, then the answer will be the same as the amount taken away. This strategy depends on how well one knows the doubles facts. 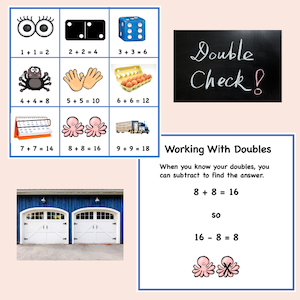 Looking For TensWith basic facts, tens can be a useful strategy. For instance, if you know the different combinations of numbers that equal ten, you can use fact family triangles or number bonds to figure out the different subtraction questions. If you are subtracting using a ten frame, colored objects or circles help you to see how many are remaining. See the image below as an example. For larger numbers up to 20, you could use a couple of ten frames. 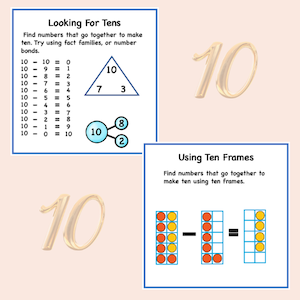 Change To AdditionSometimes it's easier to think of the question in addition rather than subtraction. You can also apply addition strategies to this. For instance, in the example below you could use doubles plus one to figure it out, or you could count on to get the answer. 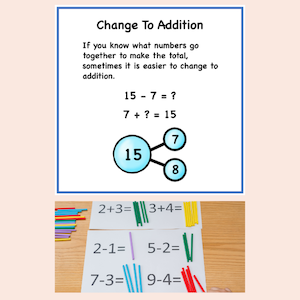 Once the basic subtraction facts are well practiced, moving on to double digit subtraction and more complex questions requiring regrouping will make more sense. 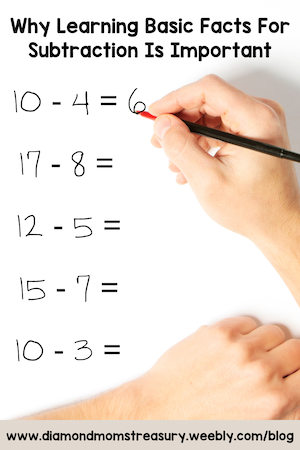 Next time I will talk more about double digit addition and subtraction and strategies that will help these make sense. Related Posts
|
About Me Charlene Sequeira
I am a wife, mother of 4, grandmother of 9, and a retired primary and music teacher. I love working with kids and continue to volunteer at school and teach ukulele. 
Categories
All
|


 RSS Feed