|
This week I attempted to try my hand at making my own bunting. I have always created my products using Pages on my Mac, but I wanted to make some png files, so I figured out it was time to try the other programs. I contacted my friend Susanna from Whimsy Workshop Teaching and asked her a bunch of questions. Then I looked at some videos on youtube. I figured I should try it and see what happens. 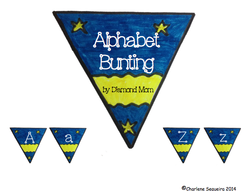
Here is the result. Of course, it wasn't without lots of challenges, more questions and help from Dana from Scrappin Doodles and voila I had my bunting. 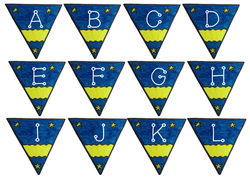
I learned that it is better to draw your design on the computer rather than scan in a drawing. These images were so large that I had to split my bunting into 2 sets, upper case and lower case.
I also learned later, that the layers don't disappear, they are only hidden. I had to go back and clean up some of the layers where I did some rotating. I redid all the letters and uploaded them again. 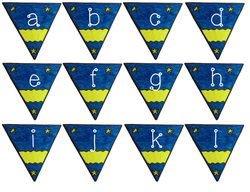
I was so proud of myself. Then I went to create a nameplate and discovered that the background was white instead of transparent on my images. Another lesson, flattening layers is different from merging layers. I went back and redid them again with a transparent background and uploaded them again to my TpT store.
Both the upper case and lower case alphabet bunting are available as freebies in my TpT store. I hope to continue to learn more and develop other clipart, but for my first attempt, I am pretty happy.
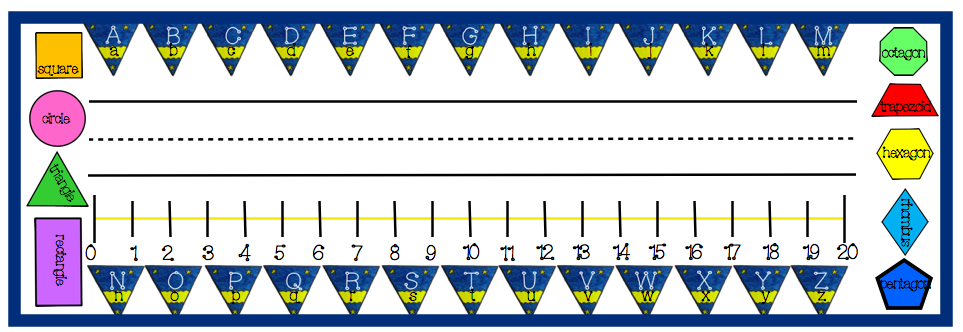
Here is the nameplate that I created. I can hardly wait to use these when we go back to school.
0 Comments
Leave a Reply. |
About Me Charlene Sequeira
I am a wife, mother of 4, grandmother of 9, and a retired primary and music teacher. I love working with kids and continue to volunteer at school and teach ukulele. Categories
All
|



 RSS Feed