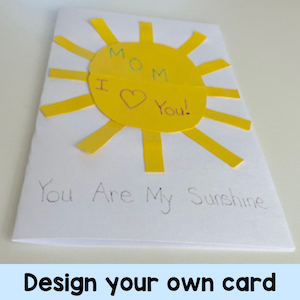
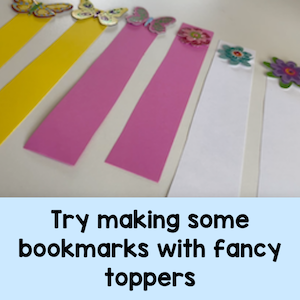
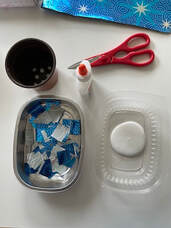
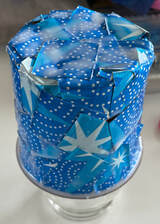
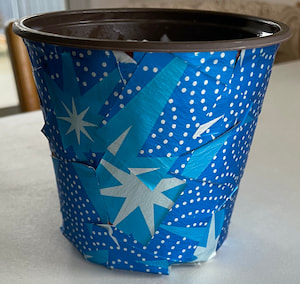
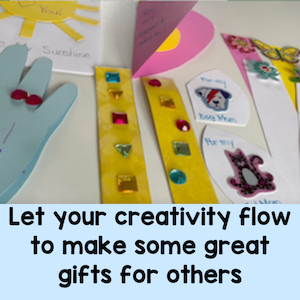
Who Are Special Ladies?Mother's Day is a time for celebrating special ladies. These could be moms, aunts, grandmothers, foster moms, cat moms, dog moms or any lady that is special and deserves to be celebrated. I know this can be a difficult time for some children, because they may not have a mom or they may not have a situation that they want to celebrate, but we can always find a special lady in our lives, so I would encourage you to help these kids find a special woman that means something to them. Hey, it could even be a teacher. If you are like many teachers, you probably have a stash of dollar store items for creating things. Over the years, I collected many different things for my classroom. I also liked doing crafts with my grandkids, so I collected things for them as well. When a special occasion comes up, I go to my stash and I start to let the creativity flow. I never know what it will be until I start putting things together. Of course, I start with simple ideas like cards or bookmarks, and go from there. Some special cards for Mother's DayHere are a couple of card ideas I put together to show what you can do. I started with a folded shape that opens up to a symmetrical pattern. You can choose any shape you would like, but for the example I chose a hand and a heart. Note: If you are teaching symmetry in math, this is a great activity to practice what has been learned. Another card example was a basic one with a sun on it and a blank page inside for writing a special message. Again, this could be any shape or design, I just felt like using the sun because it was a bright sunny day outside. Bookmarks are easy to make and are fun to use. There are many different types of bookmarks you can try. Here are some with fancy toppers. Just add your own message and you are set. Hint: Laminate the bookmarks after you add the message, but before you add the toppers, so that it is easier for writing out the message. A Unique Flower PotIt is spring time, so there are many different pots available from seedlings that are ready to put into the garden. It is also the time of year when many classes study plants and grow beans or other seeds and then give them as gifts. What better time to decorate pots for the plants to go into. It is actually very easy to make a decorative pot. You can use acrylic paint and create designs on it or you can decopage it. You don't require any fancy materials to do this. I often used wrapping paper cut into small cubes and a mixture of white glue and water. You can buy the commercial product, but the glue mixture works just as well. Once the pot is dry, I spray it with an acrylic spray to give it a shine. Each time you make something, you can add a twist to make it different and unique. Let your creativity flow as you try out new ideas. Imagination has no limitations! I hope you have some fun as you come up with new ideas for your students. I would love to hear about some of them. For free resources, tips, and ideas, sign up for my newsletter. Related Posts
0 Comments
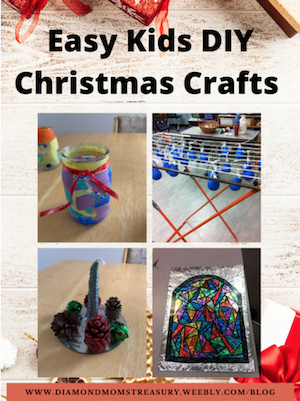
Round Up Of DIYDIY activities can be fun to make and they can also be a great gift or fundraising opportunity. At my school the grade 5 and 6 classes participated in a program called Young Entrepreneurs. I was intrigued when I saw the different things they created. I thought it would be interesting to see if my grade 3 class would be able to do something similar. Of course, it needed some modifications, but we took a chance and we managed to create many different products and then do a fundraiser sale for a special field trip. You can find out more here. Here is a round-up of some of the different diy products that we did for the fundraiser. I wrote separate posts for 3 of them. You can check out the others in my post about the spring fundraiser. They were fun to make and easy to do so even younger children were able to participate. DIY Fancy Bell Pencils I Spy Jars DIY Stress Balloons DiY activities are great for making special gifts for special occasions. Here are some that were made for mothers and fathers for their special days. DIY Father's Day Gift Idea Mother's Day Ideas For Special Ladies DIY Dad's Bug Kit DIY Tic Tac Toe Boards Father's Day Gift Ideas For Special Men Christmas is a time when special keepsakes can be made. Here are some that my kids made. Christmas Stained Glass Project DIY Christmas Stained Glass Art Project Easy DIY Christmas Gifts Kids Can Make Of course, there are also DIY projects that can be subject based. Here is a hand clock that we made that was a real hit. DIY Hand Clocks These are only a few ideas that might be fun to try. There are many others, but I will leave them for now. The key is to find things that will spark the imagination and then watch as the creativity happens. Happy DIYing!
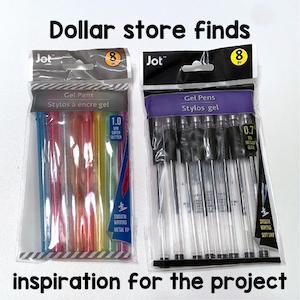
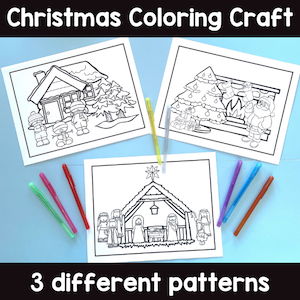
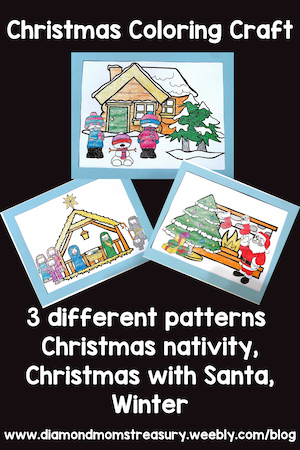
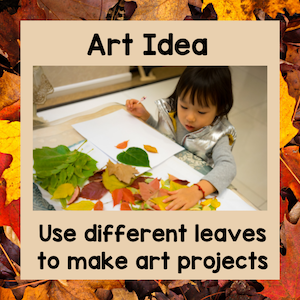
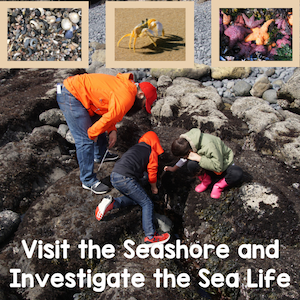
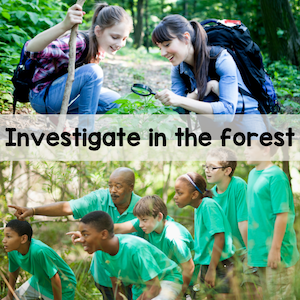
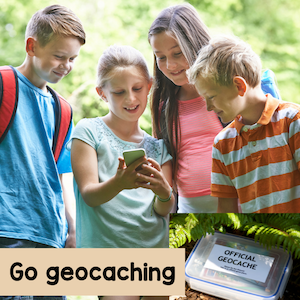
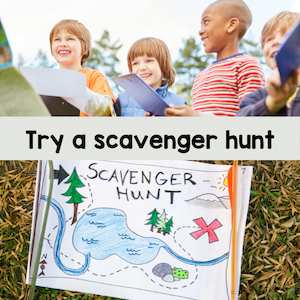
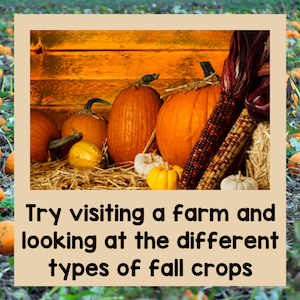
The holiday season is hereIt is hard to believe that 2021 is almost over. It has been a crazy time for most people, but hopefully there will be an end in sight to the craziness soon and we will be able to look back and find some positive moments to build on in the future. Thanksgiving is almost here in the United States. This will be a time for families to get together again after a long absence. I remember doing Thanksgiving and Christmas with my family over Zoom last year. It was very hard. I wish all of those who are able to gather a wonderful time with family and friends. Of course, this means that Christmas is not far away. One of my favorite things to do was come up with new and creative ways to make gifts with my students. If you want to see some of the different ideas that work well with kids, check out this blog post that I wrote last year. I love walking into the dollar stores and checking out all the different materials that they have for doing crafts. This always give me inspiration. Sometimes it might be a special ornament, a centerpiece idea, or something that can be framed for a keepsake. Of course, the cost has to be considered as most of us end up buying materials with our own money. I do try to see if I can couple my ideas with materials that we already have at the school, but usually that doesn't work too well as the school always seems to be short of supplies. Here is my latest inspiration. It is similar to the stained glass pictures I did, but easier to do. There are 3 different versions available so that everyone can do it, even those who don't celebrate Christmas. If I find a craft that works well, I will sometimes repeat it a couple of years later. I didn't do the same thing each year because I often had split classes and I would have some students for two years in a row. Also, some crafts require saving up materials. For instance, I saved up light bulbs for a few years to get enough for a whole class. Of course, you can always ask parents to save up materials for you. They don't need to know what you will be doing with them, just that you are looking for them. You can get a free copy of the coloring sheets by clicking the image below. I hope you enjoy the next few weeks as the holidays are approaching. Until next time, take care. Related PostsFall Is Almost HereFall is around the corner. I don't know about you, but we had a beautiful summer. Some days it was a little hotter than we liked, but for the most part, we couldn't have asked for better weather. It was a great time to get outdoors and enjoy nature. Now that fall is arriving, this doesn't have to end. There is still time to get outdoors and do things before the weather gets too cold or wet. This is also a great time to focus on nature and science in the classroom using the outdoors as your source for material and data. There are also many opportunities for math and literacy activities. Fall leavesFall colors are so beautiful. Driving along the streets, the different colored leaves create a wonderful backdrop. Kids love to explore the different kinds of leaves and collect them as they begin to fall off of the trees. There are many different activities that can be done with the leaves such as math activities, science activities, writing activities, and art activities. You can use the colors and shapes for creating art projects, do sorting and classifying activities in math, investigate how the colors change and why as a science activity, or maybe use the collecting of the leaves as a story prompt. These are only a few ideas. Get creative. Beach StudyBeach walks can still be done in the fall, and different activities can be included that explore the sea life there. It is always fun to watch the kids explore the seashore and search for the different sea animals and plants there. They can be found in the tide pools collecting shells, crabs, seaweed, and other things for scavenger hunts. The sea stars and sea cucumbers are always a big hit as well. I remember taking along lots of magnifying glasses so they could get a closer look at the different things they found. Note: We were careful about handling the sea life and we made sure that we were able to return them back to their environment safely. We always put everything back before we left. It is important to leave the sea creatures in their environment. Exploring Parks And ForestsGoing for walks in the parks and forested areas can also be fun to do in the fall. Taking a look at how things might have changed during the different seasons, what different animals might be around, what different plant life looks like, checking out the streams or creeks, etc. are just some of the possible things that can be investigated. Geocaching is also a fun activity to do. It is difficult to do with a large group because it is supposed to be stealthy and not attract attention, but it still can be done in certain settings. A modified scavenger hunt could also be done that mimicks geocaching but is set up for a specific group instead of the public. Farm VisitsMost people think about planting seeds in the spring and watching them grow throughout the summer, but there are also many things that can be planted for the fall. Checking out some of the fall harvests and taking a field trip to a pumpkin patch or farm could also be fun to do. Perhaps some plant investigations can be done now and even compared with plant investigations in the spring. This is only a sampling of things that can be done in the fall that get kids outdoors. The key is to find ways to keep them actively exploring and learning both inside and outside the classroom. The more connections to real life, the richer the learning will be. I hope you find some of these ideas helpful for your students. I would love to hear about some of the things you do outdoors with you class. Let me know in the comments. Related Posts
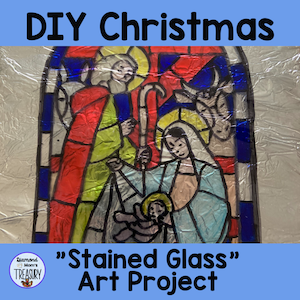
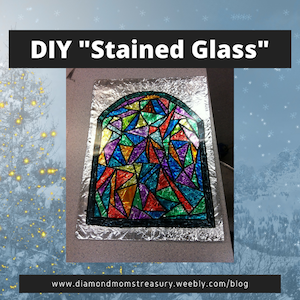
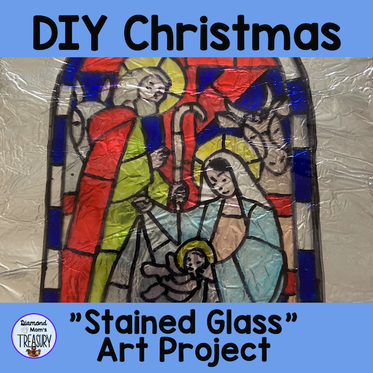
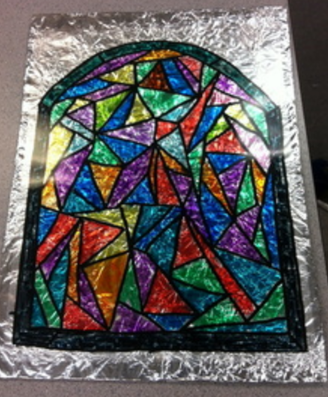
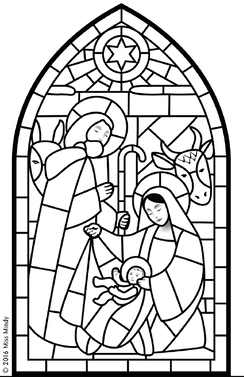
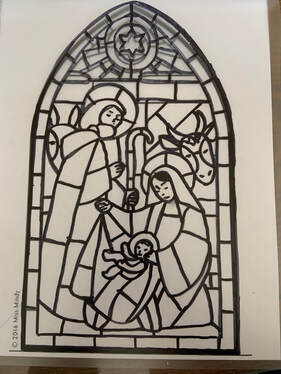
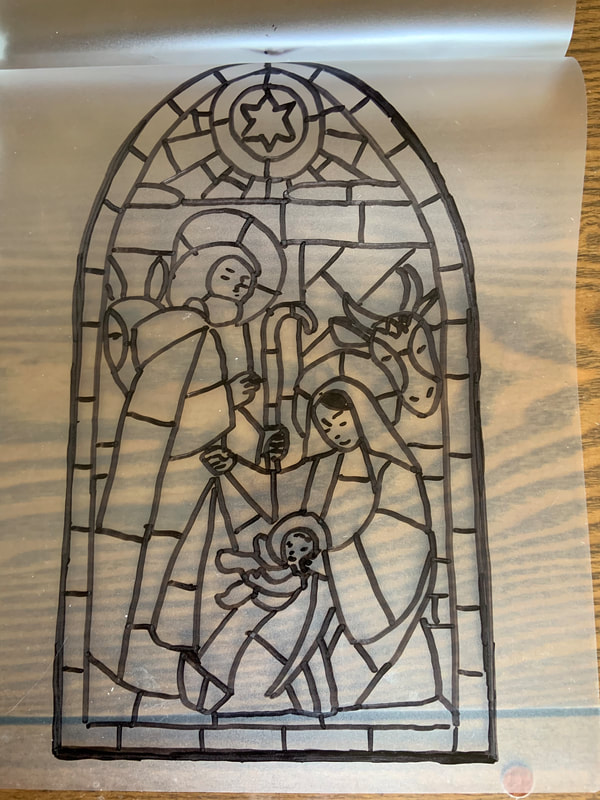
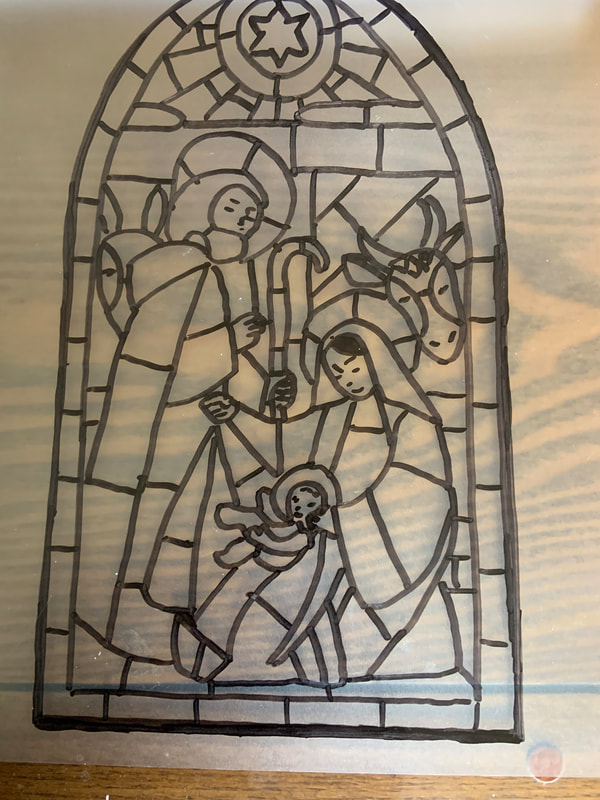
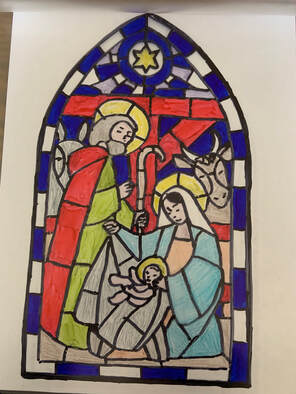
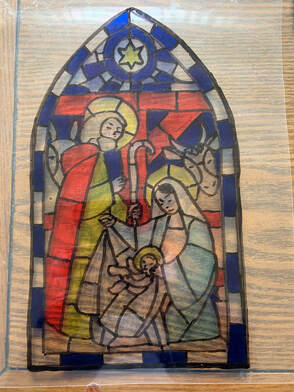
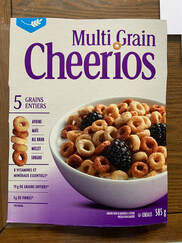
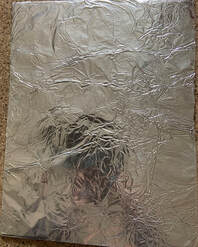
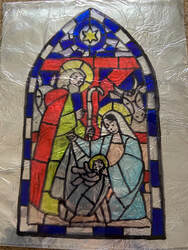
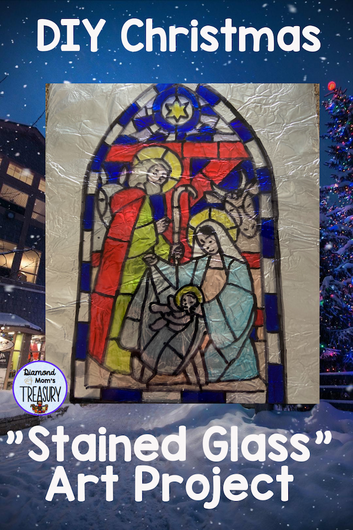
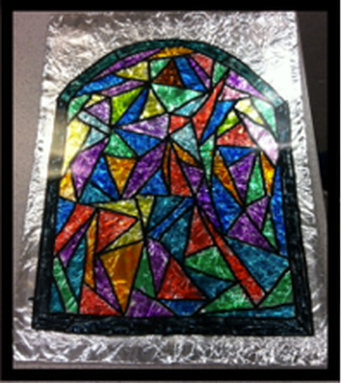
The image below is the original one. You can still follow the directions here, but you may need to make slight changes to the procedure and materials used as explained below. The first step is to find an image that you would like to use. I chose this one because it is typical of what one might find when thinking of stained glass at Christmas time. You can choose anything you want. Color by code pictures or mandalas would work well. This is a coloring picture from Miss Mindy. Once you choose your image, it is necessary to transfer the image onto a transparent material. This time I used a laminating pouch. I placed the printed image (image 1) behind the pouch and opened up the pouch to trace the image on the inside surface. (images 2 and 3) Note: It is important to put it inside if you are going to laminate it so that you don't have the marker ink damaging your machine. If you have access to the transparency sheets used in the original version, it makes it easier because the image can be photocopied on to the transparency. This saves the tracing step. If not, I would suggest making sure the design is not too difficult for children to trace. Note: It is important to talk to them about how to trace without smudging the design. I usually suggest they start at the top and work their way down on the side opposite to the hand they are coloring with. Once you have the design traced, you can place a paper beneath the laminating pouch again so the areas can be seen as you add color. (image 5) I chose to change up the colors a bit so that they popped more. When you have finished coloring all the spaces desired, put the pouch through the laminator to seal it. (image 6) Note: I use a personal laminator with pouches. If you are using a different type of laminator this may not work. Another option could be to cut the laminating pouch apart and treat it like the transparency sheet. You would still need to trace the design because it can't be put in the photocopier. If the design is traced with a permanent marker ahead of time, it will be easier for use by everyone and it shouldn't smudge when the children color it. Note: The children should color the back of the transparency sheet or laminating sheet so that the washable markers won't smudge or wash off when it is placed on the tin foil. Next, prepare the background by cutting a piece of card stock or a cereal box to the correct size and covering it with tinfoil. I usually tape the tinfoil on the other side and then add a piece of writing on that side to hide the seams. My students preferred the crinkly foil as it caused the light to bounce off of the colors. (Sorry for all the shadows. I couldn't seem to find an angle where they weren't showing.) Finally, tape the transparent picture to the tinfoil card stock. Add the writing on the back and you are done. If you wish to hang it, punch some holes on the top and add some ribbon. If you would like a sampler copy of the writing templates click the image or here. I would love to hear how you use this idea in your classroom. If you have any other suggestions to make it easier please share in the comments below. Related Posts
Christmas is an special time for both children and adults. You can't help but feel the excitement in the air as December approaches. Christmas lights blink everywhere, Christmas music plays in the stores and on the radio, and the Christmas movies start to show up on the television.
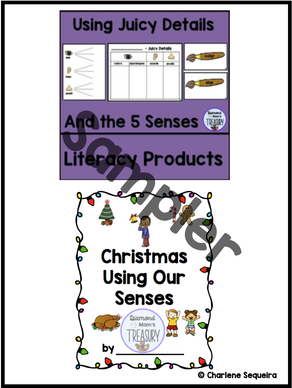
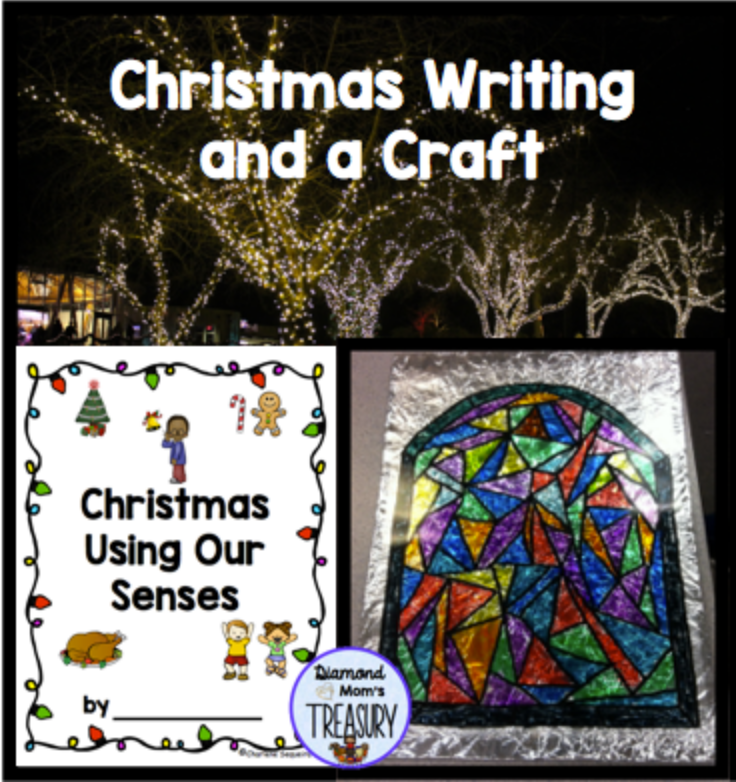
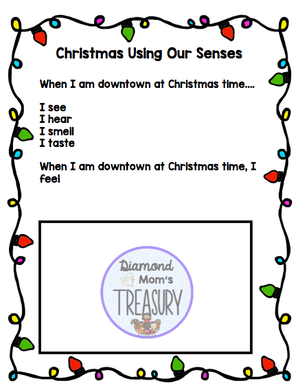
There are so many opportunities to use this excitement and the feelings associated with Christmas in your classroom writing. For years I did Christmas writing with the senses. When I retired last year, I still had the chance to introduce this idea one more time when I was helping out in another teacher's classroom.
Here is my blog post about what we did.
When I wrote about the writing we did, I mentioned a special gift that we were creating, but I couldn't say anything more because a parent might see the post and it would spoil the surprise.
Here is more information about what we did and how it was special.
The teacher I was working with began by showing some different Christmas scenes. Each scene was going to be the topic of the verse that would be written.
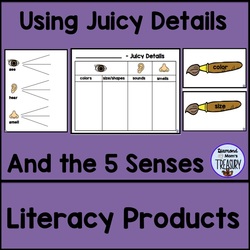
We first generated ideas using my juicy details templates. We had used them for some other activities earlier in the year, so the children were familiar with them. We began as a group and then they went to their desks and selected the words that they wanted for their poems.
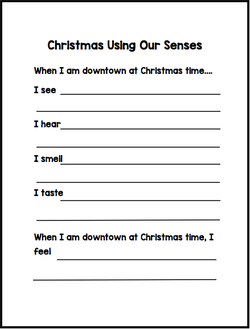
I have always found that using a framework for writing helps some of the struggling writers get started. Stronger, more confident writers develop more descriptive pieces of work and use it as a springboard for future work.
Using fancy paper for the final product is a great motivator for kids. I also find that they are more willing to do the writing and add to their work if they know that it is going to be typed up afterwards. (Those that have difficulty writing often write less if they know they have to do a re-write for publishing.)
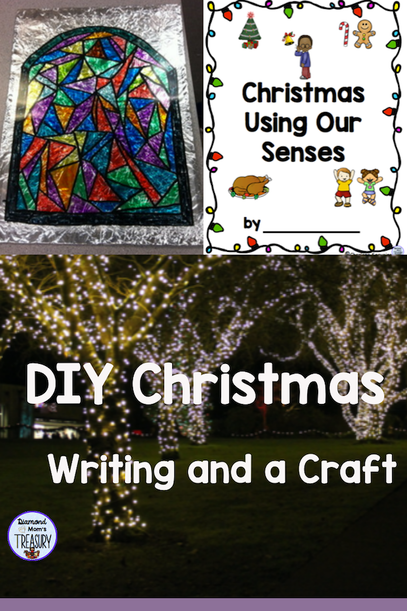
Several times in the past, I used this idea of writing about Christmas using the senses as part of a bigger idea. Parents love to receive special gifts from their children that have been made by them. The poem was all written on one page and then put onto special paper. It was then placed on the back of the "stained glass" picture. This way, it could be shared each year as the kids grow. What better way to display it than to make it part of the Christmas decorations!
Instead of making a single page poem, this time, we made a special Christmas booklet with each verse on a separate page. A special note was written for each parent to add to the back of the "stained glass" picture instead of the poem. The booklet went along with the picture.
If you would like to make your own special "stained glass" decoration and poem keepsake, check out how we did it here.
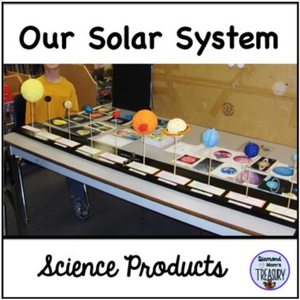
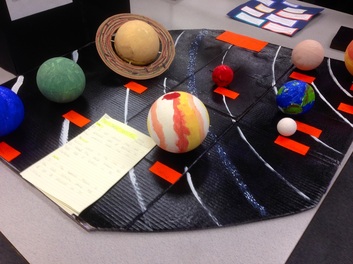
Our class just celebrated the end of our space unit with a huge display of projects that represented what was learned. The children were so excited to see what each one had created and to ask questions about them. The parents were amazed at the variety of projects and the information that the students shared.
They had a choice of using a model, postcards, invitations, or essays for their projects. Here are pictures of them. A couple of children were sick, so their projects are missing. If you would like to find out more about the project criteria and other materials used, click here.
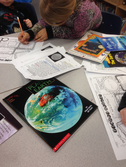
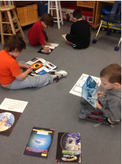
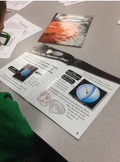
We began our study with a variety of materials and books that I had on hand.
Research was a big part of the learning. I divided the class into groups and each group had to research one inner and one outer planet. They became the experts and then they shared what they had learned with the rest of the class. It was cute to see them use the space language and share their knowledge with the others. They took it very seriously.
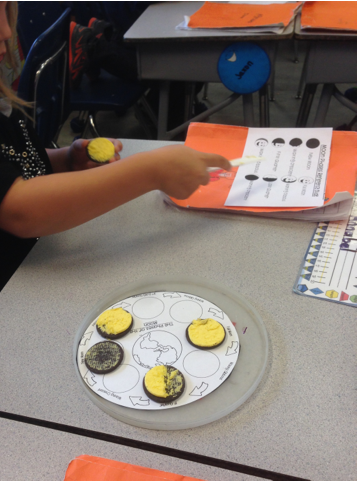
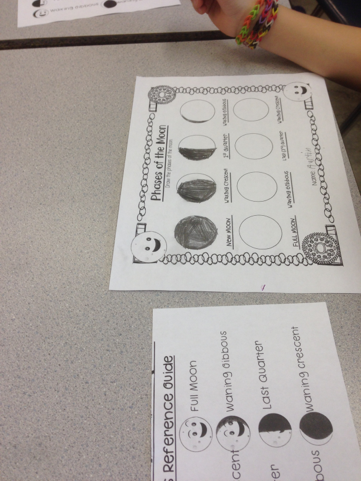
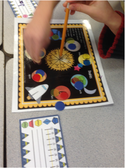
The class had lots of fun making the moon phases out of cookies. The best part was being able to eat them when they were done.
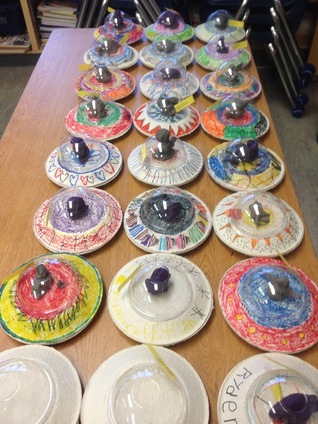
Check out the alien spaceships that we made from paper plates and slurpee covers.
Try out some of these ideas. I can guarantee your students will be engaged and learn a lot. My class has a huge range this year and even my students that really struggle did well with this unit.
I can hardly believe we are already at the end of January. It seems it was New Year's Eve just a few days ago. So many things have happened this month, I will need to write more than one post just to share it all.
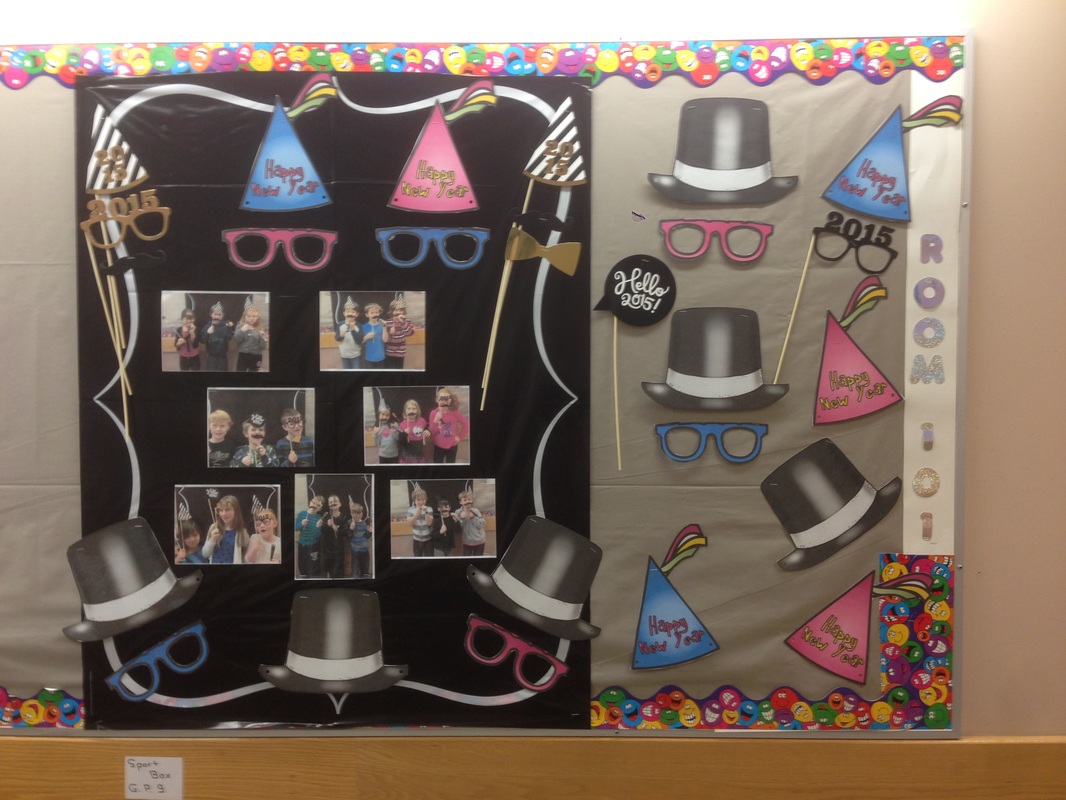
I want to start with our New Year's celebration. Here are some pictures of our first days back.
The kids were very excited to see blowers and hats and other festive materials when they arrived back after the Christmas break. We took time to share what we had done during our winter break, and then we did some group photo booth pictures.
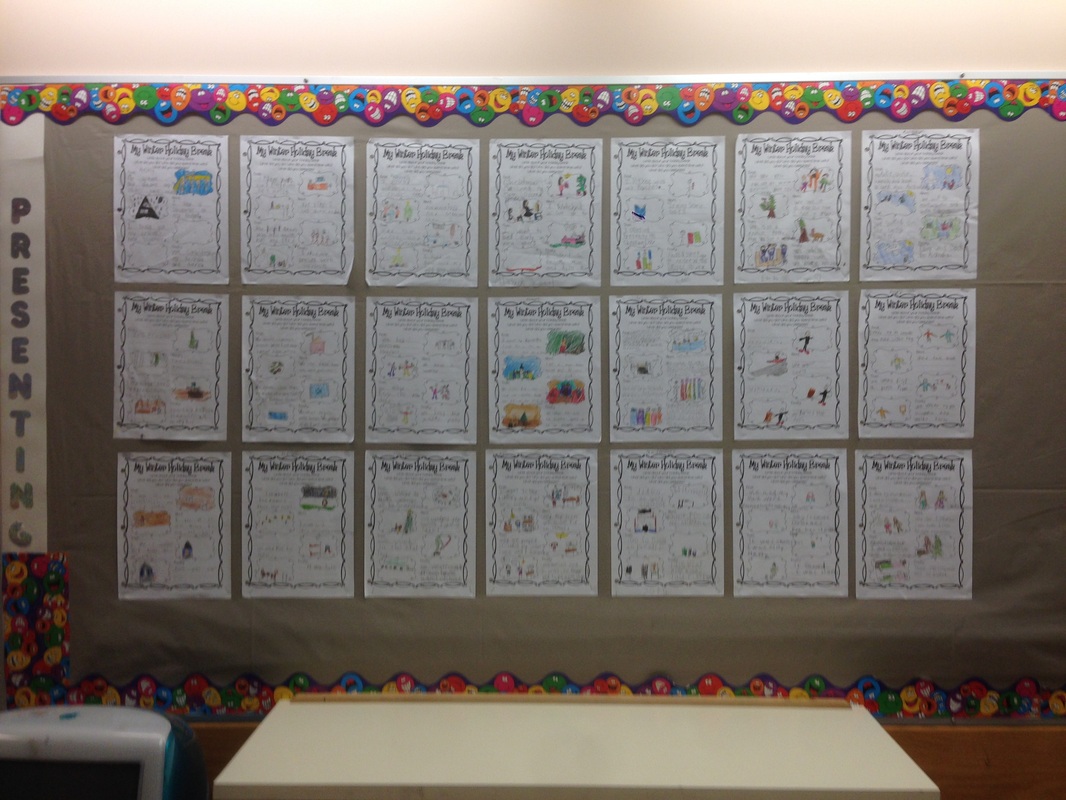
Instead of writing out resolutions and goals, we focused more on what we did during out winter break. We also did do some New Year's journals and writing, but we mostly focused on various different winter themes.
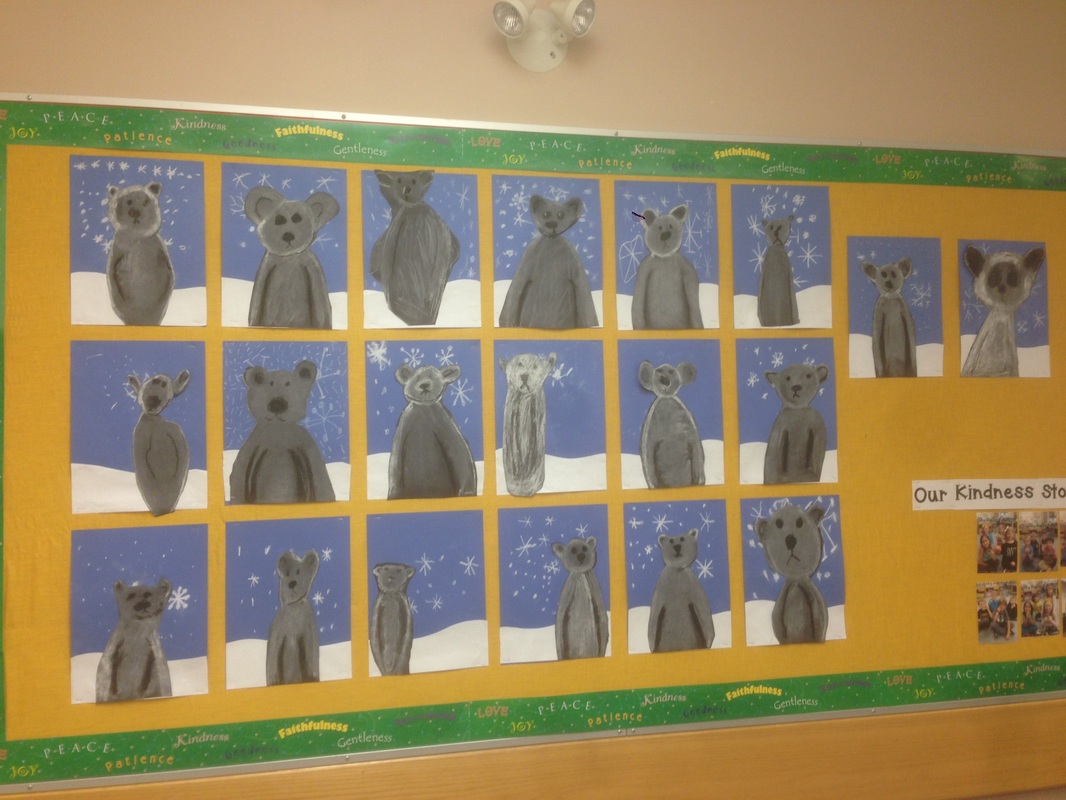
I finally got a chance to try out Susanna's art project. She has a tutorial on her blog at Whimsy Workshop. I was very pleased with the results and my kids loved doing it.
We finished our solar system unit and we had a big celebration to share the projects we created to show what we had learned. We did so many things during this unit, that I need to write a separate post to tell you all about it.
Lots of other things happened this month as well, but I will leave you with these things for now. I hope that your January was fabulous as well.
December is a busy and happy time for sharing and giving. The children can hardly contain their excitement. It is sometimes exhausting, but it is very rewarding at the end of the day. Here are some highlights of our last couple of weeks.
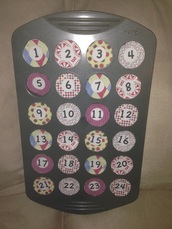
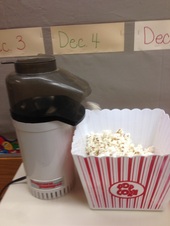
A couple of years ago I got this DIY idea from Pinterest. It was from Charity Preston"s Classroom DIY. My kids loved finding out what was hiding behind each number. On one day they had a movie and popcorn. We watched Santa Claus the Movie. They loved it.
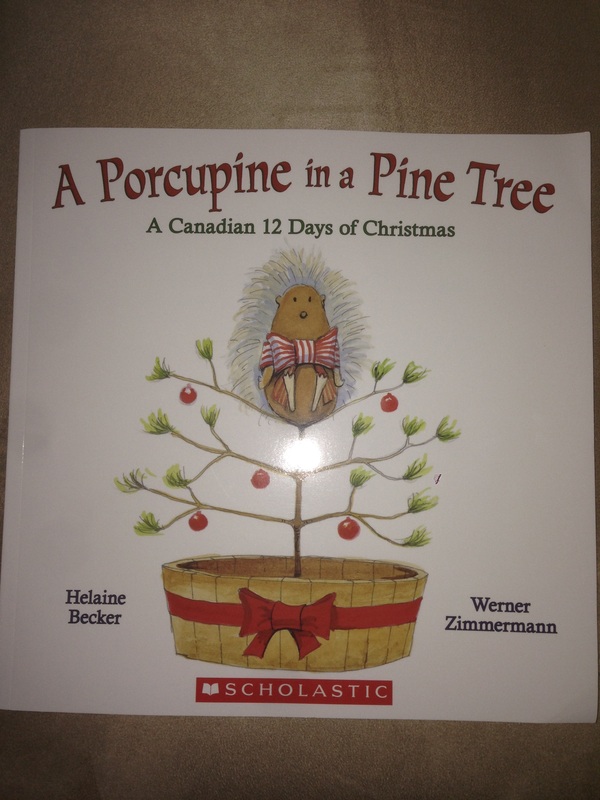
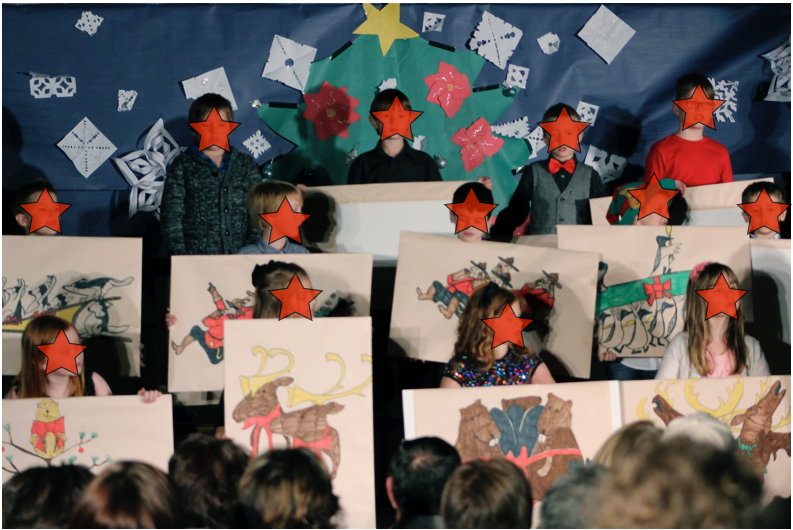
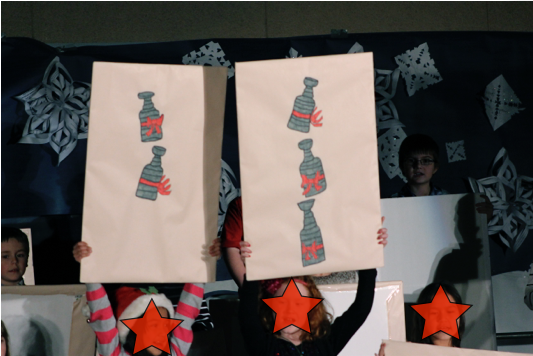
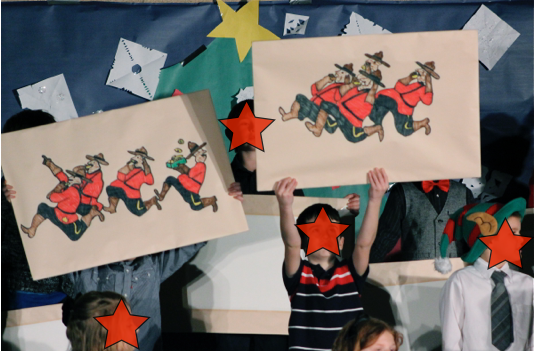
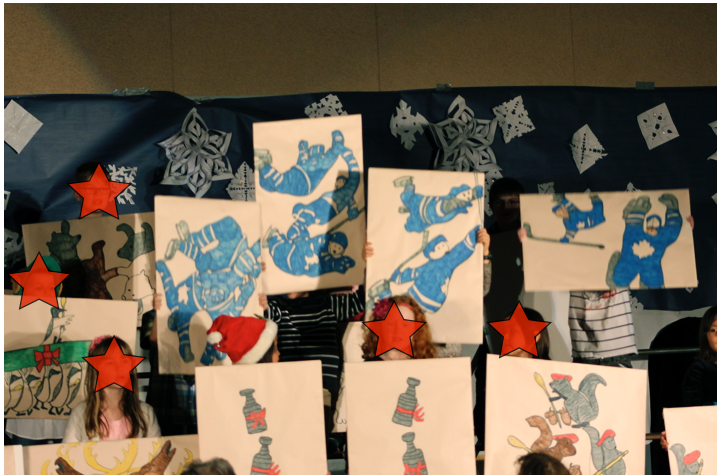
For our Christmas concert we performed A Porcupine In a Pine Tree. This was a Canadian version of the Twelve Days of Christmas. I created the boards based on the images in the book and each child had a board to hold up. They did an awesome job. Here are some pictures of the Mounties, the Leafs, and some of the animals.
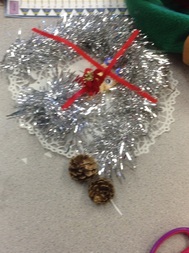
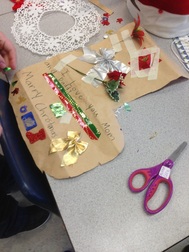
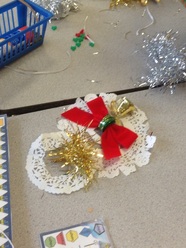
On the last day, I decided to let the children do a make and take it activity. I put out a bunch of different craft materials and they created their own Christmas crafts. Here are some of the creations.
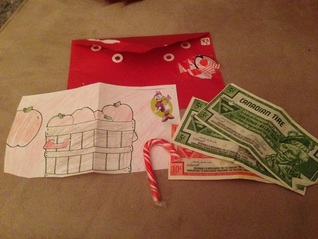
At Christmas teachers often receive gifts from students. I appreciate every gift, but this one especially warmed my heart. One of my students really wanted to give me something, so she colored me a picture and gave me Canadian Tire money along with a candy cane. Isn't that sweet?
Winter break is finally here and we are having everyone here for Christmas. This will be the first time since 2009 that all my family will be together. One daughter has arrived with her 3 children and my older son and his family live in town. My other son and his family, my son-in-law and my mother and mother-in-law will be arriving on Christmas Eve. My other daughter will arrive on Christmas Day.
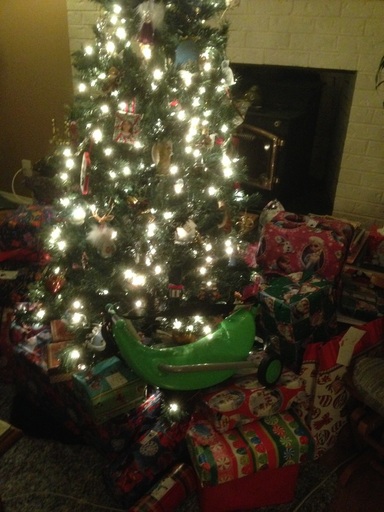
Here is a picture of the tree. It is hard to find it under all the presents. There will be some very excited people on Christmas Day.
Merry Christmas to all my friends and family and to all the wonderful people I have met or had the blessing to encounter through blogging and collaborating.
If your school is like mine, money is in short supply and so are resources. Teachers are constantly supplementing classrooms from their own pockets so that the children can have creative resources and hands on materials. Now, even the cost of buses to go on field trips is becoming very high.
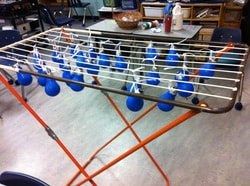
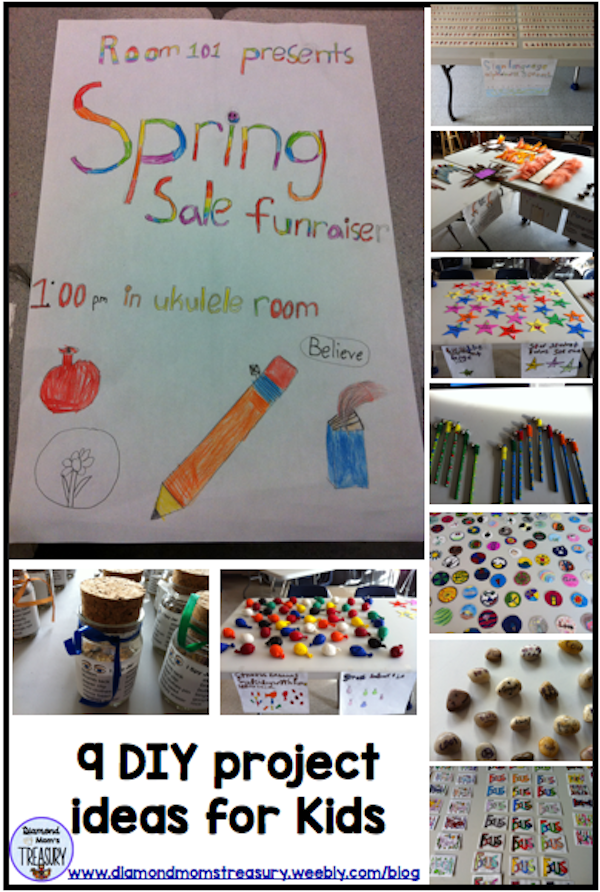
I really wanted to do something different and special with my class before the end of the year, so I decided that it would be fun to travel to another place where many students may not have been before. During Spring Break, I had the good fortune to spend a day and a half in an elementary school in Port Hardy, a town at the northern tip of Vancouver Island. I met some wonderful teachers and students and I also got to see a student of mine who moved up there at Christmastime. I thought it would be fun for my class to get to know her new class and the class next door. What better way than to actually go there. We are studying about our country, so I wanted to start with the island we live on. Most children have been down island to Nanaimo or Victoria, but not many have been up to the north end of the island. I have lived in Campbell River for many years, and last month was the first time I had visited this town. I checked into getting a bus and discovered that it would be very expensive. I didn't want to ask parents to pay out large amounts of money, so I had to get creative. Then I had a lightbulb moment. We had just finished working on our money unit. Instead of doing a mock sale in my class with the school play money, why not do a real sale and earn money. Last year, the older students in the school did a Young Entrepreneurs sale. When I saw the items they were selling, I started to think about how this could be modified and used in a smaller dose with my Grade threes. I promptly forgot about it until about 2 weeks ago. So, this is how our Spring Sale Fundraiser event began. Check out our 9 products that we made for sale!
We raised $325.00 and we even had to take orders for our stress balloons because they were so popular that we ran out of them.
If you need to raise money and you want it to be child driven, this is a fantastic way of doing it. The kids were so motivated, and they also learned first hand how to earn money in the real world. Check out the DIY blog posts for directions on how to create some of these projects.
|
About Me Charlene Sequeira
I am a wife, mother of 4, grandmother of 9, and a retired primary and music teacher. I love working with kids and continue to volunteer at school and teach ukulele. Categories
All
|
















 RSS Feed