|
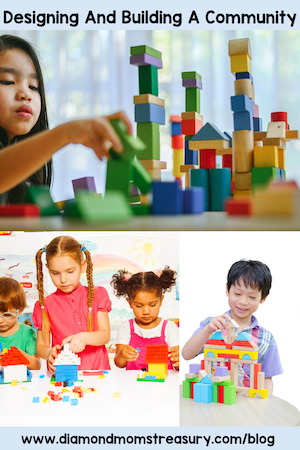
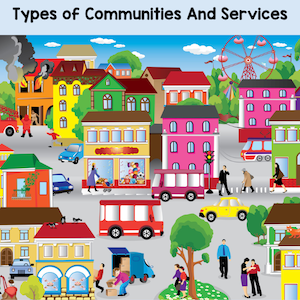
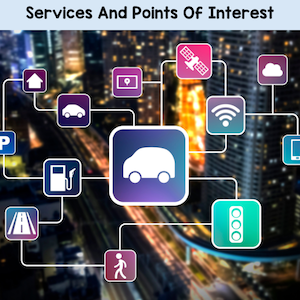
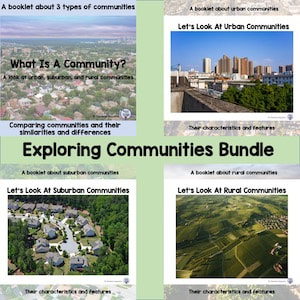
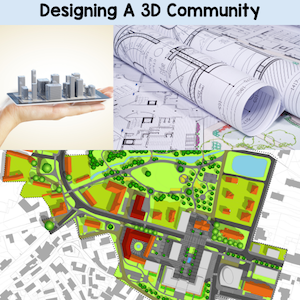
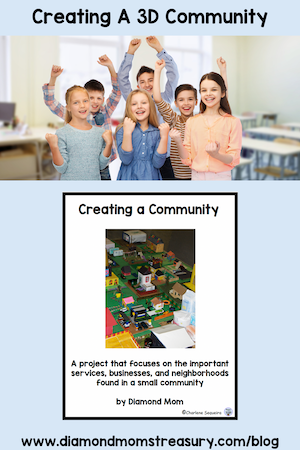
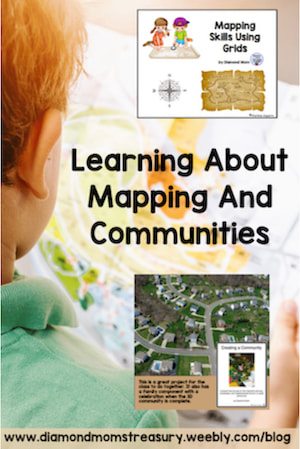
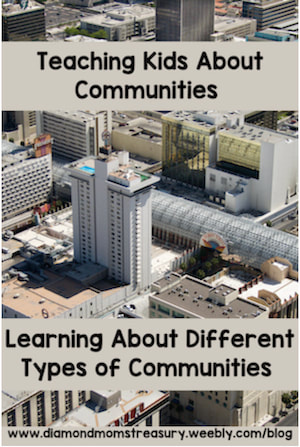
Kids love to get creative and build structures. I can remember many times watching them build houses with yards and garden plots or playground structures. As they became aware of their surroundings, more of the features appeared in their designs. Building a community requires the same type of awareness. In order to build a community, it is important to take note of what needs to be included. Let's take a look at how communities differ or are the same and what key elements are found in each type of community. There are 3 main types of communities that kids should be introduced to: urban, suburban, and rural communities. Most children live in one of these types of communities, or perhaps they've moved from one type of community to another type of community. Each of these types of communities has characteristics that cause them to be identified as a specific kind of community. They have many of the same types of essential services, but they have different points of interests, kinds of buildings, locations, and other features. When looking at the various types of communities, get kids to look for the following kinds of services and points of interest: Schools, daycares, homes, parks and playgrounds, libraries, hospitals or clinics, fire stations, police stations, post offices, grocery stores, specialty shops, restaurants, cafes, banks, places of worship, types of public transportation, community centers, and unique landmarks. The more densely populated the area is, the more of these essential services there will be in the area. For less densely populated areas, the services will be fewer and they will be more spread out. Take your students on some neighborhood walks and check out what different services, and features are found in the nearby area. Use this information to help determine what type of community they live in. To find out more about the different types of communities, check out these resources. What Is A Community? Types of Communities Designing A 3D CommunityDesigning a 3D community can be an exciting and engaging project for kids. Here are some tips to help them get started and create a vibrant and imaginative community model. Begin by deciding what type of community to build. Think about things like: What buildings or landmarks should be included? What features make our community special? Look at pictures, maps, and books to gather ideas and information. Have them imagine that they are developers or city planners. When deciding on what services will be there and where they would be located, what would a developer or city planner have to consider? Ask questions like: Would it be a good idea to put the airport in the middle of town? What should go near a school or a hospital? Why? What kind of transportation will there be and how will it be set up? There are many other questions and discussions about what is needed and where it should be located. Make note of the different ideas and when it comes to making decisions choose the ones that the students feel fit with the community they want to create. Note: They may need guidance with making these decisions. Time To Build The CommunityOnce decisions have been made, it is time to begin the process of creating the community. Note: It is important to consider the space needed for your 3D community. This will determine the scale and amount of structures, etc. that can be included. Create a sketch together before starting to build. (I usually did this on the whiteboard.) This helps them visualize the layout and design of their community. if it's a class project, assigning different jobs to small groups or individuals as you proceed will help with making the project manageable. Assign roles to different children based on their interests and strengths. Some children may enjoy building structures, while others may prefer decorating or landscaping. Once the plan is drawn and the buildings, services, landmarks and other features are decided on, it is time to build. Scale and proportion are very important and should be discussed to help them understand how to create buildings and features that are proportional to each other. For example, a small milk carton could be the size of a house. This would be the scale guide for all other buildings and objects. Don't forget to include natural elements such as parks, trees, and rivers in the 3D model. These features add depth and realism to the community. Features like street signs, traffic lights, benches, and street lamps can also make the model more realistic. Share And CelebrateOnce the 3D community is complete, display it prominently in the classroom or school for others to see. Consider organizing a presentation where children can share their creation and explain the thought process behind their design choices. I did this type of project several times with my classes and I was always very impressed with what they learned and how excited they were to share this will others. If you want to find out more, check the posts below. This is the resource that I used to create our 3D communities. Creating A Community Good luck with your students as you embark on creating a community together. Related PostsComments are closed.
|
About Me Charlene Sequeira
I am a wife, mother of 4, grandmother of 9, and a retired primary and music teacher. I love working with kids and continue to volunteer at school and teach ukulele. Categories
All
|



 RSS Feed